
Top Tips for Ceiling Painting in Orlando: A Homeowner’s Guide for 2025
If you’ve ever looked up at your ceiling and thought, “Wow, that could use a fresh coat of paint,” you’re not alone. At The Awesome Painting Services, we know that ceiling painting in Orlando comes with its own set of challenges—think humidity, stains, and those tricky textures. Whether you’re updating a single room or the whole house, getting it right makes a big difference. Here’s a straightforward guide for Orlando homeowners who want a smoother, cleaner ceiling in 2025. If you need help, remember, Orlando painters like us are always ready to lend a hand. For more tips or to book a service, check out our website: https://theawesomepaintingservices.com.
Key Takeaways
- Prep your ceiling well before painting to avoid peeling or uneven color.
- Use stain-blocking primers to cover water spots or old stains.
- Pick low-VOC paints for healthier indoor air, especially in Orlando’s climate.
- Textured ceilings need special rollers and a careful touch for good coverage.
- Always control humidity and ventilate the room to help the paint dry evenly.
Surface Preparation
Getting the ceiling ready before you paint makes a huge difference in how things turn out. A clean, smooth surface is the key to paint that looks good and lasts. Before you even pick up a brush or roller, there’s some work you need to do.
Here’s a quick checklist of important steps:
- Move as much furniture as possible out of the room to protect it from dust and splatters.
- Dust and wipe down the entire ceiling. In Orlando, humidity can make dust and grime stick, so scrubbing with a mild soap and rinsing clean is sometimes necessary.
- Check for water stains, cracks, or flaking paint. Sand rough patches, scrape away peeling bits, and fill gaps with lightweight spackle. Wait for repairs to dry before lightly sanding them smooth.
Taking those few hours to properly prep the surface can save you a lot of headaches down the road—no one wants to spot missed stains or rough patches after all your hard work.
For regular how-to inspiration and simple tips, many folks look at The Awesome Painting Services, which share easy project ideas anyone can follow.
Stain Blocking Primers
If you’ve ever noticed odd brown patches or water rings on your ceiling, you know just how good stains are at poking through even the best paint. A decent stain blocking primer is your secret weapon against these stubborn marks. These primers work a bit like a shield, stopping old stains and preventing new ones from bleeding through after you paint. They’re also great for musty smells or nicotine spots from previous owners, something not uncommon in older Orlando homes.
Here’s what to think about when picking a primer for ceiling work:
- Choose between oil-based and water-based primers—oil-based is tougher on deep stains, but water-based is easier to clean up and has less odor.
- Drying time matters, especially in humid conditions; some need at least an hour, others set much faster.
- Look for a product labeled for mold and mildew resistance, since our local weather tends to encourage both.
| Primer Type | Stain Coverage | Odor | Cleanup |
|---|---|---|---|
| Oil-based | Excellent | Strong | Solvents |
| Water-based | Good | Low | Soap/water |
| Shellac-based | Outstanding | Very High | Alcohol |
For the best results, always patch test your primer on a small spot before going all in. That little bit of extra effort can help avoid headaches down the line, and you’ll notice a genuinely cleaner, brighter look up top.
If you’re looking for cost-effective tips or want more info on how local pros handle stubborn stains, don’t miss reading up on the benefits of working with licensed Orlando painters.
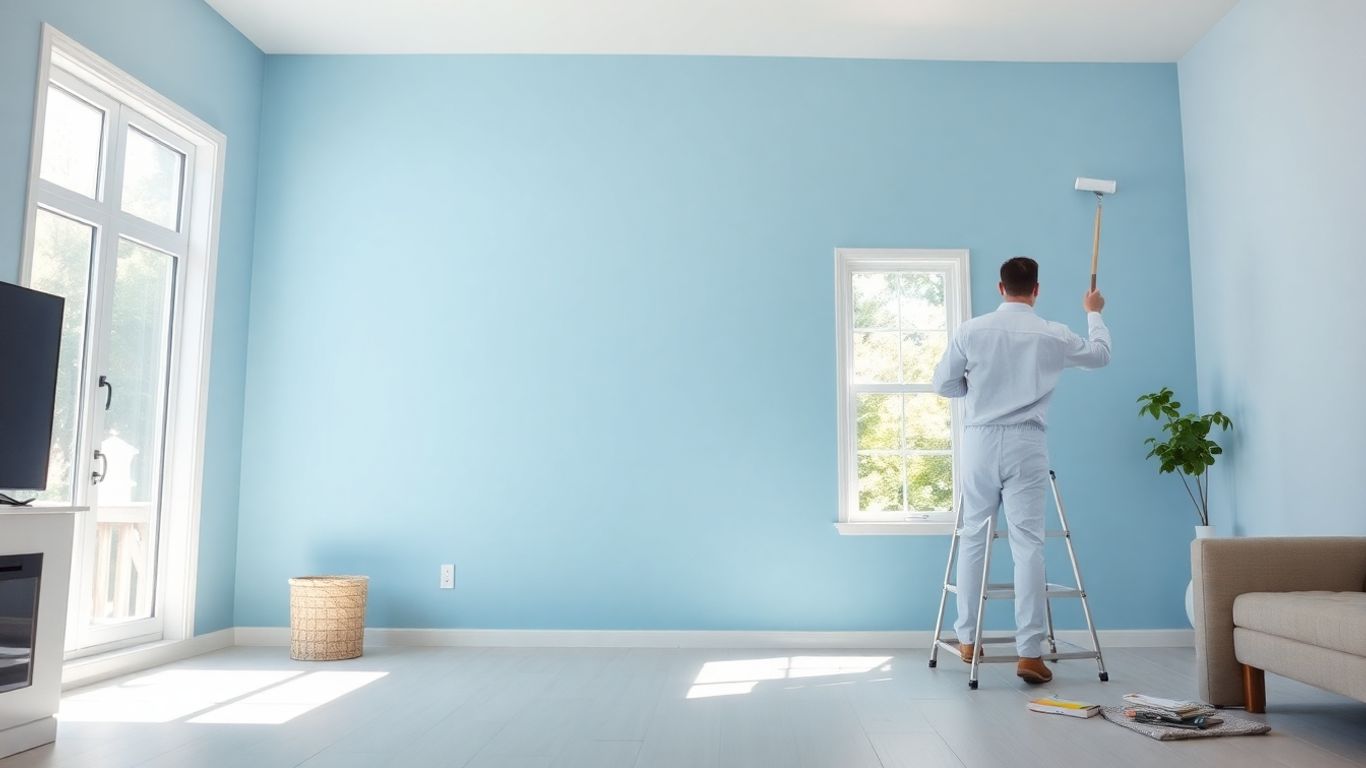
Low-VOC Paints
Let’s talk about Low-VOC paints and why you’d want to pick them for ceiling projects in Orlando. VOCs are those tiny chemicals in some paints that make the paint smell strong and can sometimes bother folks who are sensitive to air quality. Going with Low-VOC paints means you’re choosing an option that gives off fewer of these chemicals, making it safer to breathe during and after painting.
Here’s what you’ll notice when you use Low-VOC paints:
- Less lingering odor hanging around your living room or bedroom
- A friendlier choice for households with allergies or respiratory issues
- Options designed for humidity, so mold and mildew are less likely to show up on your ceiling
- Easier cleanup, as most Low-VOC paints are water-based
If you’re comparing paint types for your home, here’s a quick snapshot:
| Paint Type | VOC Level | Odor Strength | Humidity Resistant |
|---|---|---|---|
| Standard | High | High | Varies |
| Low-VOC | Low | Low | Often Yes |
| Zero-VOC | Very Low | Very Low | Often Yes |
The right paint really matters. Even if it costs a bit more, improved air quality is usually worth every penny, especially in a climate like ours.
Sometimes, it can be tough picking which brand or contractor has the right Low-VOC options. If you’re not sure where to look, reading honest local reviews is a handy way to see what other Orlando homeowners have chosen. That way, you’re not just guessing in the aisle at the hardware store.
Textured Ceilings
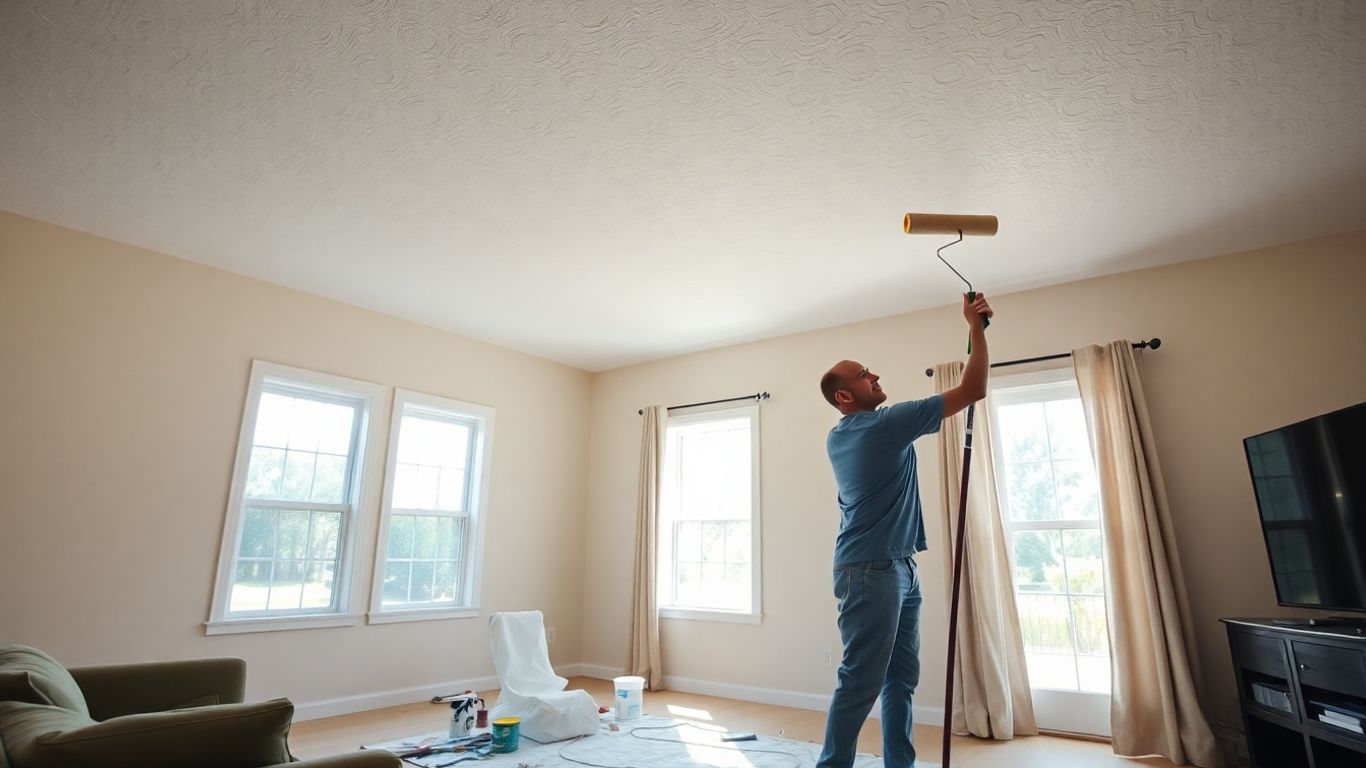
Painting a textured ceiling is a whole different ballgame compared to a smooth ceiling. Those bumps and swirls can make getting an even coat tricky, especially if it’s your first time painting overhead. The big thing to remember is that textured ceilings need products and tools that really get into all those nooks and crannies.
Here’s what helps most when painting a textured ceiling:
- Pick a roller with a thick nap (usually ¾ inch or even thicker). The thicker the nap, the easier it is to cover every little bump.
- Always use slow, steady strokes—rushing means you’ll miss spots or flatten the texture.
- For repairs before painting, patch up loose spots or big cracks with a bit of joint compound. Let it dry completely or the paint job can go sideways fast.
A quick table to help pick your roller cover:
| Texture Type | Recommended Nap Size |
|---|---|
| Light/Knockdown | 3/8" – ½" |
| Popcorn | ¾" – 1½" |
| Heavy Swirls | 1" – 1¼" |
If you’ve never painted a textured ceiling, it’s messier than you’d expect—those little peaks tend to rain bits of old paint and dust right down on you.
If you’re having trouble, it could help to look into more detailed tips for tools and prep, like the ones found by updating your browser experience for better tool compatibility and online guides. Don’t forget to let each coat dry fully before considering a second—textured ceilings take longer than you think to dry out completely.
Humidity Control
Humidity can be a surprise troublemaker when painting ceilings in Orlando. High moisture levels in the air make paint dry slower and can even cause it to bubble or peel later on. So, taking steps to manage the humidity inside your home before and during painting can save you a huge headache down the road.
Here’s what works best:
- Run the air conditioner or a dehumidifier a few hours before you start painting, and keep them going as needed.
- If the weather allows, open a few windows for airflow—but only if it’s not muggy outside.
- Try to paint during drier periods, like mid-morning or early afternoon, instead of right after those classic Orlando summer downpours.
| Humidity Level | Painting Suitability |
|---|---|
| Under 55% | Great – paint dries evenly |
| 55–70% | Acceptable, but be watchful |
| Above 70% | Avoid painting, too damp |
Take the time to check your home’s humidity with a low-cost meter—you’ll be surprised at how much it changes, even within a day.
If you want more tips on getting your home ready, it’s smart to start by defining your project scope and planning from there, even for something seemingly small as ceiling paint.
Drop Cloths
Painting the ceiling sounds simple until you realize just how much mess one little drip can make. Drop cloths are a real lifesaver when it comes to keeping your floors, furniture, and everything else below your ceiling safe from paint splatters. Whether you’re tackling a quick refresh or a bigger project, having the right drop cloth saves a lot of cleanup stress.
Here’s a quick look at the main types of drop cloths you might want to consider:
| Drop Cloth Type | Pros | Cons |
|---|---|---|
| Canvas | Reusable, absorbs paint | Heavier, more expensive |
| Plastic | Cheap, waterproof | Slippery, not reusable |
| Paper | Cheap, disposable | Tears easily, single use |
Some tips for using drop cloths the smart way:
- Make sure drop cloths completely cover the area under your work zone.
- Tape down the edges so no one trips over them (especially pets or kids).
- If you’re moving ladders, shift the cloth before you climb—paint finds even the smallest gaps!
Taking a minute to set up your drop cloth is soooo much easier than scrubbing paint out of carpet later. Take it from someone who’s been there—it’s worth the extra step.
Painter’s Tape
Painter’s tape is a real game-changer when you’re working on your ceiling. It’s not just about keeping your lines sharp—it’s about cutting down on cleanup and stress. In Orlando, those edges around crown molding, ceiling fans, and recessed lights can be especially tricky to keep neat. You don’t want to spend your Sunday afternoon scraping stray paint off trim with your fingernail, right?
Here’s how I always tackle taping before ceiling painting:
- Make sure the surface is dry and dust-free before you stick down the tape.
- Press the tape down firmly along the edge, using a putty knife if needed, to prevent drips from slipping underneath.
- When you’re done, don’t let the tape sit too long—peel it off slowly while the paint’s still a little tacky to avoid tearing or peeling paint.
Pro tip: if you’re having trouble getting a good seal, there are some user feedback tips out there that can help with tape choices and application tricks.
For most folks, taking the time to tape carefully at the start will save loads of hassle later, especially if your hand’s not the steadiest.
Painter’s tape isn’t just for perfectionists—it’s practical, saving you time, frustration, and maybe even an argument or two over accidental paint splatters.
Cut-In Brushes
Cut-in brushes are those angled brushes you see at hardware stores, usually hiding next to the rollers. They’re not fancy, but boy, do they make painting along ceiling edges a lot easier—especially here in Orlando where A/C vents and textured crown moldings are everywhere and a steady hand can only do so much. If you want those sharp lines between your ceiling and wall, grab a cut-in brush instead of just relying on tape.
Here’s why these brushes matter:
- The angles on the bristles help you keep a straight edge, even on wobbly ladders.
- They fit in tight corners where a roller just won’t reach.
- You waste less paint compared to using big rollers on the edge.
A good cut-in brush will save you time, reduce mess, and give a cleaner finish than trying to freehand with a regular brush. If you’re painting ceilings in commercial spaces, consider that cut-in brushes also matter for touch-ups when UV-resistant paint is used. Not all cut-in brushes are the same, so don’t buy the cheapest; spend a bit more and cleaning up those lines will be easier.
If you have steady hands, a cut-in brush feels like cheating—it’s so much easier to paint a clean line without stressing over tape pulling paint off your new ceiling later.
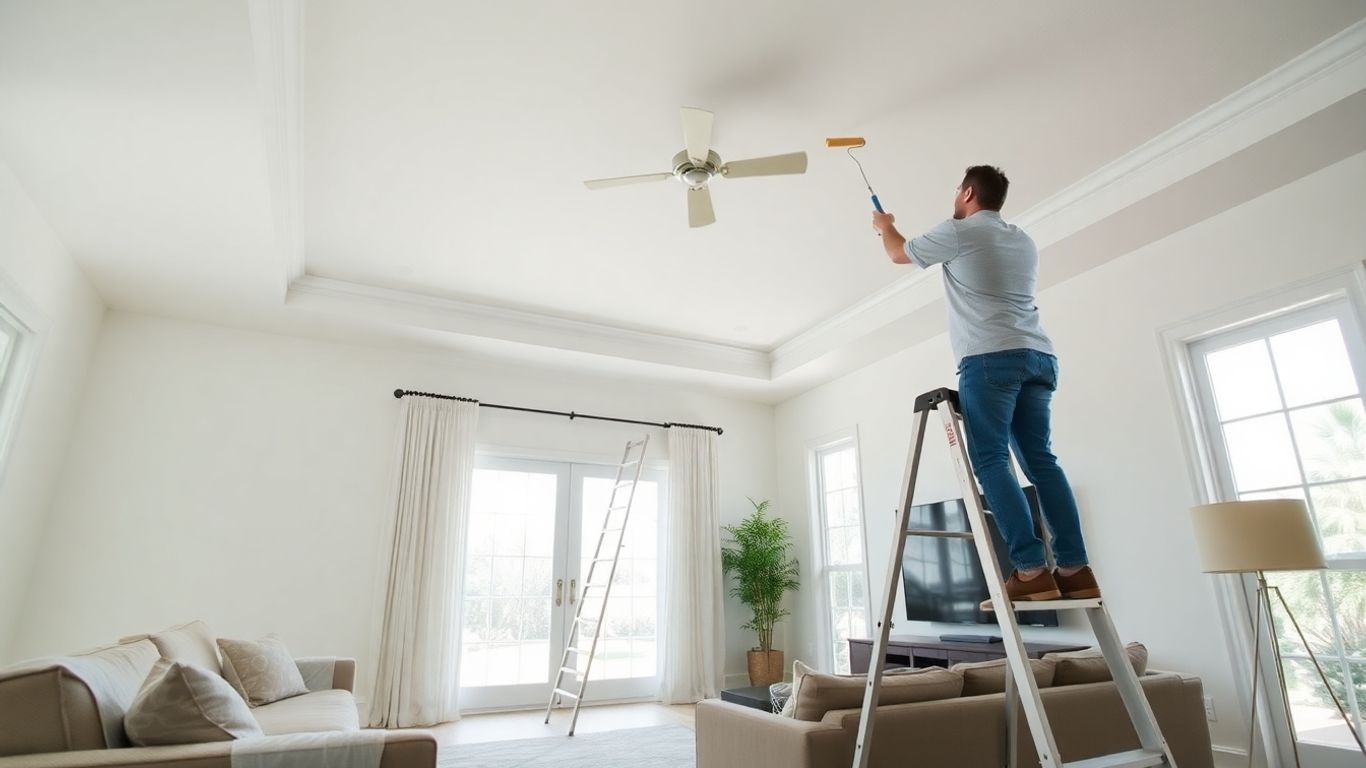
Extendable Rollers
When you’re painting a ceiling, it doesn’t take long for your arms and neck to feel the burn. That’s why extendable rollers are kind of a game-changer. They let you reach every bit of your ceiling without needing to balance on a ladder every two minutes.
Let’s check why they’re worth it:
- You can stand on solid ground and still reach high or vaulted ceilings.
- The roller covers more space, so you finish the job faster.
- Less up-and-down reduces mess and cleanup (your paint tray stays put!).
Here’s a quick table showing roller pole lengths versus ceiling heights:
| Roller Length | Ideal Ceiling Height |
|---|---|
| 2–4 feet (compact) | 8–9 feet |
| 4–8 feet (medium) | 10–12 feet |
| 8–12 feet (long) | Vaulted/High rooms |
Using an extendable roller also means less back-and-forth for supplies or worrying about wobbly ladders. It’s just easier, especially if you don’t paint ceilings all the time.
Honestly, if you want the job done right, without climbing gymnastic feats, grab an extendable roller. Your muscles will thank you—and you’ll probably finish a lot faster, too.
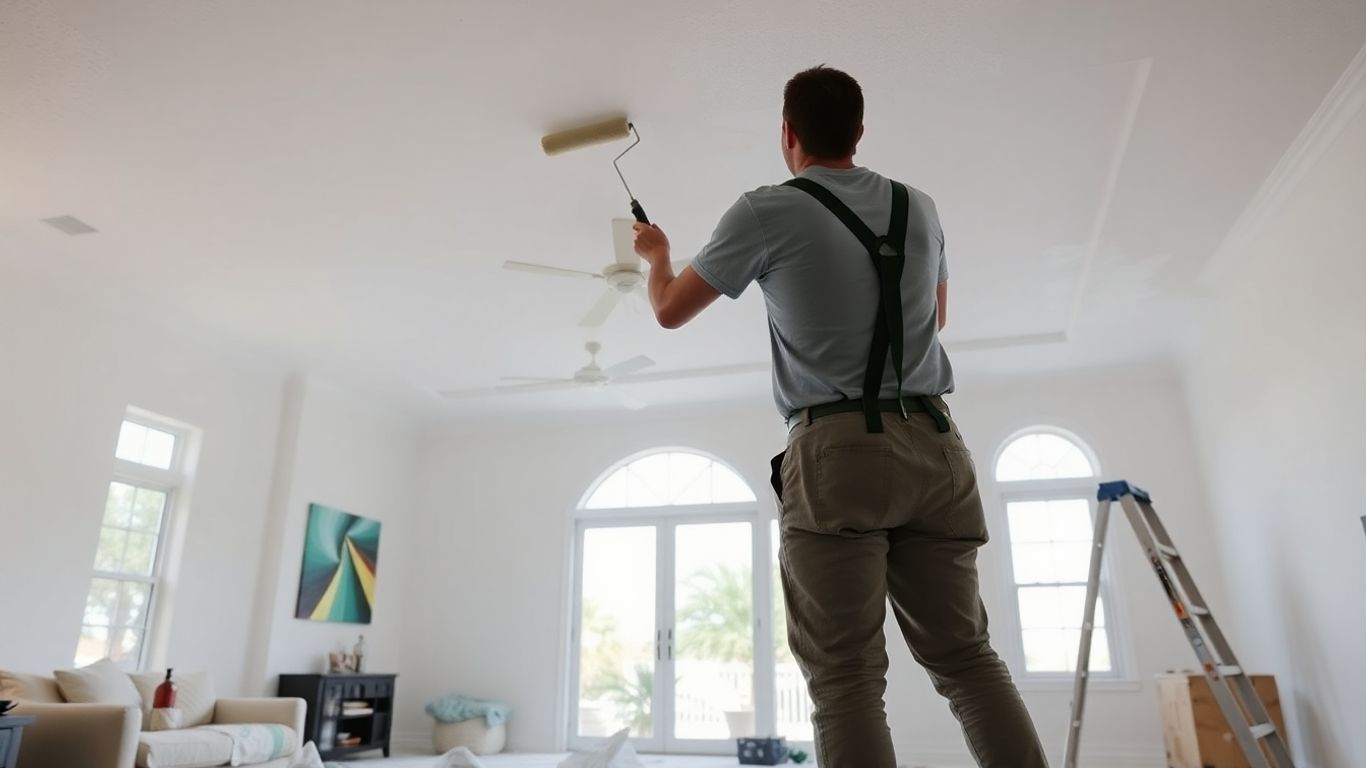
Proper Ventilation
Breathing in paint fumes is no fun for anyone, especially if you’re working on a ceiling in a Florida home where the air can get thick. Good airflow keeps your workspace safer and helps your freshly painted ceiling dry faster and smoother.
Here’s how to keep the air moving while you paint:
- Open windows and doors on opposite sides of the room to get a cross breeze going.
- Set up a box fan facing out of a window to help push fumes outside.
- If you have ceiling fans or portable fans, turn them on to circulate the air, but keep them pointed away from freshly painted surfaces.
It can be tempting to skip this step, especially on a warm, humid day, but taking a few minutes to think about airflow makes the experience more comfortable and keeps strong paint smells from building up.
Keeping air moving while painting keeps you more comfortable and helps paint stick better to the ceiling.
If you run into any trouble keeping fresh air moving, there are lots of troubleshooting options and feedback tips you can try without slowing down your progress.
Letting fresh air move through your space is really important when painting. It helps paint dry faster and makes sure you aren’t breathing in strong smells. Want to keep your home safe while painting? Check out more tips and get a free quote from us on our website today!
Wrapping Up: Ceiling Painting Made Simple in Orlando
So, there you have it—some straightforward tips to help you tackle ceiling painting in Orlando. It might seem like a big job at first, but with a little patience and the right prep, you can get it done. Remember, the Florida humidity can make things tricky, so don’t rush the drying time. If you ever feel stuck or just want a pro to handle it, The Awesome Painting Services is always here to help. We’ve painted more ceilings than we can count, and we know what works best for homes in Orlando. If you want to chat about your project or get a free quote, just head over to our website: https://theawesomepaintingservices.com. Happy painting!
Frequently Asked Questions
How do I get my ceiling ready for painting?
Start by removing dust and cobwebs with a broom or vacuum. Patch any holes or cracks with spackle, then sand the spots smooth. Make sure the ceiling is dry and clean before you start painting.
Why should I use a stain-blocking primer?
A stain-blocking primer helps cover up old stains, water marks, or smoke spots. It also helps the new paint stick better, making your ceiling look fresh and clean.
What is low-VOC paint, and why is it important?
Low-VOC paint has fewer chemicals that can harm your health or make the air smell bad. It’s safer for your family and better for the environment, especially when painting inside your Orlando home.
How do I paint a textured ceiling?
Use a thick-nap roller or a spray gun to cover all the bumps and grooves. Take your time and use even strokes for the best results. If you’re not sure, The Awesome Painting Services can help with textured ceilings.
Do I need to worry about humidity when painting in Orlando?
Yes, high humidity can make paint dry slower or cause it to drip. Try to paint on days when it’s less humid, or use fans and open windows for better airflow. Our team at The Awesome Painting Services always checks the weather before starting a job.
What tools do I need for ceiling painting?
You’ll need drop cloths to protect your floors, painter’s tape for clean edges, cut-in brushes for corners, and extendable rollers to reach high spots. If you want the job done right, you can always call The Awesome Painting Services for help.

