
The Ultimate Guide to House Painting: Tips and Tricks for a Stunning Finish
Thinking about a fresh coat of paint for your home in Orlando? You’ve come to the right place. Whether you’re looking to brighten up your living room or give your home’s exterior a much-needed facelift, proper house painting is key. At The Awesome Painting Services, we know that a great paint job makes all the difference. We’re here to share some tips and tricks to help you get a stunning finish, making your Orlando home look its absolute best. Let’s get started on your next painting project!
Key Takeaways
- Planning is super important for any house painting job. Think about colors, how much paint you’ll need, and what you can spend before you even buy a can.
- Getting the surfaces ready is a big deal. Cleaning and fixing any cracks or holes first means your paint will stick better and look smoother.
- Picking the right tools, like brushes or rollers, and knowing how to use them makes a difference in how the paint goes on.
- For the outside of your home, you need paint that can handle Florida’s weather. This protects your house and keeps it looking good.
- Keeping your painted walls clean and doing small touch-ups when needed will help your paint job last a lot longer.
Planning Your House Painting Project
Getting ready to paint your house can feel like a big job, but a little planning goes a long way. It’s not just about picking a color and slapping it on the walls. Thinking things through beforehand can save you time, money, and a whole lot of headaches down the road. A well-planned painting project is the first step to a beautiful, lasting finish.
Choosing the Right Colors for Your Home
Picking colors is one of the most fun parts, but it can also be tricky. What looks good on a tiny paint chip might be totally different on a large wall. Think about the mood you want to create in each room. Do you want something calming for the bedroom, or energetic for the kitchen? Consider the light in the room too – natural light and artificial light can change how a color appears. It’s a good idea to get some sample pots and paint swatches on your walls. Live with them for a few days, looking at them at different times of the day before you commit.
Estimating Paint Quantities for House Painting
Running out of paint mid-project is a pain. You want to buy enough, but not so much that you have gallons left over. A good rule of thumb is to figure out the square footage of the area you’re painting. Most paint cans will tell you how many square feet they cover. Remember that you’ll likely need two coats for good coverage, especially if you’re changing colors significantly. Don’t forget to factor in trim and any other areas that might need a different color or finish.
Here’s a simple way to get a rough idea:
- Measure your walls: Multiply the length of each wall by its height to get the square footage for that wall. Add up the square footage for all walls.
- Subtract windows and doors: Measure the area of any large windows or doors and subtract that from your total wall square footage. You don’t need to paint these!
- Calculate paint needed: Divide your final square footage by the paint’s coverage rate (usually found on the can). This gives you the gallons needed for one coat. Multiply by two for two coats.
Always buy a little extra paint. It’s super helpful for touch-ups later on, and you won’t have to worry about trying to match a color that might have been discontinued.
Setting a Realistic Budget for Your Project
Painting can range from a cheap DIY job to a pricey professional one. You need to figure out what you can spend. Your budget will influence whether you do it yourself or hire painters, the quality of the paint you buy, and if you need to rent any special equipment. Don’t forget to include costs for supplies like brushes, rollers, tape, drop cloths, and any repair materials you might need. It’s better to overestimate slightly than to run short of cash halfway through. You can always adjust your spending if you find good deals or decide to cut back on certain items.
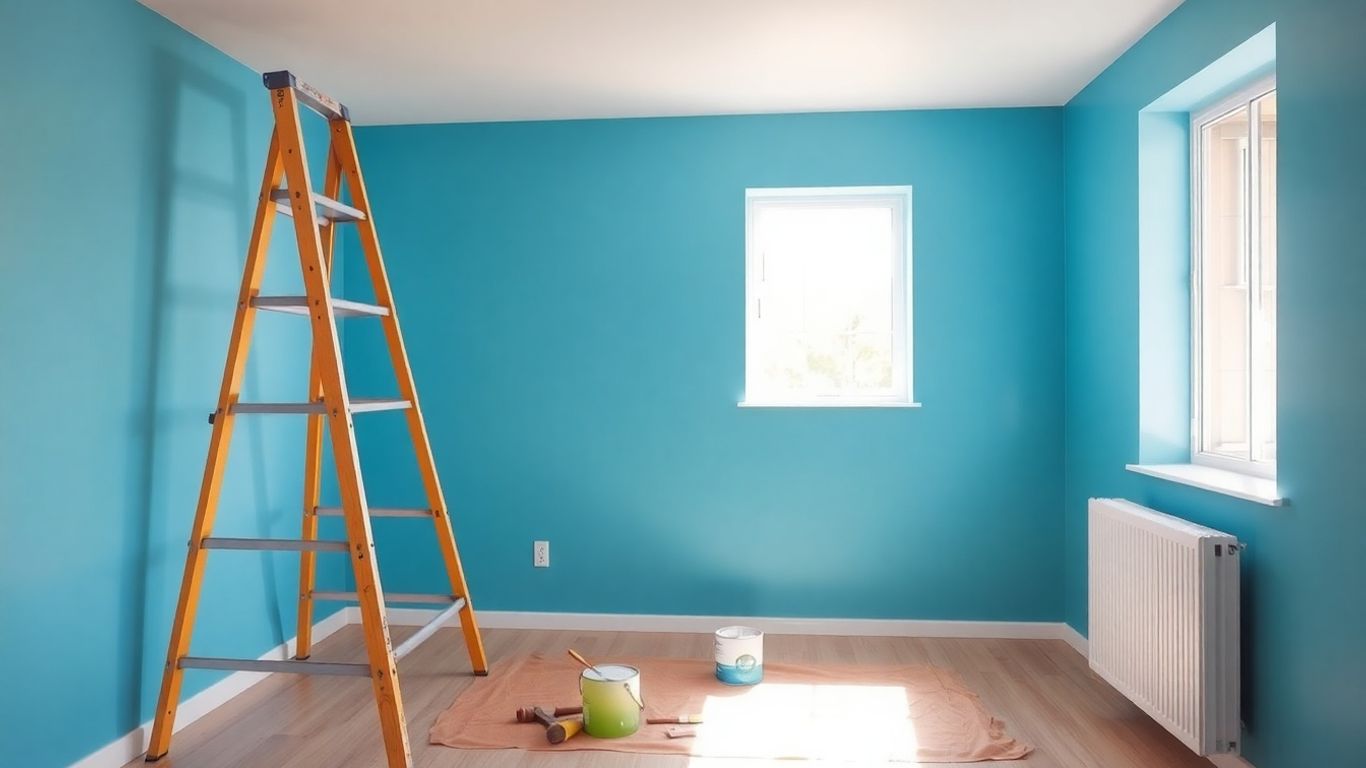
Preparing Surfaces for a Flawless Finish
Alright, let’s talk about getting your walls ready for paint. You might be tempted to just slap some color on, but trust me, the prep work is where the magic really happens. A smooth, clean surface is the secret to a paint job that looks professional and lasts. Skipping these steps is like building a house on sand – it just won’t hold up.
The Importance of Proper Surface Cleaning
Think of cleaning your walls like washing your face before putting on makeup. You wouldn’t skip that, right? Dust, grime, grease, and cobwebs can all get in the way of paint adhesion. If you paint over dirt, the new paint might peel or bubble later on. Plus, you’ll see every little bump and imperfection magnified under the new coat.
- Dust and Cobwebs: A good sweep with a soft brush or a vacuum cleaner attachment works wonders.
- Grease and Grime: For kitchens or areas near stoves, a solution of mild detergent and water is your best friend. A sponge or soft cloth will do the trick.
- Mildew: If you spot any mildew, especially in bathrooms or damp areas, you’ll need a specific cleaner. A mix of one part bleach to three parts water is often recommended, but always test in an inconspicuous spot first and wear gloves.
Don’t underestimate the power of a good scrub. It might seem tedious, but it makes a huge difference in how the paint settles and looks.
Repairing Imperfections Before Painting
Once your surfaces are clean and dry, it’s time to play fixer-upper. Little holes from nails, cracks, or dents can really show through paint if you don’t address them. Filling these now saves you from having to do touch-ups later.
- Nail Holes and Small Dents: Use a putty knife to apply spackling compound or joint compound. Press it in firmly and smooth it over. Let it dry completely.
- Cracks: For larger cracks, you might need a bit of joint compound. Apply it in thin layers, letting each dry. For very fine cracks, a good primer might be enough, but filling is usually better.
- Peeling Paint: Scrape away any loose or flaking paint with a putty knife or scraper. Sand the edges smooth so they blend into the wall.
After your repairs are dry, give the patched areas a light sanding with fine-grit sandpaper. This helps them blend in with the rest of the wall. Wipe away the dust with a damp cloth.
Priming for Enhanced Durability and Color
Primer is like the foundation for your paint. It helps the paint stick better, covers up stains, and makes sure your final color looks true. It’s especially important if you’re painting over a dark color with a lighter one, or if you’ve made a lot of repairs.
- Stain Blocking: If you have water stains, marker marks, or other tough spots, a stain-blocking primer is a lifesaver.
- Color Change: Painting a light color over a dark one? Primer means you’ll need fewer coats of your top color.
- Adhesion: For tricky surfaces like glossy paint or laminate, a good primer helps the new paint grab on.
Apply primer just like you would paint – with a brush, roller, or sprayer. Let it dry completely according to the manufacturer’s instructions before you start with your main paint color. This whole prep process might add a day or two to your project, but the end result will be so much better, you’ll be glad you did it.
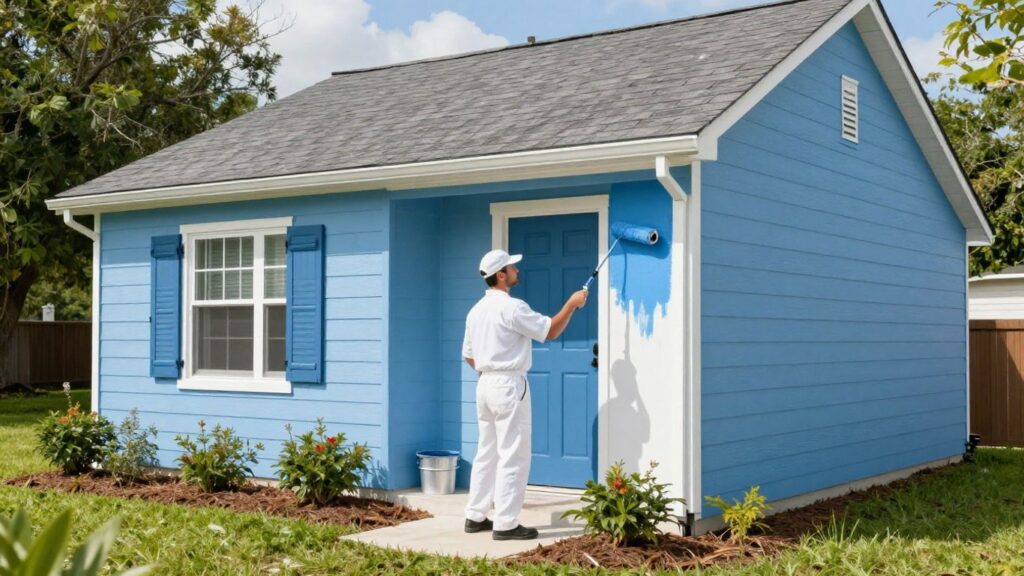
Mastering Painting Techniques
Alright, so you’ve picked out your colors and prepped your walls – awesome! Now comes the fun part: actually putting the paint on. It might seem straightforward, but a few tricks can make a big difference between a ‘good enough’ job and a truly stunning finish. Let’s get into it.
Brush vs. Roller: Which Tool is Best?
This is a question I get asked a lot. Honestly, it’s not really about which one is ‘best,’ but which one is best for the job you’re doing. Brushes are your go-to for detail work, like cutting in around trim, windows, and doors. They give you control. Rollers, on the other hand, are fantastic for covering large, flat areas quickly and evenly. Think walls and ceilings. For most projects, you’ll probably use a combination of both. A good quality brush will hold its shape and apply paint smoothly, while a roller with the right nap length (that’s the fuzzy part) will prevent those annoying roller marks.
Achieving Smooth, Even Coats
Nobody likes seeing lap marks or uneven patches of color. The key to smooth coats is working in sections and maintaining a ‘wet edge.’ This means you always want to overlap your freshly painted area with the next stroke while the previous one is still wet. This helps blend the paint together naturally, avoiding those harsh lines. Don’t overload your brush or roller; too much paint can lead to drips and a messy finish. Instead, apply thin, even coats. It might take an extra coat or two, but the result will be much better than trying to get full coverage in one thick go.
Applying paint too thick is a common mistake. It can lead to sagging, uneven drying, and a finish that’s harder to clean later on. Thin, consistent layers are your friend.
Cutting In Like a Pro
Cutting in is that precise work you do along edges, corners, and around fixtures. It’s where a good brush really shines. Load your brush with paint, but don’t dip it all the way in – just about a third of the way up the bristles. Tap off any excess. Hold the brush at an angle to the wall and use a steady hand. Start a little away from the edge and gently pull the brush towards the trim or corner. You’re aiming for a clean line without getting paint onto the adjacent surface. If you’re worried about mistakes, you can use painter’s tape, but make sure it’s applied firmly and removed while the paint is still slightly wet to avoid peeling.
For those really tricky spots, like around light switches or outlets, a smaller artist’s brush can sometimes give you even more control. It takes practice, but with a little patience, you’ll be cutting in like a seasoned pro in no time. This is where you can really make a difference in the overall look of your painted walls.
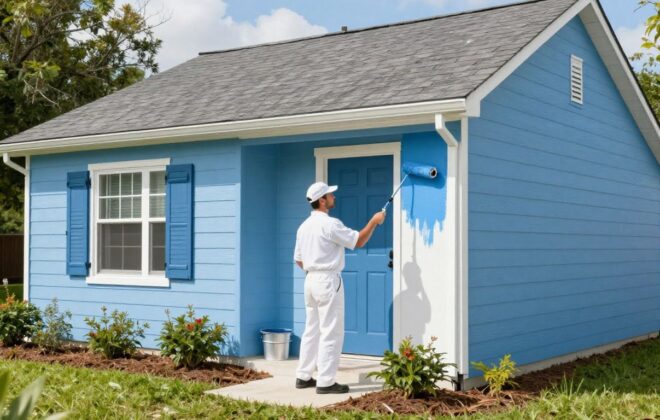
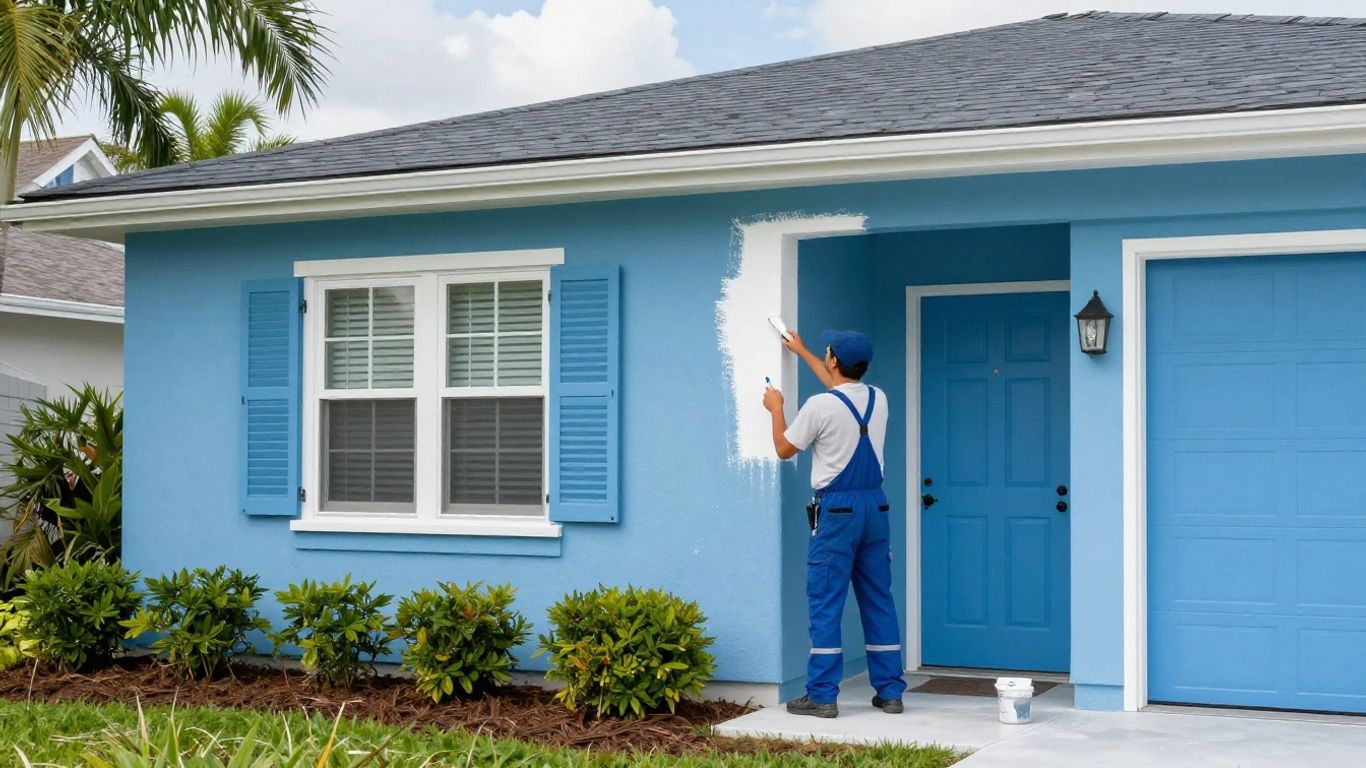
Exterior House Painting Essentials
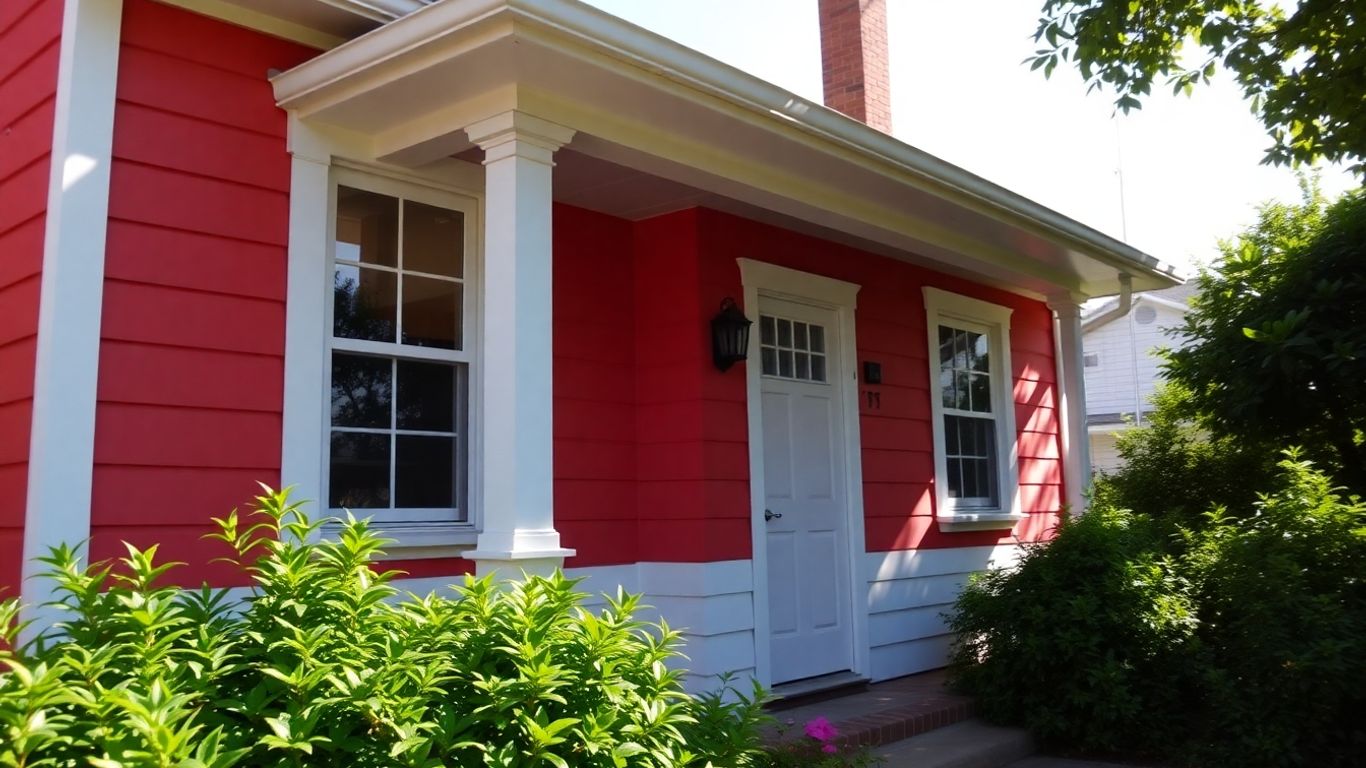
Painting the outside of your house is a big job, but it’s super important for keeping your home looking good and protected. It’s not just about curb appeal, though that’s a big part of it! A good paint job acts like a shield against all sorts of weather.
Protecting Your Home from the Elements
Think about it: your house takes a beating from the sun, rain, snow, and wind all year round. Without a solid coat of paint, moisture can seep into the wood or siding, leading to rot and other damage. UV rays can fade and break down surfaces over time. A well-maintained exterior paint job is your first line of defense. It seals up tiny cracks and gaps, preventing water intrusion and keeping your home’s structure sound. Plus, it just makes the whole place look cared for, which is always a good thing.
Selecting Weather-Resistant Exterior Paints
Choosing the right paint makes all the difference. You’ll want something that can stand up to whatever Mother Nature throws at it. Look for paints specifically labeled for exterior use. These are formulated to be more durable and flexible than interior paints. They need to handle temperature swings without cracking or peeling.
Here are some things to consider when picking your paint:
- Type of Paint: Latex (water-based) paints are popular because they’re easy to clean up, dry faster, and remain flexible. Oil-based paints can be tougher and smoother but are harder to work with and clean.
- Sheen: A satin or semi-gloss finish is often recommended for exteriors. It’s more durable and easier to clean than a flat finish, but not so shiny that it shows every imperfection.
- Quality: Don’t skimp on quality. Higher-quality paints often have better coverage, last longer, and resist fading and mildew more effectively.
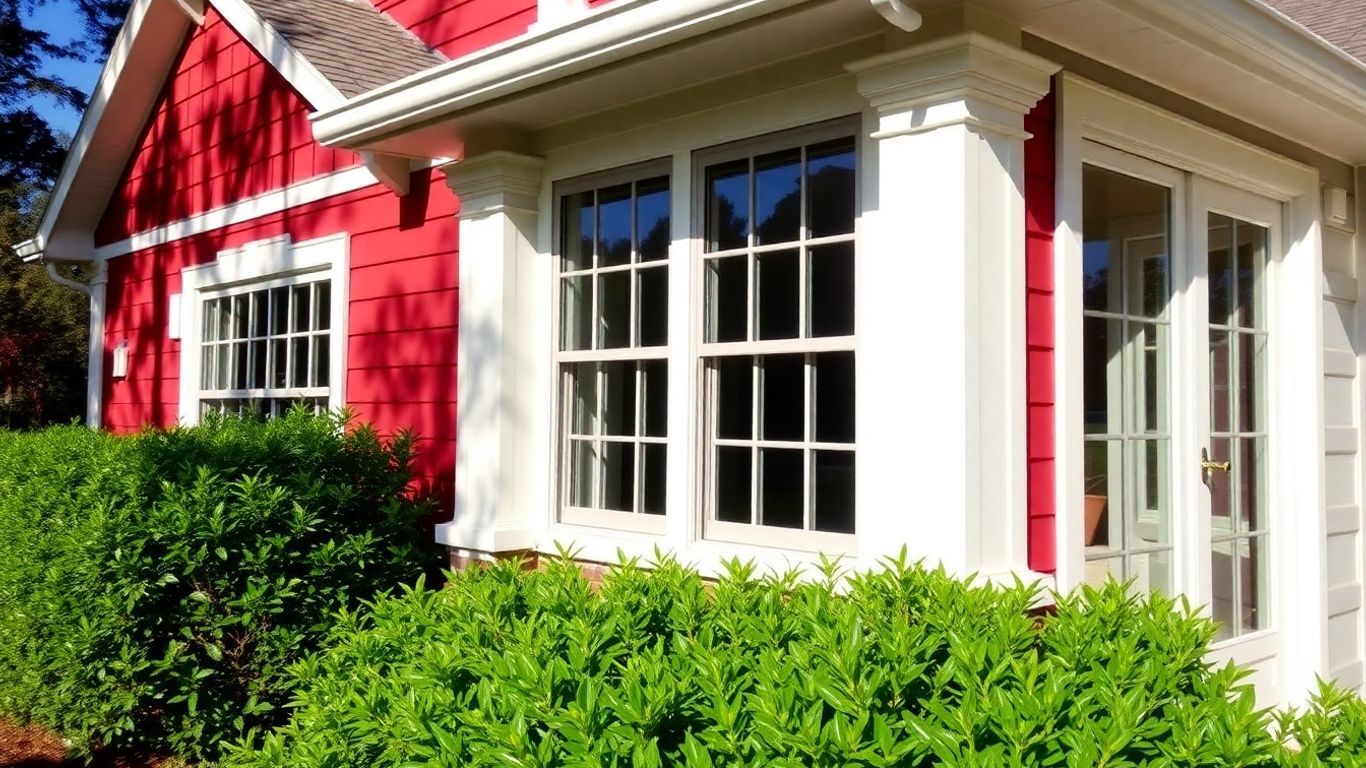
Tips for Painting Siding and Trim
Painting siding and trim requires a bit of strategy. You’ll likely be using both brushes and rollers, depending on the surface.
- Siding: For most siding types, like clapboard or vinyl, a roller can cover large areas quickly. Work in sections, maintaining a wet edge to avoid lap marks. If you have textured siding, you might need a thicker nap roller.
- Trim: This is where your brush skills come in handy. Use a good quality angled brush for clean lines around windows, doors, and corners. Take your time here; sharp trim lines make a huge difference in the final look.
- Preparation is Key: Always make sure surfaces are clean and dry before you start. Scrape away any loose paint, fill cracks, and consider a primer, especially if you’re making a big color change or painting over a problem area.
When painting, always work from top to bottom. This way, any drips or splatters will land on unpainted surfaces, making cleanup much easier. It also helps you avoid getting paint on areas you’ve already finished.
Don’t forget about safety, especially if you’re working on ladders or at heights. Make sure your ladder is stable and have someone spot you if possible. And wear old clothes – exterior painting can get messy!
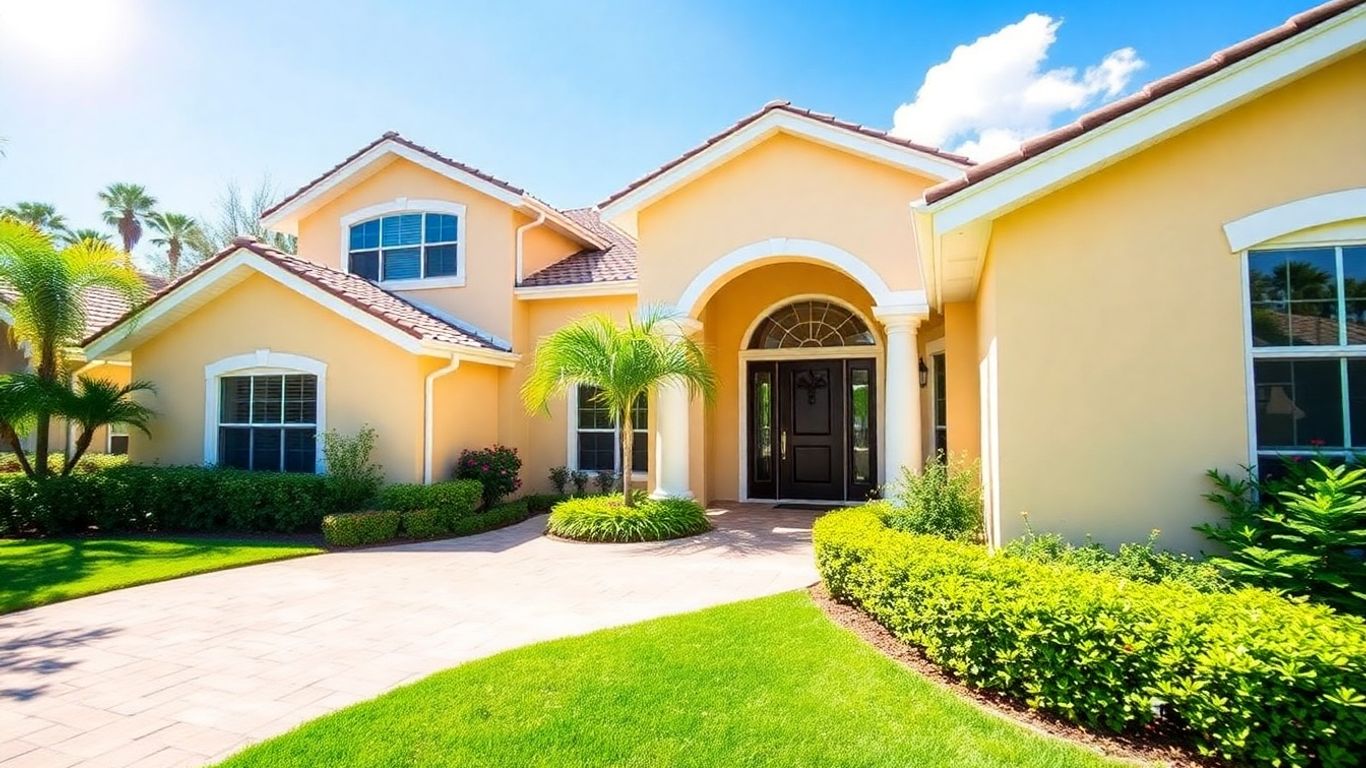
Interior Painting for a Fresh Look
Ready to give your home’s interior a facelift? Painting is one of the most effective ways to change the feel of a room without a huge overhaul. It’s amazing what a fresh coat of paint can do, really. Whether you’re looking to brighten up a dim space, add some personality, or just cover up those old scuff marks, interior painting is your friend.
Transforming Rooms with Color
Color is powerful. It can make a small room feel bigger, a large room feel cozier, or just inject some life into a tired space. Think about the mood you want to create. Blues and greens often bring a sense of calm, while yellows and oranges can feel more energetic and cheerful. Don’t be afraid to experiment, but maybe start with a less-used room if you’re unsure. The right color can completely change how you experience a space.
Here are a few ideas to get you thinking:
- Living Room: Consider calming neutrals for a relaxed vibe, or a bolder color if you want it to be a statement piece.
- Bedroom: Soft, muted tones are usually best for promoting sleep and relaxation.
- Kitchen: Lighter, brighter colors can make the space feel cleaner and more open. Some people even go for darker, dramatic colors for a modern look.
- Bathroom: Think about spa-like colors – light blues, greens, or even a soft gray.
Painting High-Traffic Areas
Areas like hallways, entryways, and kids’ rooms see a lot of action. Paint in these spots needs to be tough. When choosing paint for these zones, look for finishes that are more durable and easier to clean. Satin or semi-gloss finishes are generally better than matte for these areas because they resist scuffs and can be wiped down without damaging the paint.
When cleaning, start gentle:
- Dust the walls with a soft cloth or a vacuum brush attachment.
- For tougher marks, use a sponge dampened with mild soap and water. Work from the bottom up.
- Rinse the area with a clean, damp sponge.
- Dry with a soft, lint-free cloth.
Remember, even the best paint can get marked up. Choosing a paint with a higher sheen and knowing how to clean it properly will make a big difference in how long your paint job looks good.
Creating Accent Walls That Wow
An accent wall is a fantastic way to add visual interest without painting the entire room. It’s a focal point that can really make a statement. You can use a bold color, a different texture, or even wallpaper on just one wall to draw the eye.
Here’s how to approach an accent wall:
- Choose the right wall: Pick a wall that naturally draws attention, like the wall behind your bed, a fireplace wall, or the wall opposite the entrance to the room.
- Select your color/material: Go for something that complements your existing decor but still stands out. It could be a deep jewel tone, a vibrant hue, or even a patterned wallpaper.
- Paint carefully: Use painter’s tape to get clean lines, especially where the accent wall meets the other walls or the ceiling. Take your time with this part; it makes a huge difference in the final look.
Accent walls are a great way to express your style and add a custom feel to any room. They don’t require a lot of paint, making them a cost-effective way to make a big impact.
Maintaining Your Beautifully Painted Home
So, you’ve put in all the work, picked the perfect colors, and now your home looks fantastic. That’s awesome! But the job isn’t quite done yet. Keeping that fresh paint looking good for years to come takes a little bit of care. It’s not rocket science, just some simple habits that make a big difference.
Cleaning Painted Surfaces
Life happens, right? Smudges, dust, maybe a rogue crayon mark from the kids. Regular cleaning is your first line of defense. For most walls, a soft cloth or sponge with a bit of mild soap and water does the trick. Always start gently and work your way up. For tougher spots, you might need a slightly stronger cleaner, but test it in an inconspicuous area first. Avoid abrasive cleaners or scrub brushes, as these can dull the finish or even remove the paint.
Here’s a quick guide for different types of messes:
- Dust and Cobwebs: A dry microfiber duster or a vacuum cleaner with a brush attachment works wonders.
- Light Smudges/Dirt: Damp cloth with a tiny bit of dish soap. Wipe gently.
- Grease/Grime (Kitchens/Bathrooms): A solution of warm water and a degreasing cleaner. Be sure to rinse with a clean, damp cloth afterward.
- Ink/Crayon Marks: Sometimes a magic eraser can work, but use it very lightly and test first. Rubbing alcohol on a cotton ball can also lift some marks.
Touch-Up Tips for Longevity
Even with the best cleaning, some wear and tear is inevitable, especially in high-traffic areas. Having a bit of your original paint on hand for touch-ups is a lifesaver. If you didn’t save any, try to get a color match from the original paint can or a paint store. When you do a touch-up, try to feather the edges of the new paint into the old to avoid a noticeable patch. Sometimes, painting a whole section, like a whole wall or trim piece, is better than just dabbing a small spot.
Small, frequent touch-ups are much easier and less noticeable than trying to fix a large damaged area later on. It’s like patching a small hole in your favorite sweater before it becomes a giant tear.
When to Consider Repainting
Eventually, every paint job reaches the end of its lifespan. How long that is depends on the paint quality, the surface, and how much wear it gets. Generally, interior paint might start looking tired after 5-10 years, while exterior paint has a tougher job and might need attention sooner, especially if it’s exposed to harsh weather.
Look out for these signs:
- Fading: The color looks washed out or uneven.
- Chipping/Peeling: Paint is coming off the surface in flakes.
- Cracking: Small lines appear in the paint film.
- Stains that won’t come clean: Despite your best efforts, some marks are permanent.
If you’re seeing a combination of these issues, it’s probably time to start thinking about a fresh coat. It might seem like a big job, but a new paint job can completely revitalize your home’s look and feel.
Keeping your home’s paint looking fresh and vibrant is key to its charm. Regular cleaning and quick touch-ups can make a big difference in preserving that beautiful finish. For more tips on how to keep your painted walls looking their best, visit our website today!
Ready to Paint Your Orlando Home?
So, you’ve made it through our guide to getting that perfect paint job. Pretty cool, right? Whether you’re tackling a small room or the whole house, remember that a little planning goes a long way. We hope these tips help you get a finish you’ll love for years to come. If all this sounds like a bit much, or if you’re just ready to see what professional Orlando painters can do, give The Awesome Painting Services a shout. We’re here in Orlando, ready to help with your house painting needs, from interior painting in Orlando to giving your whole place a fresh look. Check out our website at https://theawesomepaintingservices.com to see our work and get a free quote. Let’s make your home look awesome!
Frequently Asked Questions
How much paint do I need for my house painting project in Orlando?
Figuring out how much paint you’ll need is pretty important! For house painting in Orlando, we usually figure about 350 to 400 square feet per gallon of paint. It’s always better to have a little extra, just in case. If you’re unsure, the pros at The Awesome Painting Services can help you calculate the exact amount needed for your home. Get a free quote on our website!
What’s the best way to prepare my walls before painting?
Getting your walls ready is key for a great paint job. First, give them a good wash to get rid of dirt and grime. Then, fix any holes or cracks with putty. After that, a coat of primer makes the paint stick better and look smoother. Proper prep ensures your interior painting Orlando project turns out looking amazing, just like the experts at The Awesome Painting Services do it.
Should I use a brush or a roller for painting?
Both brushes and rollers are useful! Rollers are great for covering large, flat areas quickly, giving you that smooth finish. Brushes are perfect for edges, corners, and detailed work. Many Orlando painters, including us at The Awesome Painting Services, use both to get the best results for both interior and exterior painting.
How do I choose the right paint colors for my home in Orlando?
Picking colors can be fun but tricky! Think about the mood you want to create. Light colors can make a room feel bigger, while darker colors can make it feel cozier. Consider the natural light in your Orlando home. You can always get paint samples and test them on your walls. Need help? The Awesome Painting Services offers color consultations to make your house painting in Orlando truly shine.
How long does it take for The Awesome Painting Services to paint a house?
The time it takes can vary a lot depending on the size of your home and how much work is needed. Simple interior painting Orlando jobs might take a few days, while a full exterior house painting project could take a week or more. We always aim to work efficiently while ensuring top quality. Contact The Awesome Painting Services for a personalized estimate!
What’s the difference between interior and exterior paint?
Interior paints are designed for inside, focusing on looks and easy cleaning. Exterior paints are tougher – they need to handle sun, rain, and temperature changes in places like Orlando. They have special ingredients to fight off mold and fading. Using the right type of paint is crucial for a long-lasting, beautiful finish, whether it’s for your walls inside or the outside of your home.