

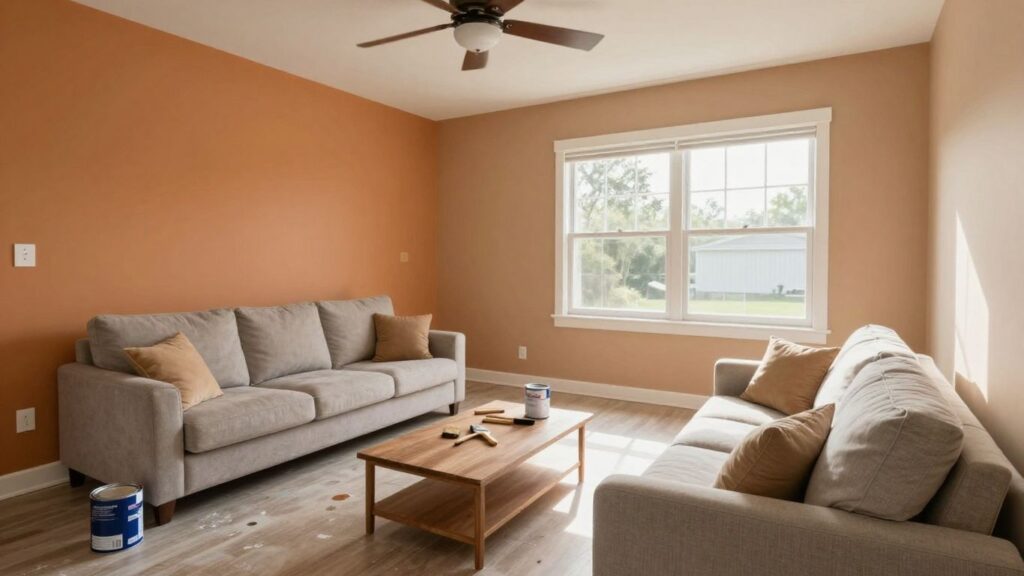
Top Tips for Interior Painting in Orlando Homes
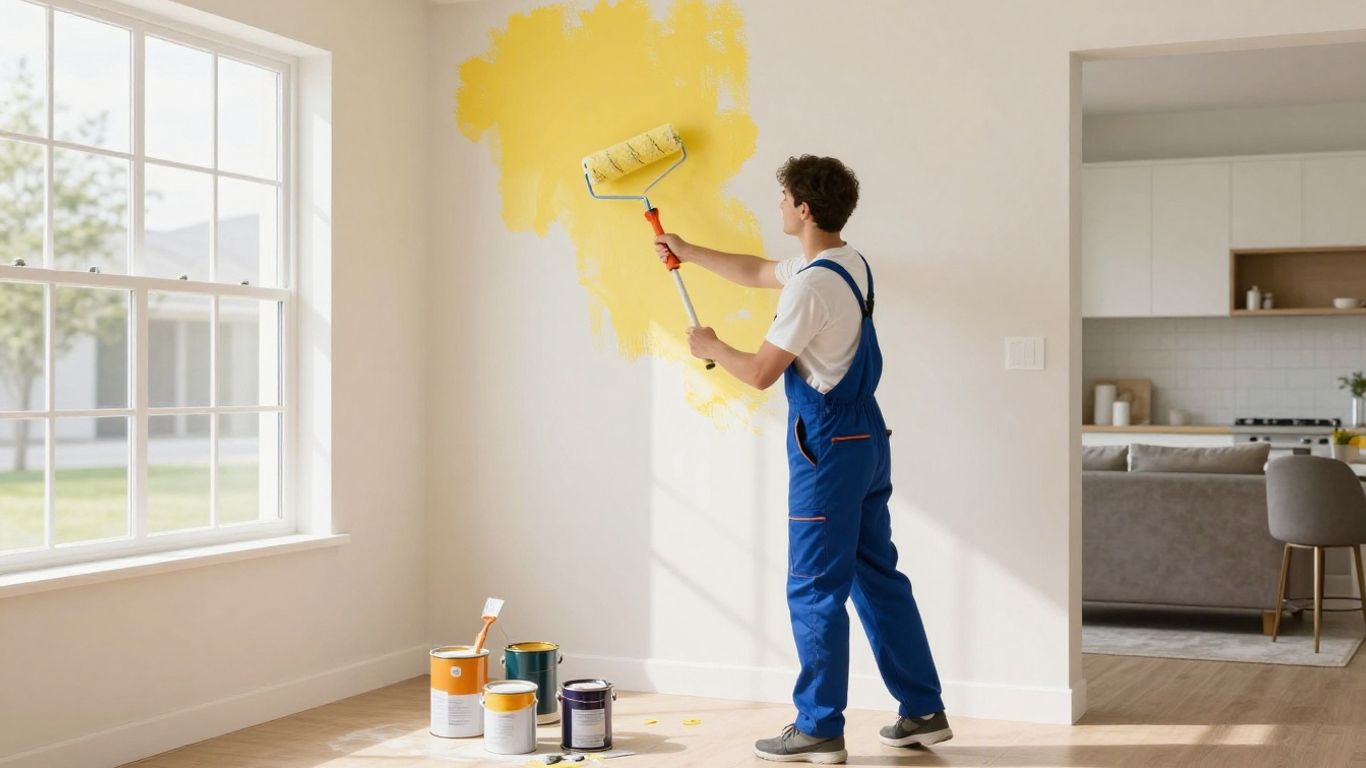
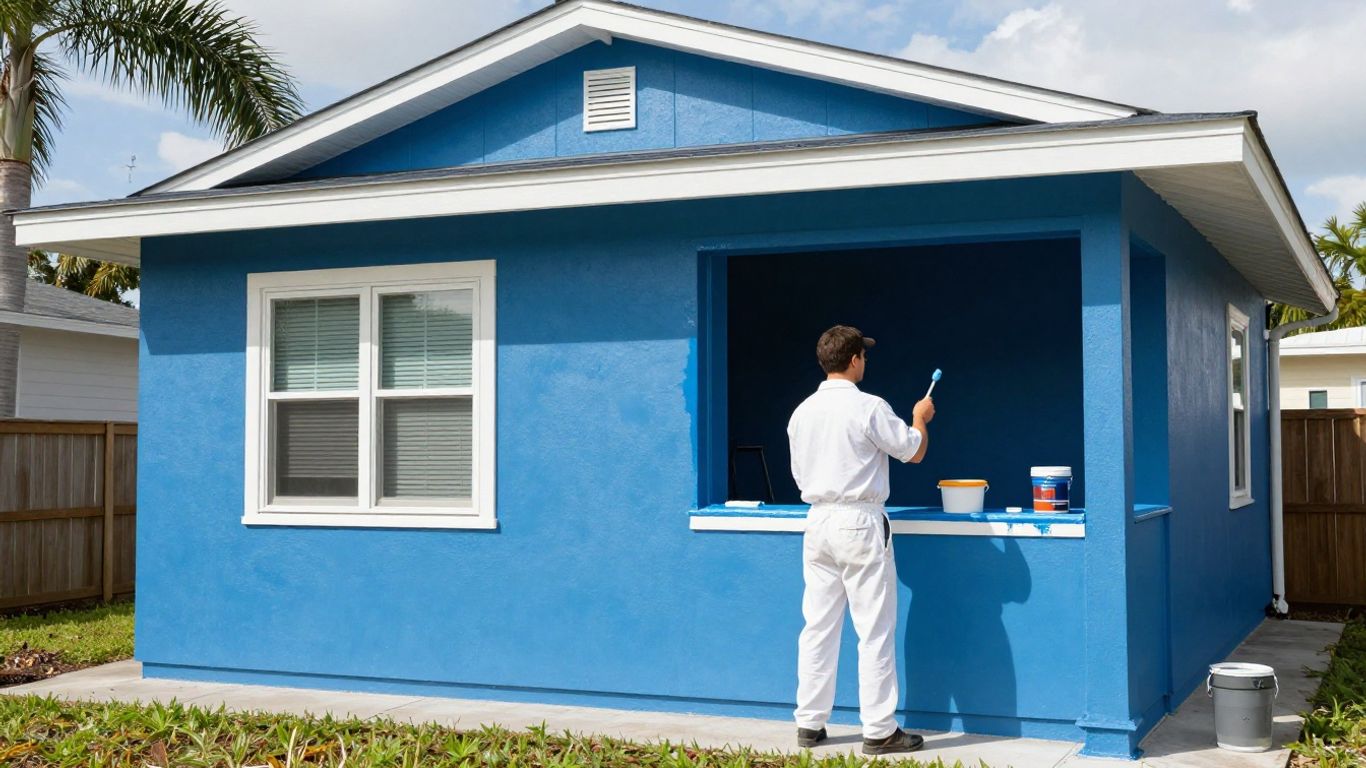
Thinking about tackling some interior painting in Orlando? It’s a great way to freshen up your home, and with the right tools, the job can go much smoother. At The Awesome Painting Services, we know a thing or two about making your house look its best. Whether you’re a DIY enthusiast or just curious about what goes into a professional finish, having the right gear makes all the difference. Let’s look at some items that will help you get that perfect paint job done, whether you’re a homeowner in Orlando or anywhere else.
Key Takeaways
- Using drop cloths is a simple step that saves a lot of cleanup time during your interior painting Orlando project.
- Painter’s tape helps create clean lines, especially around trim and ceilings, for a professional look.
- The right brushes, like angled ones, make cutting in edges and corners much easier.
- Roller covers are best for large wall areas, and choosing the right nap matters for your wall texture.
- Primer is often needed, especially when changing colors drastically, to ensure even coverage and a lasting finish for your interior painting Orlando job.
1. Drop Cloths
Alright, let’s talk about drop cloths. You might think, ‘It’s just a cloth, how important can it be?’ But trust me, in Orlando’s humid climate, where paint can sometimes take a bit longer to dry, protecting your floors and furniture is super important. A good drop cloth is your best friend when painting.
When you’re prepping a room, the first thing you should do after clearing out as much as possible is lay down your drop cloths. Don’t skimp here. You want something that’s not going to let paint seep through to your nice hardwood floors or that comfy sofa.
Here are a few things to consider:
- Material: Canvas is usually the go-to. It’s durable and absorbs spills well. Plastic sheeting can work in a pinch, but it’s slippery and paint can bead up and run off. Plus, it’s not as eco-friendly.
- Size: Make sure you get enough to cover the entire area you’re not painting. It’s better to have too much than too little. Think about covering not just the floor but also any furniture you couldn’t move.
- Weight: A heavier canvas drop cloth will stay put better, especially if you have fans going to help with drying, which is common here in Orlando.
Don’t forget to secure the edges of your drop cloths with painter’s tape, especially in high-traffic areas. This prevents tripping hazards and keeps paint drips from sneaking underneath.
I usually overlap them a bit too, just to be extra safe. It might seem like a hassle to lay them all out, but it saves so much cleanup time later. Seriously, the time you spend protecting your stuff is way less than the time you’ll spend scrubbing paint off your baseboards or trying to get it out of carpet.
And hey, if you’re finding these tips helpful, be sure to Follow us on facebook for more home improvement ideas!
2. Painter’s Tape
Alright, let’s talk about painter’s tape. This stuff is your best friend when you want clean lines, especially around trim, windows, and doors. Getting sharp edges makes a huge difference in how professional your paint job looks. It’s not just about slapping tape down, though. You need to press it on firmly to stop paint from bleeding underneath. I usually run my fingernail along the edge, or even better, use a putty knife to really seal it down.
There are a few types of tape you might run into:
- Blue Tape: This is pretty common and good for most surfaces. It’s usually easy to remove without damaging the paint underneath.
- Green Tape: Often a bit stronger, good for surfaces that might be a little rougher or if you’re leaving it on for a longer time.
- Delicate Surface Tape: This is usually purple or pink and is super gentle, perfect for freshly painted walls or wallpaper.
Remember to remove the tape while the paint is still a little wet. If you wait until it’s bone dry, you risk peeling off some of the new paint along with the tape. It’s a bit of a balancing act, but totally doable. For really tricky areas, like detailed molding, you might need to do some careful cutting in with a brush, but tape handles the bulk of the work. If you’re thinking about hiring pros for your Orlando home, they’ll definitely have their favorite tapes for a perfect finish. Check out local painting services to see what they recommend.
3. Angled Paint Brushes
When you’re tackling those tricky spots, like corners or around trim, an angled paint brush is your best friend. Seriously, these brushes make cutting in so much easier. The angled bristles help you get a clean line right up against edges without getting paint where you don’t want it. It’s all about control, you know?
Here’s why they’re so handy:
- Precision: The angle lets you get into tight spaces and create sharp lines.
- Versatility: Good for both cutting in and painting smaller surfaces.
- Comfort: Many have ergonomic handles, which is nice when you’re painting for a while.
Think about the size too. For most trim and corners in Orlando homes, a 2-inch angled brush is a solid choice. If you’re doing really fine detail work, you might want something smaller, like a 1-inch.
Using a good quality angled brush means less time spent with a rag cleaning up drips and more time admiring your work. It really does make a difference in the final look of your paint job.
4. Roller Covers
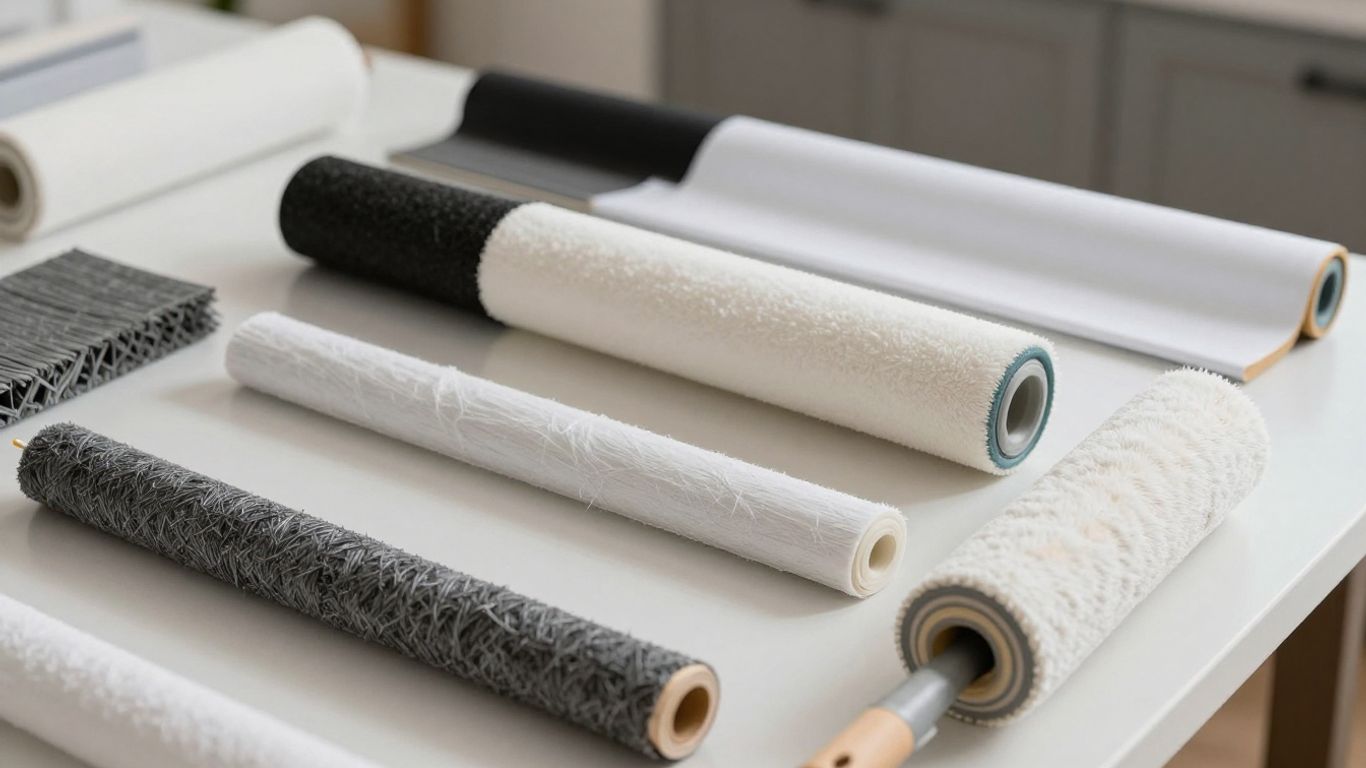
Alright, let’s talk about roller covers. These are the workhorses for getting paint onto your walls and ceilings. Choosing the right one makes a huge difference in how smooth your finish looks and how much time you spend painting.
The nap of the roller cover is super important. This refers to the thickness of the fuzzy material on the roller. For most Orlando homes with standard drywall, a 3/8-inch nap is a good all-around choice. It holds a decent amount of paint and works well on slightly textured surfaces. If you have really smooth walls, you might go with a shorter nap, like 1/4-inch, to avoid any texture marks. For rougher surfaces, like popcorn ceilings or heavily textured walls, you’ll want a longer nap, maybe 1/2-inch or even 3/4-inch, to get into all those nooks and crannies.
Here’s a quick guide:
- Smooth Walls: 1/4-inch nap
- Standard Drywall: 3/8-inch nap
- Textured Walls/Ceilings: 1/2-inch to 3/4-inch nap
When you’re buying, look for covers that are dense and don’t shed a lot of fuzz. You can usually tell by giving them a gentle squeeze. Cheap ones will fall apart on you halfway through the job, which is just frustrating.
Don’t forget to prep your roller covers before you use them! Some people like to wrap them in tape and peel it off to get rid of any loose fibers. Others just give them a quick rinse with water and let them dry. Either way, it helps prevent little bits of fuzz from ending up in your paint job.
And remember, you can often get multipacks, which is handy if you’re doing a big project or want to keep different colors separate. We’ll be sharing some of our favorite painting projects on our feed, so follow us on instagram to see what we’re up to!
5. Extension Poles
Okay, so you’ve got your paint, your brushes, and your tape. But what about those high ceilings or that awkward spot above the staircase? That’s where extension poles come in handy. These simple tools can save your back and make painting those hard-to-reach places a whole lot easier.
Think about it – instead of precariously balancing on a ladder, you can stand comfortably on the floor and reach way up. It’s a game-changer, especially if you’re tackling a whole room or even just a tricky corner. They usually screw right onto the end of your roller frame, giving you that extra reach.
When you’re picking one out, you’ll see a few different types:
- Fixed-length poles: These are straightforward and good if you know exactly how much extra length you need.
- Telescoping poles: These are the most popular because you can adjust the length. Super handy for different jobs.
- Swivel-head poles: Some poles let the roller head tilt, which is great for getting into corners or around trim.
Using an extension pole means you’re less likely to overreach and lose your balance. It also helps you keep a more consistent pressure on the roller, which can lead to a smoother finish. If you’re painting a larger area, like the living room in your Orlando home, investing in a good extension pole is definitely worth it. It makes the job go faster and frankly, it’s just safer. You can find a decent one at most hardware stores, and it’s a tool that will serve you well for many painting projects to come. For a professional finish without the professional price tag, consider looking into painting supplies.
Don’t underestimate the power of a good extension pole. It’s not just about reaching high spots; it’s about control and comfort. A pole allows you to maintain a steady hand and apply even pressure, which is key for avoiding roller marks and getting that smooth, uniform look. Plus, it keeps you further away from the wet paint, meaning fewer accidental drips on your clothes or the floor.
6. Paint Trays
Alright, let’s talk about paint trays. You might think they’re just simple plastic things, but a good paint tray makes a big difference when you’re painting your Orlando home. It’s where your roller gets its paint, so having one that works well saves you a lot of hassle.
The main job of a paint tray is to hold your paint and give your roller a nice, even coat. You don’t want to dip your roller directly into the can; that’s messy and you get too much paint on it. The tray has a sloped area for loading the roller and a flat area for excess paint to drip off. This helps you control how much paint is on the roller, which means fewer drips and a smoother finish on your walls.
There are a few types you’ll see:
- Disposable Liners: These are great because you just toss them when you’re done. No cleaning needed! Perfect for quick jobs or when you’re using a lot of different colors.
- Standard Plastic Trays: These are reusable. You’ll need to clean them out after you’re finished painting. They’re sturdy and can hold a good amount of paint.
- Metal Trays: These are the toughest. They don’t warp and are easy to clean, but they can be a bit heavier.
When you’re picking one out, think about the size of your project. For a small room, a standard tray is fine. If you’re painting the whole house, you might want a bigger one or a couple of them. Also, consider how easy it is to clean. If you hate cleaning, go for the disposable liners!
A good paint tray helps you keep your roller loaded evenly. This means less frustration with drips and sags, and a much cleaner look for your walls. It’s a small tool, but it really helps get the job done right.
7. Canvas Tarps
Alright, let’s talk about canvas tarps. While plastic drop cloths are super common, canvas tarps are a bit of a step up, especially if you’re painting a whole room or dealing with a bigger project. They’re heavier, which means they tend to stay put better, especially if you’ve got a breeze coming through an open window here in Orlando. Plus, they’re reusable, so you can use them again and again. Think of them as a more robust shield for your floors and furniture.
Canvas tarps are great because they absorb spills instead of letting them spread.
Here’s why they’re a good choice:
- Durability: They can handle a lot more wear and tear than thin plastic. You won’t have to worry as much about paint seeping through or the tarp ripping.
- Stability: Their weight helps them lie flat and resist shifting, which is a lifesaver when you’re moving around a lot.
- Absorption: If you do happen to spill some paint, canvas will soak it up, preventing it from running onto your nice floors.
When you’re looking for painting services, maybe check out The Awesome Painting Services in Kissimme, FL on Google Maps. They might have some good insights on the best protection for your home.
Using canvas tarps means you’re investing in protection that lasts. It’s a small thing, but it makes a big difference in keeping your space clean during a painting job. They’re just more reliable, you know?
8. Putty Knives
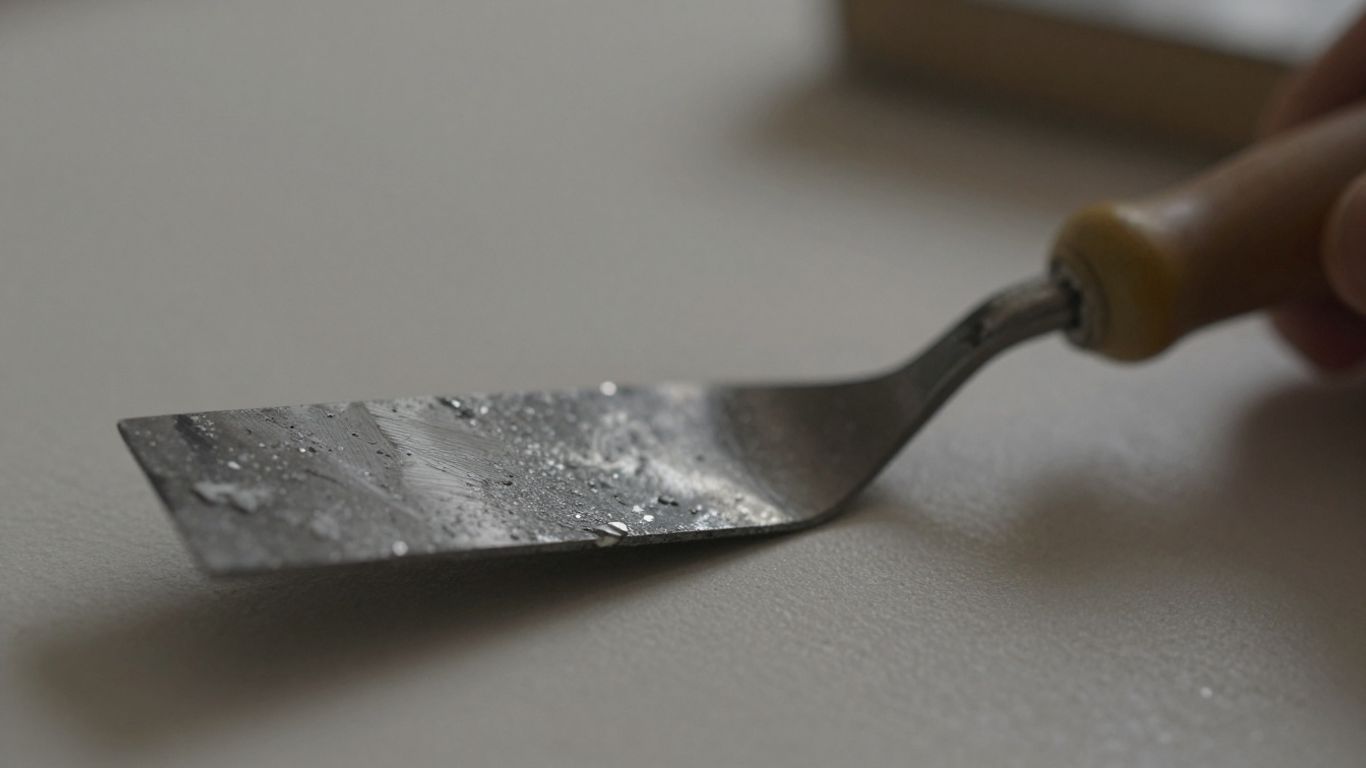
You might not think of a putty knife as a painting tool, but trust me, it’s super handy for getting your walls ready. Before you even think about rolling on that fresh coat, you’ll want to check for any little imperfections. Small cracks, nail pops, or old paint chips can really mess up a smooth finish. That’s where your putty knife comes in.
This simple tool is your best friend for scraping away loose bits and filling in those tiny holes.
Here’s how you can use it:
- Scraping: Gently use the edge of the putty knife to scrape off any flaking or peeling paint. You want a clean surface for the new paint to stick to.
- Filling: For small holes or cracks, you can use a bit of spackle or joint compound. Apply it with the putty knife, smoothing it over the imperfection. Let it dry completely.
- Sanding Prep: After the filler dries, you’ll often need to sand it smooth. The putty knife helps you apply the filler evenly, making the sanding job much easier.
It’s a small thing, but it makes a big difference in the final look. If you’re looking for pros who know all the tricks, check out The Awesome Painting Services in Orlando, FL on Google Maps. They’ve got the right tools and know-how to make your walls look perfect.
Don’t skip the prep work! A little time spent with a putty knife can save you a lot of headaches later on when you see how much better your paint job looks.
9. Sandpaper
Don’t forget about sandpaper! It might seem like a small thing, but it’s super helpful for getting your walls ready for paint. Smooth surfaces mean a smoother paint job.
Before you start painting, you’ll want to check for any bumps, old paint flakes, or rough spots. Sandpaper is your best friend here. It helps knock down those imperfections so your new paint coat looks even and professional.
Here’s a quick rundown on what to use:
- Medium-grit sandpaper (around 100-150 grit): Good for smoothing out minor imperfections or rough patches.
- Fine-grit sandpaper (around 180-220 grit): Perfect for a final touch-up after you’ve done any patching, or for lightly scuffing glossy surfaces so the new paint sticks better.
- Sanding sponges: These are handy because they can get into corners and around trim.
Just give the area a light sanding, then wipe away all the dust with a damp cloth or a tack cloth. You want to make sure there’s no dust left behind before you roll on that fresh coat. It really makes a difference in the final look.
A little bit of sanding goes a long way in making your paint job look like it was done by a pro. It’s all about prepping the surface right.
10. Primer
Primer is one of those things people sometimes skip, but honestly, it makes a big difference, especially here in Orlando with our humidity and sun.
Think of primer as the foundation for your paint job. It preps the surface, making sure your topcoat sticks well and looks even. Without it, you might end up with patchy color or paint that peels off way too soon.
Here’s why you should always consider using primer:
- Coverage: It helps cover up old colors, stains, or marks. This means you’ll likely need fewer coats of your actual paint, saving you time and money.
- Adhesion: Primer creates a surface that paint can really grip onto. This is super important for surfaces that are slick, like glossy paint or certain types of wood.
- Color Consistency: It gives you a uniform base color, so your new paint color shows up true and vibrant, not dulled by what was underneath.
- Problem Solving: There are special primers for specific issues. Got water stains? Mold? Dark colors you want to cover? There’s a primer for that.
When you’re painting over a dark color with a lighter one, primer is your best friend. It blocks out that old color so your new shade looks exactly how it does in the can, not like a muddy version of it.
For Orlando homes, especially if you’re painting rooms that get a lot of sun or are prone to moisture, using a good quality primer can really help your paint job last longer and look better. It’s a small step that pays off big time.
Welcome to our introductory section, "10. Primer." This is where we lay the groundwork for understanding everything that follows. We’ll cover the basics and make sure you’re ready to dive deeper. Ready to see how we can help transform your space? Visit our website today to get a free quote!
Ready to Transform Your Orlando Home?
So, there you have it! Painting your home in Orlando doesn’t have to be a huge headache. With a little planning and these tips, you can get that fresh look you’ve been wanting. Remember, a good paint job makes a big difference, and choosing the right Orlando painters is key. If you’re feeling overwhelmed or just want to make sure it’s done right, the team at The Awesome Painting Services is here to help. We know all about house painting in Orlando and interior painting Orlando, and we’re ready to bring your vision to life. Give us a call or get a free quote today – let’s make your home look amazing!
Frequently Asked Questions
Why is using drop cloths so important for interior painting in Orlando?
Drop cloths are like your painting’s best friend! They protect your floors, furniture, and anything else you don’t want to get paint on. Think of it as a shield. In a sunny place like Orlando, where we love keeping our homes looking fresh, this step is crucial for a clean finish. The Awesome Painting Services always makes sure to use them to keep your space spotless.
How does painter’s tape help with house painting in Orlando?
Painter’s tape is a lifesaver for clean lines. It sticks to edges, like where walls meet ceilings or trim, and prevents paint from bleeding over. This means you get super sharp, professional-looking edges. For any Orlando painters worth their salt, this tool is non-negotiable for a polished look.
What’s the best type of brush for interior painting Orlando projects?
For detailed work and cutting in those crisp lines, an angled paint brush is your go-to. The angle helps you get into corners and around fixtures smoothly. It’s a small tool that makes a huge difference in the final appearance of your walls, and The Awesome Painting Services knows just how to use them.
Why do Orlando painters recommend primer before painting?
Primer is like a foundation for your paint. It helps the new paint stick better, covers up old colors or stains, and ensures a more even, vibrant finish. For any house painting in Orlando, using primer means your beautiful new paint job will last longer and look its best. The Awesome Painting Services often suggests it for the best results.
How can extension poles make interior painting easier?
Extension poles attach to your paint rollers, allowing you to reach high ceilings and large walls without constantly stretching or using a ladder. This makes the job faster and safer, especially for bigger rooms common in Orlando homes. It’s a real game-changer for efficiency.
When should I consider hiring professional Orlando painters like The Awesome Painting Services?
If you’re looking for a flawless finish, want to save time, or are tackling a large project, it’s a great idea to call professionals. We have the experience, tools, and know-how to get the job done right, ensuring your interior painting Orlando project looks amazing and lasts. Plus, we handle all the prep and cleanup!