
Find Top-Rated Painting Services Near Me for Your Home Improvement Project
Thinking about a fresh look for your home? Whether you’re refreshing a single room or planning a whole house makeover, getting the paint right makes a big difference. Finding good painting services near me can seem like a chore, but it’s worth the effort to get a professional finish. Here at The Awesome Painting Services in Orlando, we know that a good paint job not only looks great but also protects your home. Let’s talk about how to make your next painting project a success, from picking colors to getting the job done right by Orlando painters.
Key Takeaways
- Choosing the right paint colors can transform your space, so consider the mood and light in each room.
- Proper wall preparation is key for a smooth, lasting paint finish, involving cleaning, patching, and priming.
- Understanding different interior painting techniques can help achieve various looks, from simple walls to decorative finishes.
- Exterior painting requires attention to weather conditions and surface protection, making professional help often a good idea for house painting in Orlando.
- Hiring professional painters like The Awesome Painting Services can save you time and ensure a high-quality result for your home improvement project.
1. Choosing the Right Paint Colors
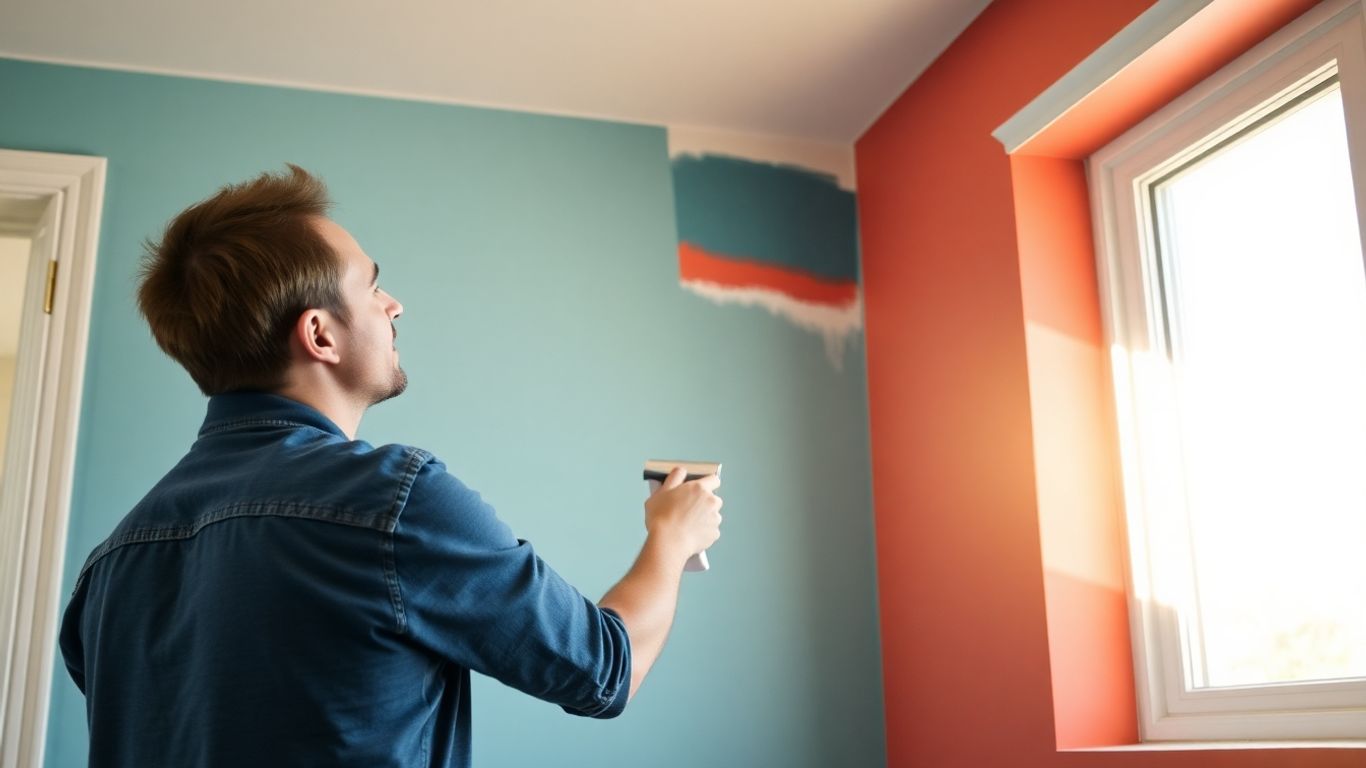
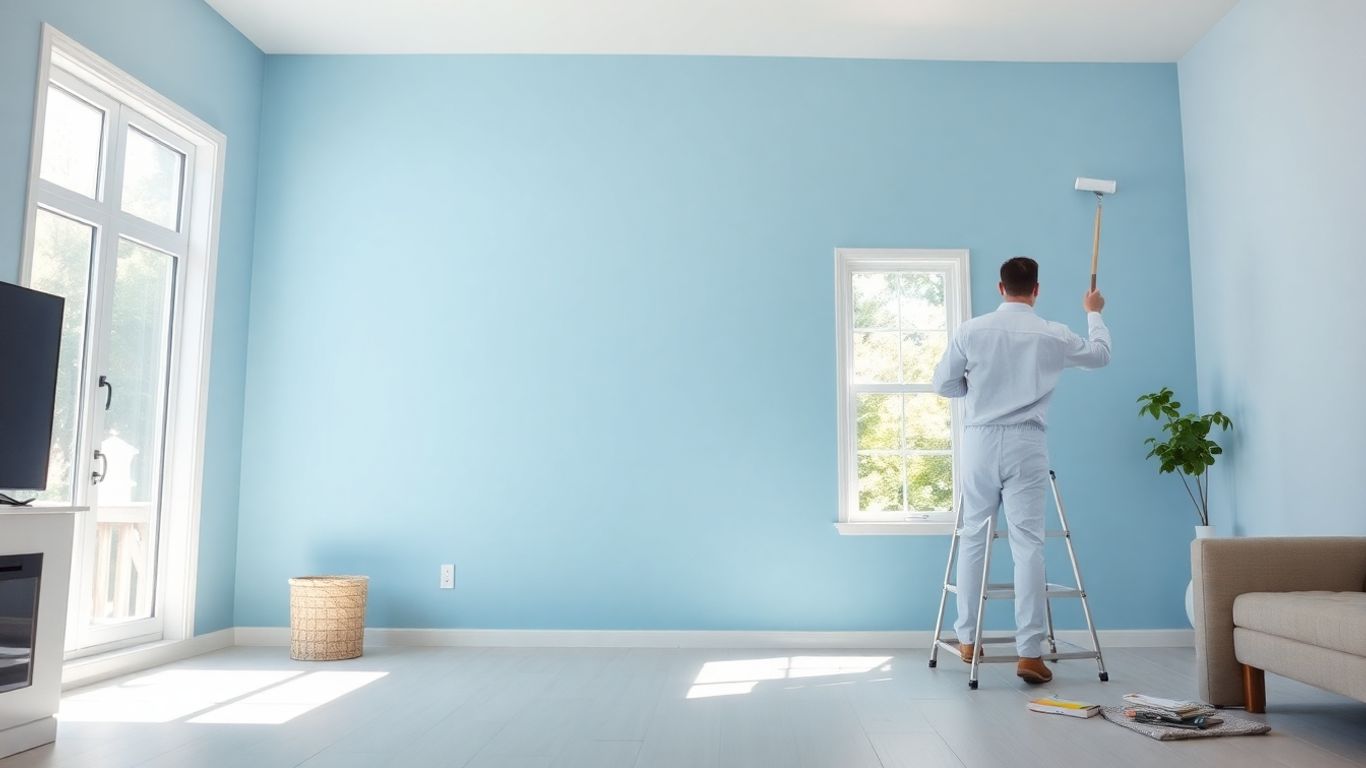
Picking paint colors can feel like a big decision, right? It’s not just about what looks good in the store; it’s about how it feels in your home. Think about the mood you want to create. Do you want a calm bedroom or a lively kitchen? Natural light plays a huge role too. A color that looks bright in a sunny room might seem dark in a space with less light. It’s a good idea to get some paint samples and try them out on your walls before committing. See how they look at different times of the day.
Here are a few things to consider:
- Room Size: Lighter colors can make a small room feel bigger, while darker colors can make a large room feel cozier.
- Existing Elements: Look at your furniture, flooring, and any artwork. The paint color should complement these items.
- Purpose of the Room: A home office might benefit from colors that promote focus, while a living room might call for something more inviting.
Don’t be afraid to experiment with different shades. Sometimes the perfect color is one you didn’t expect.
Picking the right paint color is more than just a trend; it’s about creating a space that feels like you. Consider the overall atmosphere you’re aiming for and how the color will interact with the natural light in your home. Testing samples is a really smart step to avoid any surprises later on.
When you’re ready to find painters who can bring your color vision to life, looking for local professionals is a great start. You can find top-rated painting services near you to help with your project.
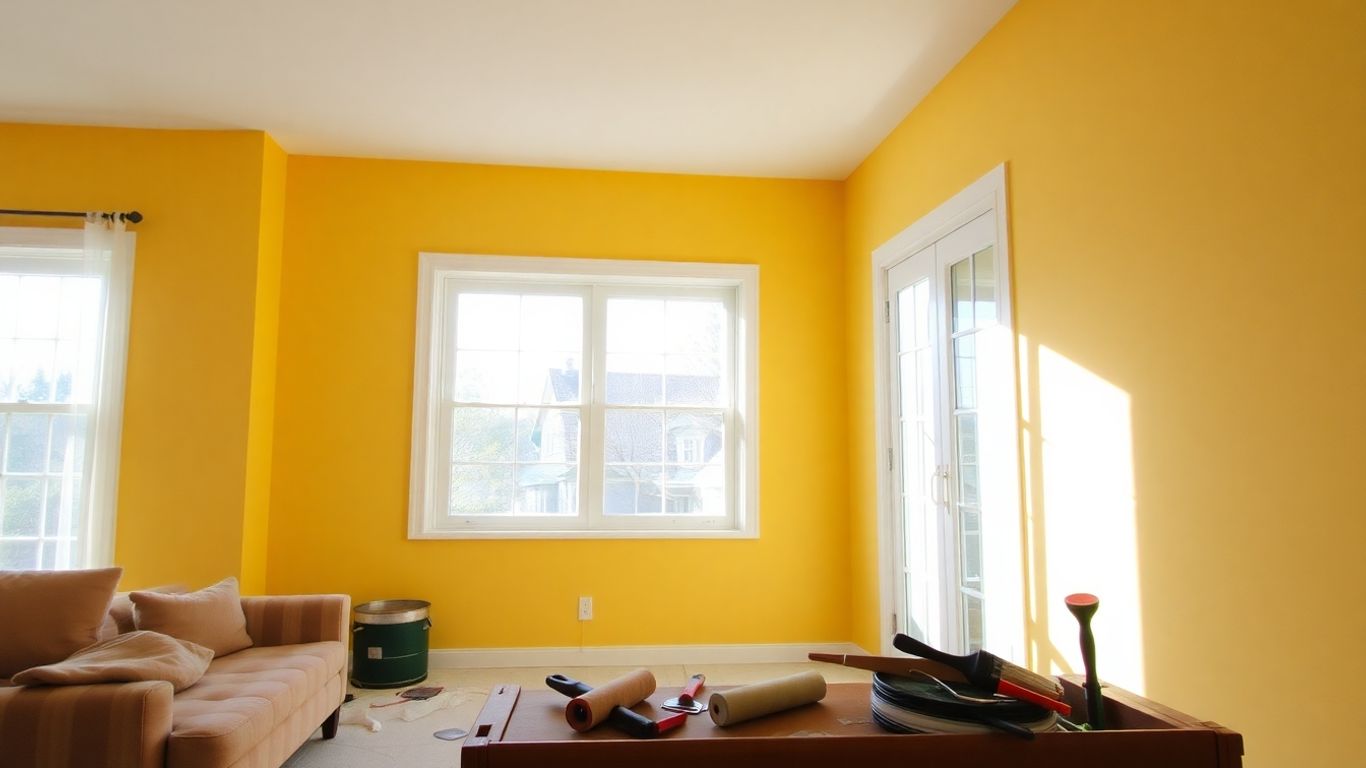
2. Preparing Your Walls for Painting
Before you even think about picking up a brush, getting your walls ready is a big deal. It might seem like a lot of work, but trust me, this step makes all the difference in how your paint job turns out. Skipping this part is like trying to bake a cake without mixing the ingredients – it just won’t end well.
First things first, you need to clear the space. Move furniture away from the walls or cover it completely with drop cloths. Don’t forget to protect your floors too! Tape off any trim, windows, doors, and light fixtures that you don’t want to get paint on. Use painter’s tape for clean lines; it’s worth the small cost.
Next, give your walls a good cleaning. Dust, grime, and grease can prevent paint from sticking properly. A simple solution of warm water and a little bit of mild detergent usually does the trick. For tougher spots, like crayon marks or kitchen grease, you might need a stronger cleaner, but always test it in an inconspicuous area first.
Now, let’s talk about imperfections. Fill any holes or cracks with spackle or joint compound. Let it dry completely, then sand it smooth. Sanding is key to a smooth finish. You’ll want to sand down any glossy surfaces too, as this helps the new paint adhere better. After sanding, wipe down the walls again with a damp cloth to remove all the dust.
If your walls have significant damage, like peeling paint or large cracks, you might need to do some minor repairs before you can even think about painting. This could involve scraping away loose paint, applying a bonding primer, or using a patching compound.
Here’s a quick checklist for prep work:
- Clear the room or cover everything.
- Clean the walls thoroughly.
- Fill holes and cracks.
- Sand surfaces for better adhesion.
- Wipe down walls to remove dust.
- Apply primer if needed (especially over dark colors or repairs).
Proper wall preparation is the foundation for a professional-looking paint job. It might take a bit of time, but it’s the most important part of the whole process.
3. Interior Painting Techniques
Getting your interior walls painted can really change the feel of a room. It’s not just about slapping paint on, though. There are a few ways to go about it that make a big difference.
First off, you’ve got your standard brush and roller method. This is what most people think of. You’ll want a good quality roller for large areas and a brush for the edges and corners.
Then there’s spray painting. This can give a really smooth finish, but it takes some practice and a lot of prep work to protect everything else in the room. You’ll need to mask off windows, doors, and furniture really well.
Another option is using a paint sprayer attachment for your existing airless paint sprayer if you have one. This can speed things up a lot on big jobs.
Here are some tips to keep in mind:
- Always do a test patch. See how the color looks in the room’s light before you commit to the whole space.
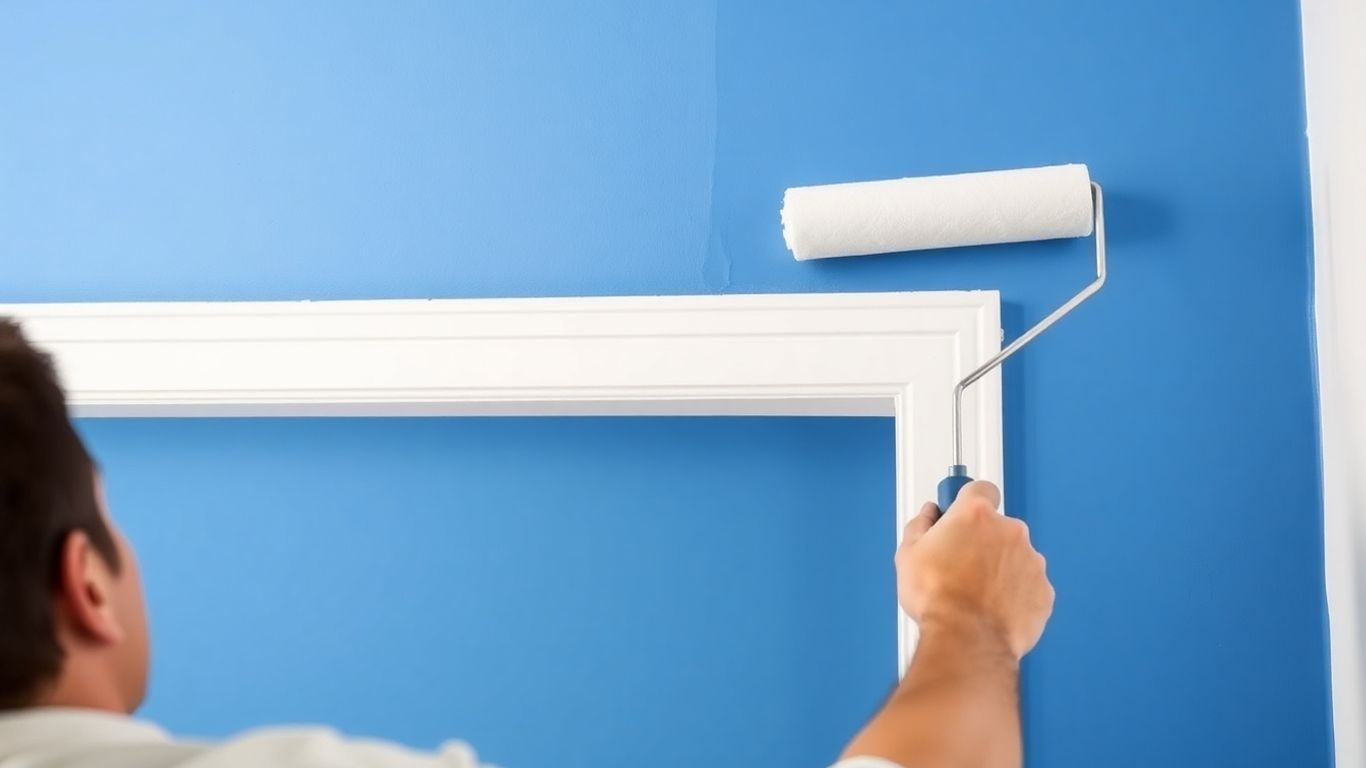
- Use painter’s tape for clean lines, especially around trim and ceilings. Remove it while the paint is still a little wet to avoid peeling.
- Apply paint in thin, even coats. It’s better to do two thin coats than one thick one that might drip or not dry properly.
Proper technique means less touch-up work later and a much nicer final look. It’s worth taking your time.
Don’t forget about the order of operations. Usually, you paint the ceiling first, then the walls, and finally the trim and doors. This helps avoid drips on finished surfaces. Getting the technique right makes the whole project go smoother.
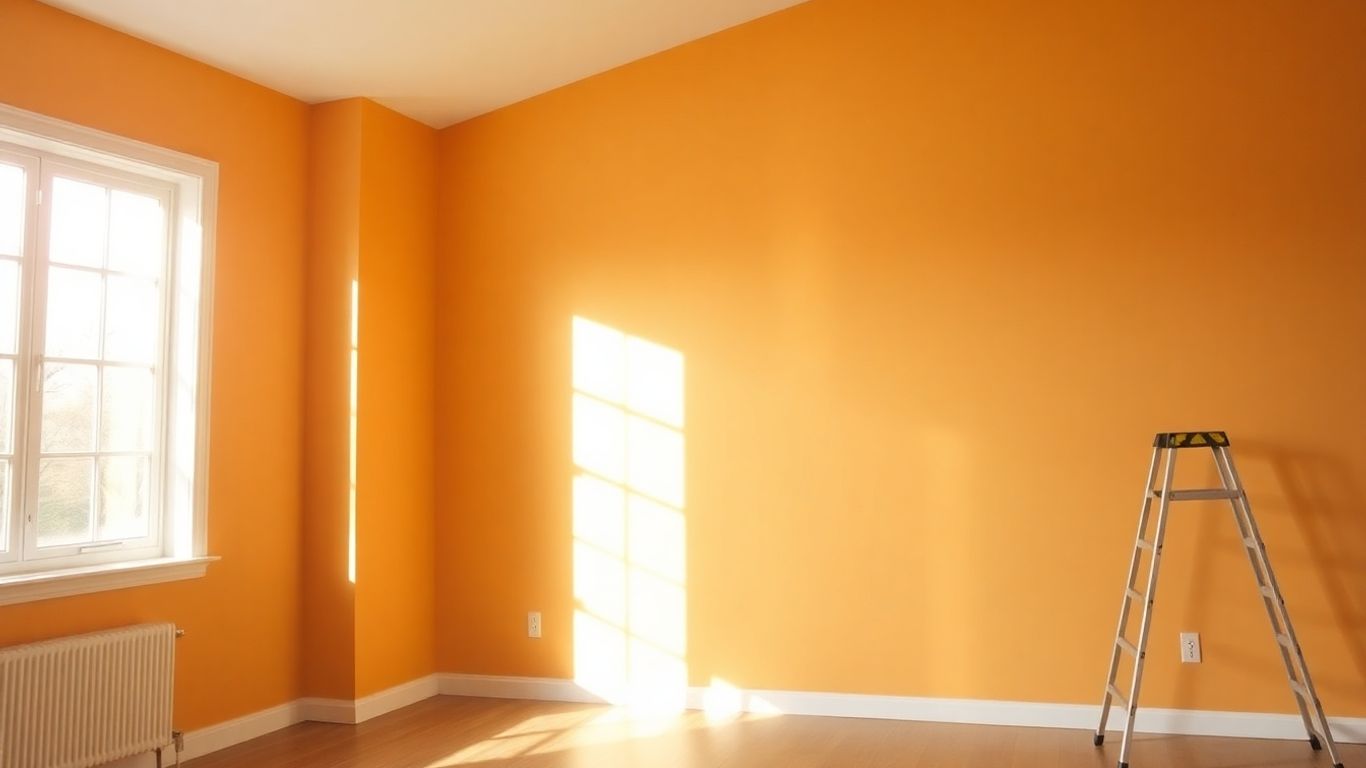
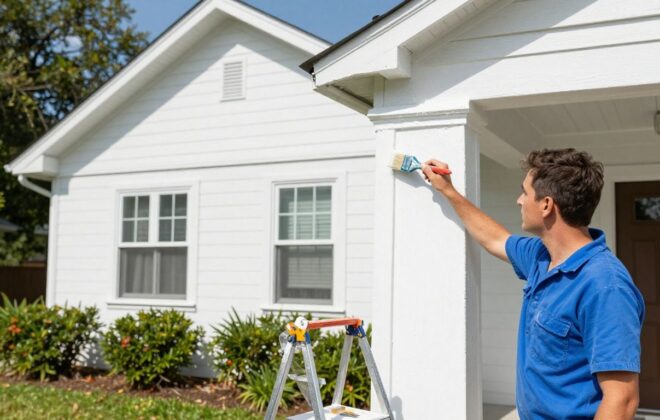
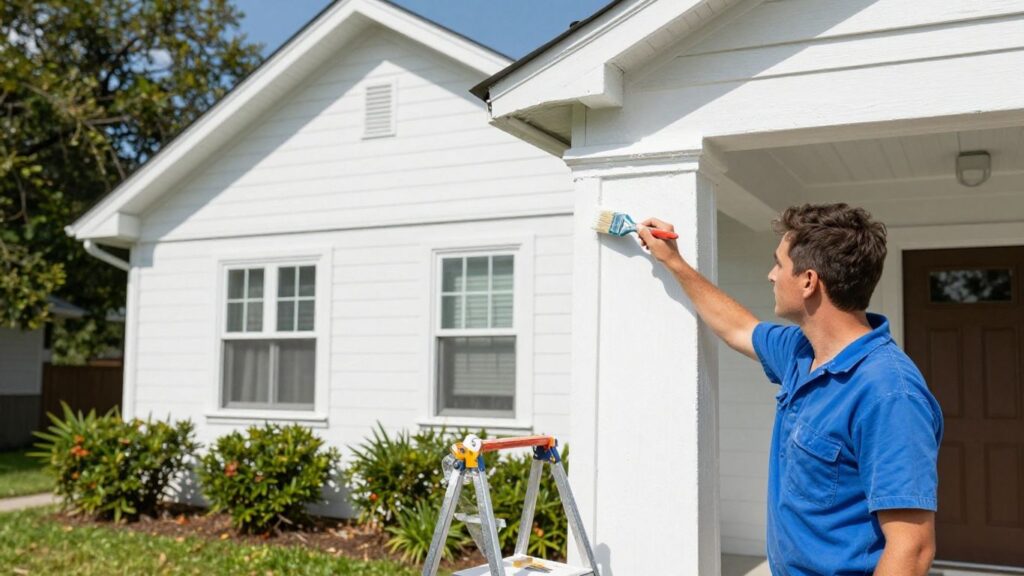
4. Exterior Painting Essentials
Painting the outside of your house is a big job, but it makes a huge difference in how your home looks and how well it’s protected from the weather. It’s not just about making things pretty; it’s about upkeep.
First off, picking the right paint is super important. You want something that can handle sun, rain, and temperature changes. Look for paints specifically made for exterior use. They usually have better durability and resistance to things like mildew and fading. The type of finish you choose also matters for both looks and protection.
Here’s a quick rundown of what to think about:
- Paint Type: Acrylic latex paints are a popular choice because they’re flexible, breathable, and clean up easily with water. Oil-based paints used to be common, but they can crack and peel more over time and are harder to work with.
- Primer: Don’t skip the primer! It helps the paint stick better, covers up stains, and gives you a more even color. For exterior jobs, a good quality exterior primer is a must, especially if you’re painting over a dark color or a surface that’s never been painted before.
- Sheen: Flat finishes hide imperfections well but are harder to clean. Satin or eggshell finishes offer a bit more durability and are easier to wipe down. Semi-gloss and gloss finishes are the most durable and easiest to clean, but they show every little bump and flaw on the surface.
Before you even open a can of paint, you need to prep the surface. This means cleaning off dirt, grime, and any peeling paint. You might need to power wash your house. Then, scrape away any loose paint and sand down rough spots. If you find any mildew, you’ll need to treat that area specifically. Filling cracks and holes with caulk or wood filler is also a key step to keep moisture out.
Proper preparation is honestly half the battle when it comes to exterior painting. If you rush this part, your new paint job won’t last as long as you’d hope, and you’ll probably be doing it all over again sooner than you’d like.
When it comes to application, think about the weather. You don’t want to paint when it’s too hot, too cold, or too humid. Check the paint can for temperature guidelines. Usually, mild temperatures with low humidity are best. And remember, painting your house is a big project, so if you’re not comfortable with heights or the amount of work involved, hiring professionals is a smart move.
5. Hiring Professional Painters
So, you’ve picked out your colors and prepped your walls – awesome! Now comes the big question: DIY or hire a pro? While tackling it yourself can feel rewarding, sometimes bringing in the experts is the way to go, especially for bigger jobs or if you’re short on time. Professional painters have the experience and tools to get the job done right, saving you a lot of headaches.
Think about it: they know how to properly prep surfaces, apply paint evenly, and clean up without leaving a mess. Plus, they can often finish a project much faster than you could on your own. It’s not just about slapping paint on the walls; it’s about the details – crisp lines, smooth finishes, and making sure everything looks polished. If you’re looking for a high-quality finish that lasts, hiring painters is a solid choice. You can find great local painting services by searching for painting services near me.
Here’s a quick look at what you can expect when you hire professionals:
- Consultation: They’ll usually come out to look at the job, discuss your needs, and give you an estimate.
- Preparation: This includes moving furniture, covering floors and belongings, and doing any necessary wall repairs.
- Painting: The actual application of paint, often with multiple coats for the best coverage.
- Cleanup: They’ll tidy up, remove all their equipment, and dispose of waste properly.
Hiring pros means you get a professional finish without all the stress. It’s about getting a great result and having more time to enjoy your home instead of worrying about paint drips and roller marks.
6. Understanding Paint Finishes
Picking the right paint finish can really change how your room looks and feels. It’s not just about the color, you know? The sheen, or finish, affects how light bounces off the walls and how durable the paint is. So, let’s break down the common ones you’ll see when you’re looking for painting services.
Here’s a quick rundown of the most popular finishes:
- Flat/Matte: This finish has almost no shine. It’s great for hiding imperfections on walls and ceilings because it doesn’t reflect light. However, it’s not very washable, so it’s best for low-traffic areas like adult bedrooms or formal living rooms.
- Eggshell/Satin: These are the most common choices for a reason. They have a little bit of sheen, which makes them more durable and easier to clean than flat paint. Eggshell has a softer sheen, while satin is a bit glossier. They work well in most rooms, including hallways, family rooms, and even kids’ bedrooms.
- Semi-Gloss: This finish has a noticeable shine and is very durable and washable. It’s perfect for areas that get a lot of wear and tear or moisture, like kitchens, bathrooms, trim, and doors. Just be aware that the higher the gloss, the more any wall imperfections will show.
- High-Gloss: This is the shiniest finish available. It’s super durable and easy to clean, but it will highlight every single bump and flaw on your walls. It’s usually reserved for trim, doors, and furniture where you want a really striking, lacquered look.
Choosing the right finish is a balancing act between the look you want and how much wear and tear the surface will get. Think about the room’s function before you decide.
When you’re talking to painters, they can help you figure out which finish is best for each area of your home. It makes a big difference in the final result, trust me.
7. Budgeting for Your Painting Project
Figuring out the cost of painting your home can feel a bit tricky, but it doesn’t have to be a headache. Getting a clear picture of the expenses upfront will save you from surprises down the road. When you’re planning your budget, think about a few key things that will affect the final price.
Here’s a breakdown of what usually goes into the cost:
- Labor: This is often the biggest chunk. It covers the painters’ time, their skill, and how long the job is expected to take. Factors like the size of the area, the number of coats needed, and any tricky details (like high ceilings or lots of trim) will play a role.
- Paint and Supplies: You’ll need paint, of course, but also primer, brushes, rollers, tape, drop cloths, and cleaning supplies. The type and quality of paint you choose can really change the price.
- Prep Work: If your walls need a lot of fixing – like patching holes, sanding, or dealing with old wallpaper – that adds to the time and cost.
- Complexity: Jobs with intricate details, multiple colors, or difficult-to-reach areas will naturally cost more than a simple single-color room.
To give you a rough idea, here’s a look at average costs for different jobs:
| Project Type | Average Cost Range |
|---|---|
| Single Room (10×12) | $400 – $800 |
| Two Rooms | $700 – $1,500 |
| Whole House (Exterior) | $3,000 – $7,000 |
It’s always a good idea to get a few quotes from different painting services. This way, you can compare prices and what’s included. Don’t just go for the cheapest option; consider the reputation and reviews of the painters too.
When you’re getting quotes, ask for a detailed breakdown. This way, you know exactly what you’re paying for, whether it’s just the painting or if it includes all the prep work and supplies. It helps avoid any misunderstandings later on.
8. Maintaining Your Newly Painted Home
So, you’ve got that fresh coat of paint, and it looks amazing! But how do you keep it looking that way? It’s not just about slapping on a new color; a little upkeep goes a long way.
First off, cleaning is key. For most painted surfaces, a soft cloth or sponge with a mild soap and water solution is your best friend. Avoid abrasive cleaners or scrub brushes, as these can dull the finish or even scratch the paint. For tougher spots, like fingerprints or scuff marks, try a magic eraser very gently.
Here’s a quick guide to cleaning different paint finishes:
- Flat/Matte: These are the most delicate. Stick to dry dusting or a very lightly damp cloth. Avoid scrubbing at all costs.
- Eggshell/Satin: These have a bit more durability. You can use a damp sponge with mild soap, but still, be gentle.
- Semi-Gloss/Gloss: These are the most washable and durable. You can usually tackle most stains with a damp cloth and mild detergent.
When it comes to touch-ups, keep a small amount of your original paint handy. Small dings and scratches happen, especially in high-traffic areas. A quick touch-up can prevent a small problem from becoming a bigger one.
Regular, gentle cleaning is the best way to preserve the look of your paint. Think of it like dusting your furniture – a little bit often makes a big difference.
Also, consider how you use your space. Placing furniture too close to walls can cause scuffing, and high humidity areas like bathrooms and kitchens might need extra attention to prevent moisture issues. Good ventilation can really help here. Keeping up with these simple steps will help your paint job stay looking fresh and new for years to come.
9. Eco-Friendly Painting Options
Thinking about painting your home and want to be a bit kinder to the planet? That’s totally doable these days. There are some great eco-friendly paint choices out there that don’t sacrifice quality or color.
Low-VOC and Zero-VOC paints are your best bet for a healthier home and environment. VOCs, or volatile organic compounds, are chemicals that can be released into the air as paint dries. They can cause headaches and other issues, and they’re not great for the air outside either.
When you’re looking at paint cans, keep an eye out for labels that say "Low-VOC" or "Zero-VOC." These paints have much fewer of those harmful chemicals. You’ll find them in all sorts of finishes, from matte to high gloss, and in pretty much any color you can imagine.
Here are a few things to look for:
- Water-based paints: Often called latex paints, these are generally lower in VOCs than oil-based paints. They clean up easily with soap and water, too.
- Natural paints: Some paints are made from plant-based oils, minerals, and pigments. They can be a bit harder to find and sometimes cost more, but they’re a really natural option.
- Recycled content paints: Believe it or not, some companies make paint from recycled paint. It’s a smart way to reduce waste.
Choosing eco-friendly paint is a simple step that makes a difference. It’s good for your indoor air quality and better for the environment overall. Plus, the performance is just as good as traditional paints these days.
So, don’t worry, you can get that fresh coat of paint without all the chemical worries. Just do a little label reading, and you’ll find plenty of good options.
10. Common Painting Mistakes to Avoid
Painting your home can be a rewarding DIY project, but it’s easy to stumble into common pitfalls. Let’s talk about some of the most frequent mistakes people make so you can steer clear of them.
One big one is skipping proper wall preparation. You might be tempted to just slap paint on, but if your walls aren’t clean, smooth, and primed, the new paint won’t stick well. This can lead to peeling, bubbling, and a generally messy finish. Think of it like trying to bake a cake without mixing the ingredients properly – it just won’t turn out right.
Another common error is using the wrong tools. Not all brushes and rollers are created equal, and using cheap ones can leave you with streaks, drips, and uneven coverage. Investing in decent quality tools makes a huge difference in the final look. Also, don’t forget about drop cloths! Spills happen, and protecting your floors and furniture is way easier than trying to scrub paint out of carpet.
Here are a few more things to watch out for:
- Not testing paint colors in your space. That swatch on the wall looks great in the store, but lighting changes everything. Always paint a small test patch on your wall and see how it looks at different times of day.
- Applying paint too thickly. It might seem like you’re getting better coverage, but thick coats take longer to dry and can actually crack or peel over time.
- Forgetting about ventilation. Painting indoors without opening windows or using fans can lead to fumes building up, which isn’t good for your health and can affect how the paint dries.
The most important takeaway is that patience and preparation are key to a professional-looking paint job. Rushing through any step will likely come back to bite you later.
When you’re looking for help, it’s smart to discuss paint brands and finishes with your chosen company. Make sure you understand the contract details, too, so there are no surprises down the line. You can find a great painting company by looking at reviews and asking for recommendations.
Trying to cut corners on paint or prep work is a false economy. You’ll likely end up spending more time and money fixing the mistakes than you would have if you’d done it right the first time.
Avoid common painting blunders like using the wrong tools or not prepping surfaces well. These simple mistakes can really mess up your project. Want to make sure your next paint job looks amazing? Check out our expert tips and tricks on our website to get the best results every time!
Ready to Transform Your Home?
So, you’ve learned a bit about finding the right painters for your place. It’s not just about picking a color; it’s about getting a finish that lasts and makes your home look its best. Whether you’re thinking about a fresh coat for your living room or a whole house painting job in Orlando, the right team makes all the difference. We at The Awesome Painting Services are here to help make your home improvement project a success. Get in touch with us today to discuss your ideas and get a free quote. Let’s make your home look amazing!
Frequently Asked Questions
How do I pick the best paint colors for my Orlando home?
Choosing paint colors can be fun! Think about the mood you want to create. Natural light in your Orlando home plays a big role. Lighter colors can make rooms feel bigger, while bolder colors add personality. It’s always a good idea to get paint samples and test them on your walls before committing. The Awesome Painting Services can also offer advice on popular and lasting color choices for homes in the Orlando area.
What’s the best way to get my walls ready for painting?
Proper wall preparation is key for a great paint job. First, clean the walls to remove any dust or grease. Fill any holes or cracks with putty and sand them smooth. If there are glossy surfaces, a light sanding helps the new paint stick better. For Orlando homes, especially those exposed to humidity, ensuring walls are dry and clean is super important. The Awesome Painting Services makes sure every surface is prepped perfectly for a smooth finish.
Are there special techniques for interior painting?
Yes, there are! For clean lines, use painter’s tape along trim and ceilings. Always paint from top to bottom – start with the ceiling, then walls, then trim. Use a roller for large areas and a brush for corners and edges. Two thin coats are usually better than one thick coat for even coverage. Our Orlando painters at The Awesome Painting Services use proven techniques for a flawless interior painting job.
What should I know about exterior house painting in Orlando?
Exterior painting protects your home from Florida’s weather. Before painting, pressure washing is essential to remove dirt and old paint. We check for any damaged wood or siding that needs repair. Choosing the right paint is also crucial – it needs to withstand sun and rain. The Awesome Painting Services offers expert exterior house painting in Orlando, ensuring your home looks great and is well-protected.
When should I hire professional painters?
Hiring professionals saves you time and ensures a high-quality finish. If you have a large project, need intricate work, or simply want the best results without the hassle, it’s time to call the pros. For homeowners in Orlando looking for reliable house painting, The Awesome Painting Services has the experience and skill to handle any job, big or small. Get a free quote on our website!
What are the different types of paint finishes?
Paint finishes, or sheens, affect how shiny the paint looks and how durable it is. Matte finishes hide imperfections but are harder to clean. Eggshell and satin finishes offer a bit of shine and are more washable, making them great for most rooms. Semi-gloss and high-gloss finishes are very durable and easy to clean, perfect for trim, doors, and high-traffic areas. The Awesome Painting Services can help you choose the best finish for each part of your home.