3D Wood Wall Panels Installation: The 2026 Guide to Professional Textured Features
What if your stunning new feature wall started to buckle and pull away from the drywall just six months after you finished it? It’s a common fear for homeowners in Central Florida, where the humidity can turn a beautiful 3D wood wall panels installation into a warped disaster if the technical details aren’t perfect. You want that high-end, textured look to elevate your living space, but the anxiety of ruining expensive materials or choosing the wrong adhesive is real. We believe your home deserves a transformation that lasts, combining visionary design with the precision of master craftsmanship.
Mastering the technical requirements of luxury wood features is the only way to ensure your investment stands the test of time. This 2026 guide provides the professional knowledge needed to achieve a flawless finish that looks as good in five years as it does on day one. We’ll walk you through the critical installation sequence, from moisture acclimation to the choice between mechanical fasteners and specialized adhesives. You will also discover the latest design trends, including reeded profiles and organic textures, so you can decide with confidence whether to tackle this as a DIY project or hire a professional team.
Key Takeaways
- Discover how multi-dimensional architectural textures create organic warmth and depth, moving beyond simple flat accent colors.
- Learn why wood acclimation is the most critical step for a successful 3D wood wall panels installation in Florida’s high-humidity environment.
- Compare the longevity of retail peel-and-stick kits against the precision and durability of custom professional carpentry.
- Master the “Master Baseline” and “Dry Fit” techniques to ensure your feature wall is perfectly level and symmetrical before bonding begins.
- Understand how integrated professional staining and custom color matching elevate a standard installation into a high-end architectural masterpiece.
The Rise of 3D Wood Wall Panels in Modern Interior Design
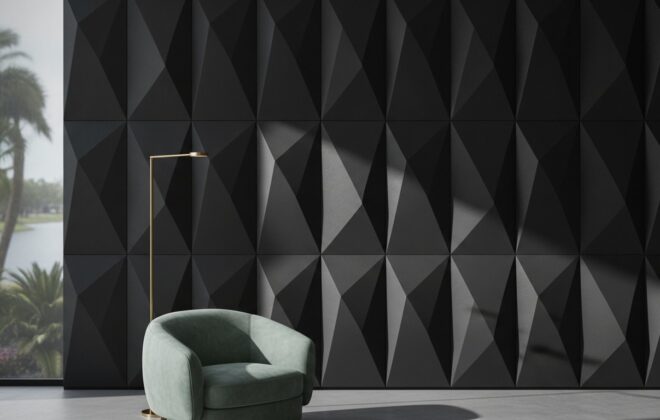
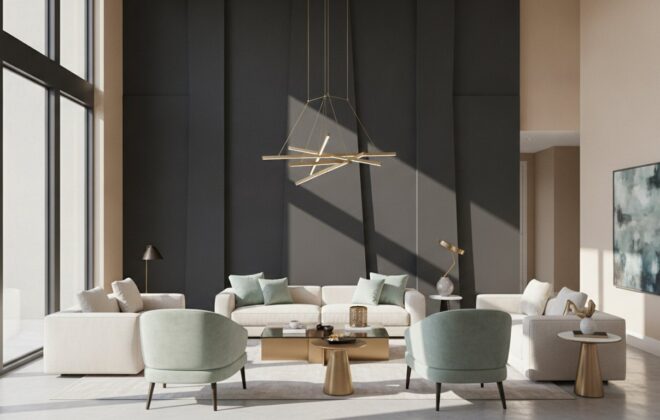
Home design is moving beyond the era of simple, flat accent colors. While a fresh coat of paint still works wonders, 2026 design trends favor architectural depth that you can actually feel. Homeowners are increasingly choosing 3D wood wall panels installation to transform sterile drywall into a multi-dimensional masterpiece. This shift represents a move toward “biophilic design,” which focuses on bringing natural elements indoors to create a sense of calm and organic warmth. In Orlando homes, where cool tile and white stucco often dominate, adding the rich texture of real wood provides a necessary visual balance.
The psychological impact of these features is significant. Natural wood grain and varying elevations in a wall panel create a “soft fascination” that reduces stress and improves focus. It’s not just a decoration; it is an environmental upgrade. As we look at the most requested features in Windermere and Winter Park this year, it is clear that people want spaces that feel grounded and authentic. Sustainable, real-wood feature walls satisfy this craving for quality while serving as a bold statement of personal style.
If you’re exploring how to bring this level of quality to other areas of your home, check out NOORICO for inspiration on how high-end design can transform lower-level spaces into luxury living environments.
Visual Depth and Acoustic Benefits
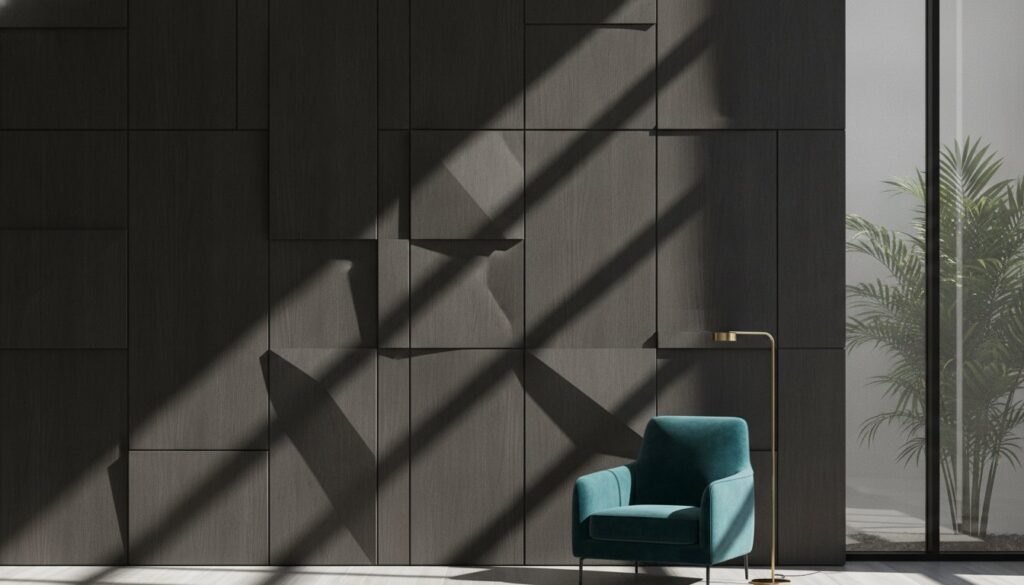
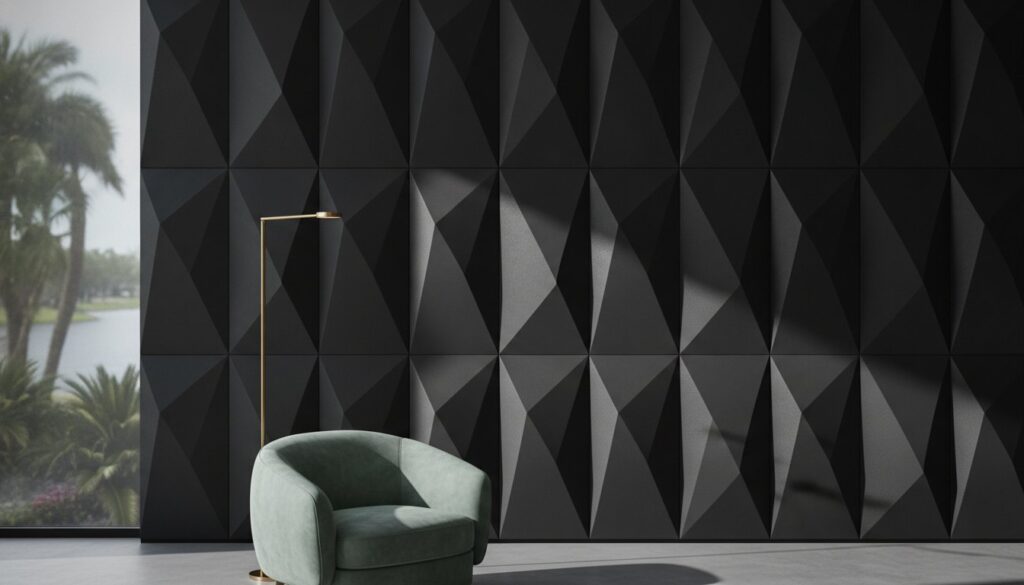
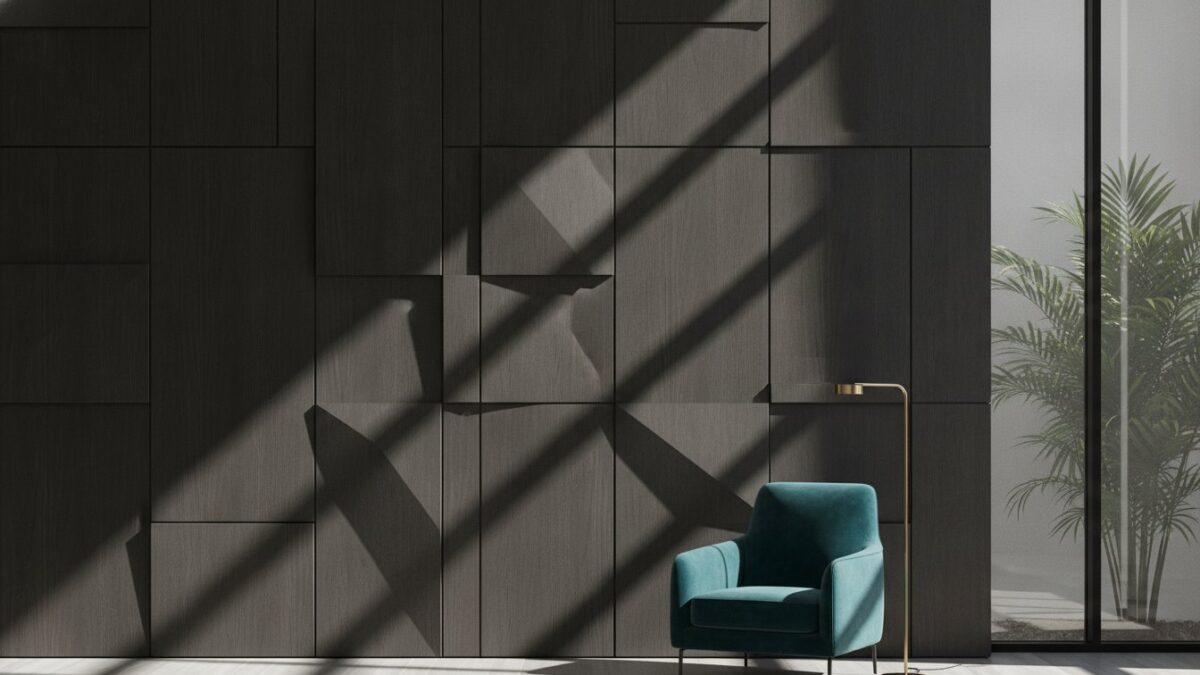
One of the most practical reasons for a 3D wood wall panels installation is its ability to manage sound. Modern Florida homes often feature open-concept floor plans with high ceilings and hard surfaces. This creates a “reverberation chamber” where every footstep or conversation echoes. Textured wood panels naturally break up sound waves, significantly improving the acoustics of a home theater or living area. Beyond sound, these panels interact beautifully with Florida’s natural light. As the sun moves throughout the day, the shifting shadows emphasize geometric patterns and wood grains, making your wall look like a living piece of art that changes from morning to night.
Real Wood vs. Synthetic 3D Panels
When you start your search, you will likely encounter cheap synthetic alternatives like PVC or high-density foam. While these might look acceptable in a low-resolution photo, the tactile difference is undeniable. Real wood offers an authenticity and warmth that plastic simply cannot replicate. Consider these key differences:
- Durability: Genuine wood panels are resilient and can withstand the minor bumps of daily life. Synthetic panels are often brittle and prone to cracking.
- Repairability: If a real wood panel gets scratched, it can be sanded, filled, or restained. Once a PVC panel is damaged, the entire section usually requires replacement.
- Property Value: Custom wood features are viewed as high-end architectural upgrades. In the competitive Orlando real estate market, real wood additions provide tangible property value that synthetic “peel-and-stick” kits do not.
Choosing real wood ensures your feature wall remains a timeless asset rather than a temporary trend. It’s about investing in a material that ages gracefully and reflects the high standards of your home.
Essential Preparation: Wood Acclimation and Wall Readiness
A successful 3D wood wall panels installation doesn’t begin when the first panel touches the wall. It begins with the invisible work of preparation. Skipping these initial steps is the most common reason high-end features fail, leading to gaps or warping that ruin the aesthetic. If you want your feature wall to remain a permanent asset, you must treat the preparation phase with the same respect as the final finish. Precision is your best friend here. Before you pick up a hammer, ensure you have the right tools for a professional result:
- Laser level: Essential for establishing a perfectly horizontal master baseline.
- Fine-tooth miter saw: Necessary for clean, splinter-free cuts on delicate wood grains.
- High-tack construction adhesive: Provides the primary bond between the panel and the substrate.
- Pneumatic pin nailer: Holds the panels in place while the adhesive cures without leaving large holes.
Managing Florida Humidity for Wood Panels
Central Florida’s climate is notoriously difficult for natural timber. The “48-hour rule” is non-negotiable for any 3D wood wall panels installation. You must let the wood breathe in the specific room where it will be installed for at least two full days before starting. This allows the material to adjust to your home’s unique humidity and temperature. Equilibrium moisture content is the state where wood has achieved a balance with the humidity and temperature of its environment, causing it to stop absorbing or releasing moisture. Without this acclimation, your panels may expand or contract after mounting, causing the pattern to shift or the adhesive to fail.
Substrate Preparation and Priming
Your wall is the foundation of your art. Don’t ignore the wall’s texture. If you have heavy “orange peel” or “knockdown” textures, you may need to sand them down to ensure the adhesive makes full contact. Glossy paint finishes should also be scuffed with sandpaper to create a better mechanical bond. One professional secret is the “dark base” trick. If you are installing dark wood panels, paint the wall a matching dark color first. This ensures that any tiny natural gaps between panels won’t reveal bright white drywall. It’s a small detail with a massive impact on the final luxury feel. If you’re planning a complex geometric accent wall installation, ensuring the substrate is perfectly plumb is the only way to prevent pattern drift as you move across the wall.
DIY Kits vs. Professional Custom Carpentry
Choosing between a retail kit and a professional 3D wood wall panels installation often comes down to how long you want the feature to last. Many homeowners are lured by the promise of an easy “peel-and-stick” afternoon project. However, there is a vast difference between a temporary decor kit and a custom architectural feature that adds real value to your home. When you invest in premium wood materials, the installation method determines whether they look like a high-end integrated design or a series of disconnected boxes.
The Limitations of Consumer-Grade Kits
Mass-produced panels often suffer from uniformity issues that become glaringly obvious once they are on the wall. These kits are designed for perfectly flat, smooth surfaces, which are rare in Central Florida homes. Most of our local residences feature “orange-peel” or “knockdown” drywall textures. Standard adhesives found on consumer kits struggle to grip these uneven surfaces, leading to peeling corners within months. Heat and humidity further stress these weak bonds, causing panels to sag or fall. Additionally, retail panels frequently have visible seams that break the visual flow, making the wall look like a puzzle rather than a seamless texture.
The Value of Precision Joinery
A professional installation uses a “belt and suspenders” approach to longevity. We use high-bond construction adhesives in tandem with mechanical fasteners like pneumatic brad nails. This ensures the wood stays exactly where it is placed, regardless of temperature swings. Professional carpentry also includes the art of scribing. Since ceilings and baseboards are rarely perfectly level, a pro will custom-cut the panels to follow the unique lines of your room. This creates a “built-in” look that kits simply cannot match. We focus on pattern continuity, ensuring that geometric lines flow perfectly across large spans without awkward gaps or mismatched edges.
Navigating architectural obstacles is where the professional difference becomes most apparent. Consider these common challenges:
- Electrical Outlets: A DIY cut often leaves ugly gaps around switches. We use box extenders and precision trimming to make outlets look like an intentional part of the design.
- Crown Molding: Integrating 3D panels with existing molding requires complex compound cuts that standard DIY tools often chew up.
- Corner Transitions: Managing inside and outside corners requires expert joinery to keep the 3D pattern from looking “broken” at the turn.
Hiring a professional for your 3D wood wall panels installation protects your investment. When you factor in the cost of high-end wood species, the risk of ruining materials with a single bad cut is high. A professional team brings the precision and specialized equipment needed to ensure your feature wall is a flawless, permanent centerpiece of your home.
The Professional 3D Wood Wall Panels Installation Process
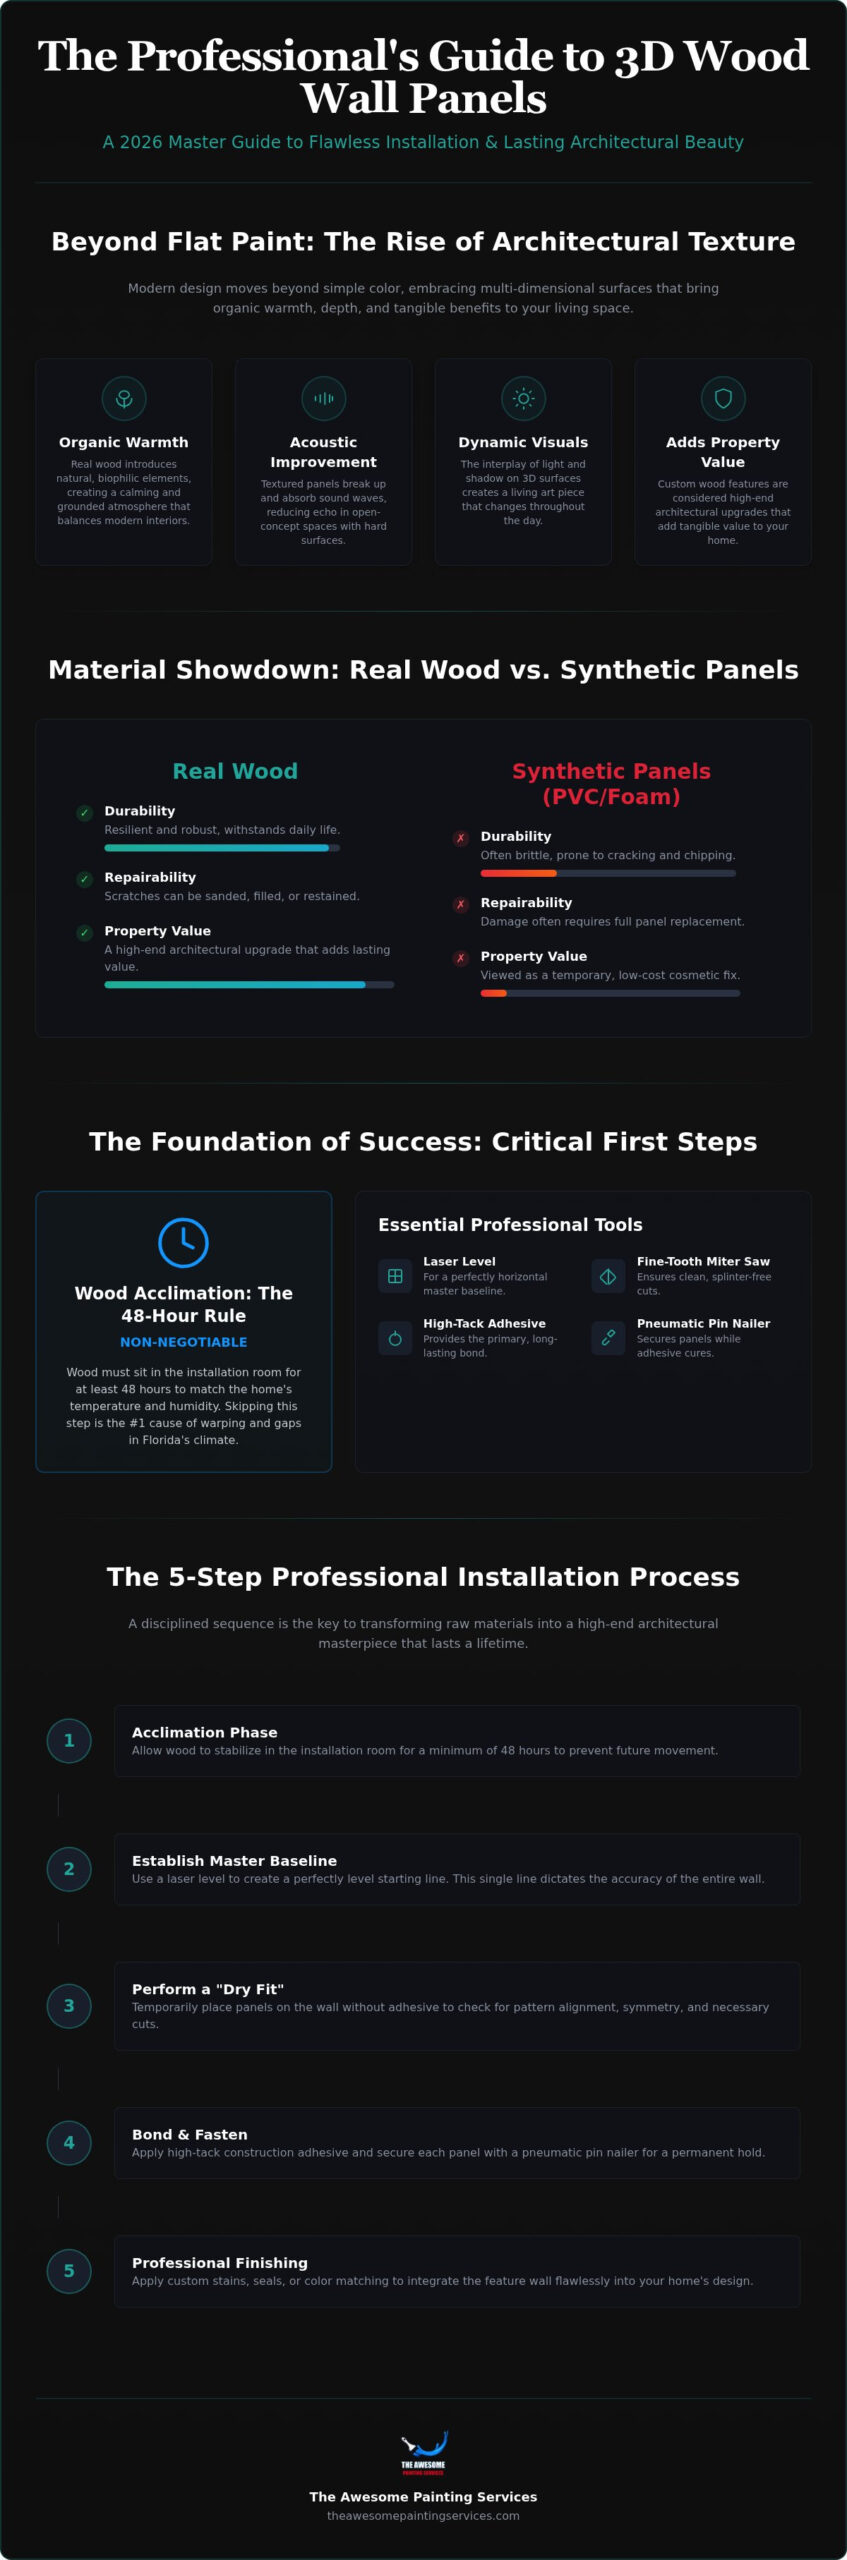
The actual execution of a 3D wood wall panels installation is where visionary design meets technical reality. It is a methodical process that requires patience and an eye for symmetry. We start by establishing a “Master Baseline.” This is a perfectly horizontal line, usually set at eye level or aligned with a major architectural feature, that ensures every subsequent row of panels remains level. If your baseline is off by even a fraction of an inch, that error will magnify as you move up the wall, leading to unsightly gaps at the ceiling or corners.
Before any adhesive touches the surface, we perform a “Dry Fit.” We lay out the panels on the floor to visualize the pattern and grain transitions. This step allows us to identify any natural variations in the wood that might clash if placed side-by-side. It is also the time to integrate the new feature with your existing interior painting Orlando scheme, ensuring the wood tones and textures complement your current room aesthetics perfectly.
Layout Planning and Centering
Balance is the hallmark of professional work. We never simply start in one corner and work across. Instead, we calculate the total width of the wall and center the design so that any “cut” pieces at the edges are equal in size. This creates a symmetrical border that feels intentional rather than accidental. Using a laser level is non-negotiable for both vertical and horizontal alignment accuracy. We mark a light pencil grid on the wall to serve as a roadmap for rapid and accurate panel placement once the bonding begins.
Secure Attachment and Seamless Finishing
Applying construction adhesive requires a specific technique to prevent sagging. We use a heavy-duty bead in a zigzag pattern, ensuring maximum coverage without overflow at the seams. Once the panel is pressed into place, a few strategically placed brad nails from a pneumatic nailer provide the immediate “grab” needed while the glue cures. We then conceal these tiny nail holes using a custom-blended wood filler that matches the specific stain of your panels.
Managing the perimeter is just as important as the center. We leave a small, calculated expansion gap at the baseboards and corners. This gap allows the natural wood to move during seasonal humidity shifts without buckling or pulling away from the substrate. We finish these edges with precision-cut trim for a high-end, built-in look. If you’re ready for a transformation that combines technical excellence with aesthetic vision, book a consultation with The Awesome Painting Services to bring your feature wall to life.
Elevating Your Space with The Awesome Painting Services
A successful 3D wood wall panels installation is about more than just the wood on the wall. It is about the final, polished result that makes you stop and stare every time you enter the room. At The Awesome Painting Services, we bridge the gap between technical carpentry and high-end aesthetic finishing. Our team handles the entire process, ensuring that your vision isn’t lost between different contractors. We take pride in our craftsmanship and the psychological boost a refreshed, beautiful environment provides to our clients. We’re dedicated to making the transformation of your home as seamless and exciting as possible.
Integrated Painting and Staining Expertise
Finishing your wood panels after they are mounted provides a superior, unified look that pre-finished kits can’t match. When we stain or paint on-site, we ensure every joint and edge is perfectly saturated, hiding the small seams that occur during a 3D wood wall panels installation. We use low-VOC, high-durability coatings specifically designed for interior wood features. These products protect against the Florida humidity while highlighting the natural grain of the timber. You can choose from a variety of sheens to suit your style:
- Matte: Absorbs light for a modern, understated, and organic feel.
- Satin: Provides a soft glow that emphasizes the depth of the 3D texture without being overly reflective.
- Gloss: Creates sharp highlights and deep shadows, making geometric patterns pop under recessed lighting.
Our expertise extends to custom color matching for every geometric accent wall installation. We ensure your new feature wall flows perfectly with your existing cabinetry, flooring, or trim colors.
The ‘Reliable Visionary’ Guarantee
We believe your home transformation should be stress-free. As a local, owner-operated business, we’re deeply invested in the Orlando community. We serve homeowners in Windermere, Winter Park, and the surrounding areas with a commitment to clean job sites and efficient turnarounds. We respect your time and your property, ensuring that the only thing we leave behind is a stunning new focal point. Our process is designed for 100% customer satisfaction, combining technical trade knowledge with a friendly, approachable service style. You’re not just hiring a contractor; you’re partnering with a team that cares about your specific vision. Book a consultation today to begin your custom wood transformation and see how we can revitalize your living space.
Transform Your Home with Architectural Precision
You’ve seen how a 3D wood wall panels installation can redefine the atmosphere of your home, turning a simple room into a sophisticated sanctuary. From the critical need for wood acclimation in our Florida climate to the precision required for seamless joinery, every technical detail matters. Choosing custom craftsmanship over a retail kit ensures your feature wall isn’t just a temporary trend but a permanent architectural upgrade that adds real value to your property.
At The Awesome Painting Services, we specialize in custom wood geometric accent walls that combine technical excellence with visionary design. We proudly serve homeowners in Windermere, Winter Park, and Celebration, providing professional integrated staining and finishing for a flawless, high-end result. Don’t let the complexity of the process or the fear of warping hold you back from the home you’ve always imagined. Ready to transform your home? Get a free quote for your custom 3D wood wall installation in Orlando! We’re here to partner with you in creating a space that truly reflects your style and passion for quality craftsmanship.
Frequently Asked Questions
Do 3D wood wall panels require a perfectly flat wall for installation?
3D wood wall panels don’t require a perfectly flat wall, but the surface must be stable and structurally sound. While the panels can bridge minor dips, heavy textures like knockdown or orange peel often require light sanding to ensure the adhesive makes full contact. If the wall is significantly bowed, it can cause the panels to pull away or create visible gaps in the pattern. We always check the substrate’s levelness before starting to ensure a professional result.
How do I handle electrical outlets when installing 3D panels?
Handling electrical outlets requires using box extenders to bring the outlet flush with the new surface of the wood. You’ll need to measure and cut the panels precisely around the electrical box using a jigsaw or oscillating tool. This creates a professional, integrated look where the outlet appears as an intentional part of the feature wall. It’s a small detail that makes a massive difference in the final luxury feel of the room.
Can I install 3D wood panels in a bathroom with high humidity?
Installing 3D wood panels in a bathroom with a shower is generally not recommended due to extreme moisture fluctuations. However, they work beautifully in powder rooms where humidity is lower and more controlled. For those seeking a complete bathroom overhaul with materials better suited for wet environments, Remarkable Installations provides specialized wet-space transformations. If you choose to install wood in a bathroom setting, you must apply a high-quality sealant to all sides of the wood to prevent the warping or mold growth that often plagues unprotected timber in damp environments.
What is the best adhesive for mounting heavy wood panels to drywall?
The best adhesive for a 3D wood wall panels installation is a high-tack, heavy-duty construction adhesive. Products designed for instant grab provide the necessary strength to prevent heavy panels from sliding during the curing process. We always recommend using these adhesives in combination with pneumatic brad nails. This “belt and suspenders” approach ensures the panels stay exactly where they are placed, even as the wood naturally expands and contracts.
How do I clean and maintain my 3D wood wall panels?
Maintaining your textured wall is simple and only requires regular dusting with a soft-bristle brush or a vacuum with a brush attachment. Avoid using wet cloths or harsh chemical cleaners, as excessive moisture can damage the wood grain or ruin the finish. For stubborn spots, a slightly damp microfiber cloth followed immediately by a dry one usually works. Regular care keeps the wood looking fresh and prevents dust from settling into the deep textures.
Is it better to stain the wood panels before or after installation?
It’s better to stain the panels after installation to achieve a unified, high-end finish. Staining on the wall allows you to fill nail holes and seams with matching wood filler before applying the final color. This process ensures the entire feature looks like a single architectural element rather than a collection of individual boards. It also allows for better color consistency across the entire 3D wood wall panels installation.
How long does a typical 3D wood feature wall installation take?
A typical 3D wood feature wall installation takes between one and three days to complete. This timeline includes the essential 48-hour acclimation period, wall preparation, precision cutting, and the final staining or painting process. Larger walls or complex geometric patterns may require a bit more time to ensure every joint is perfectly aligned. We prioritize efficiency without ever compromising on the precision that a high-end feature wall demands.
Can 3D wood panels be installed over existing wallpaper or brick?
You shouldn’t install panels directly over wallpaper because the bond is only as strong as the paper’s attachment to the wall. Wallpaper must be removed and the wall cleaned before you begin. For brick surfaces, the process is different. You’ll need to install wood furring strips first or use a specialized masonry adhesive. This ensures a permanent, secure attachment that can handle the weight of the wood panels over time.