How to Estimate the Cost and Coats for Painting Over Dark Paint Colors
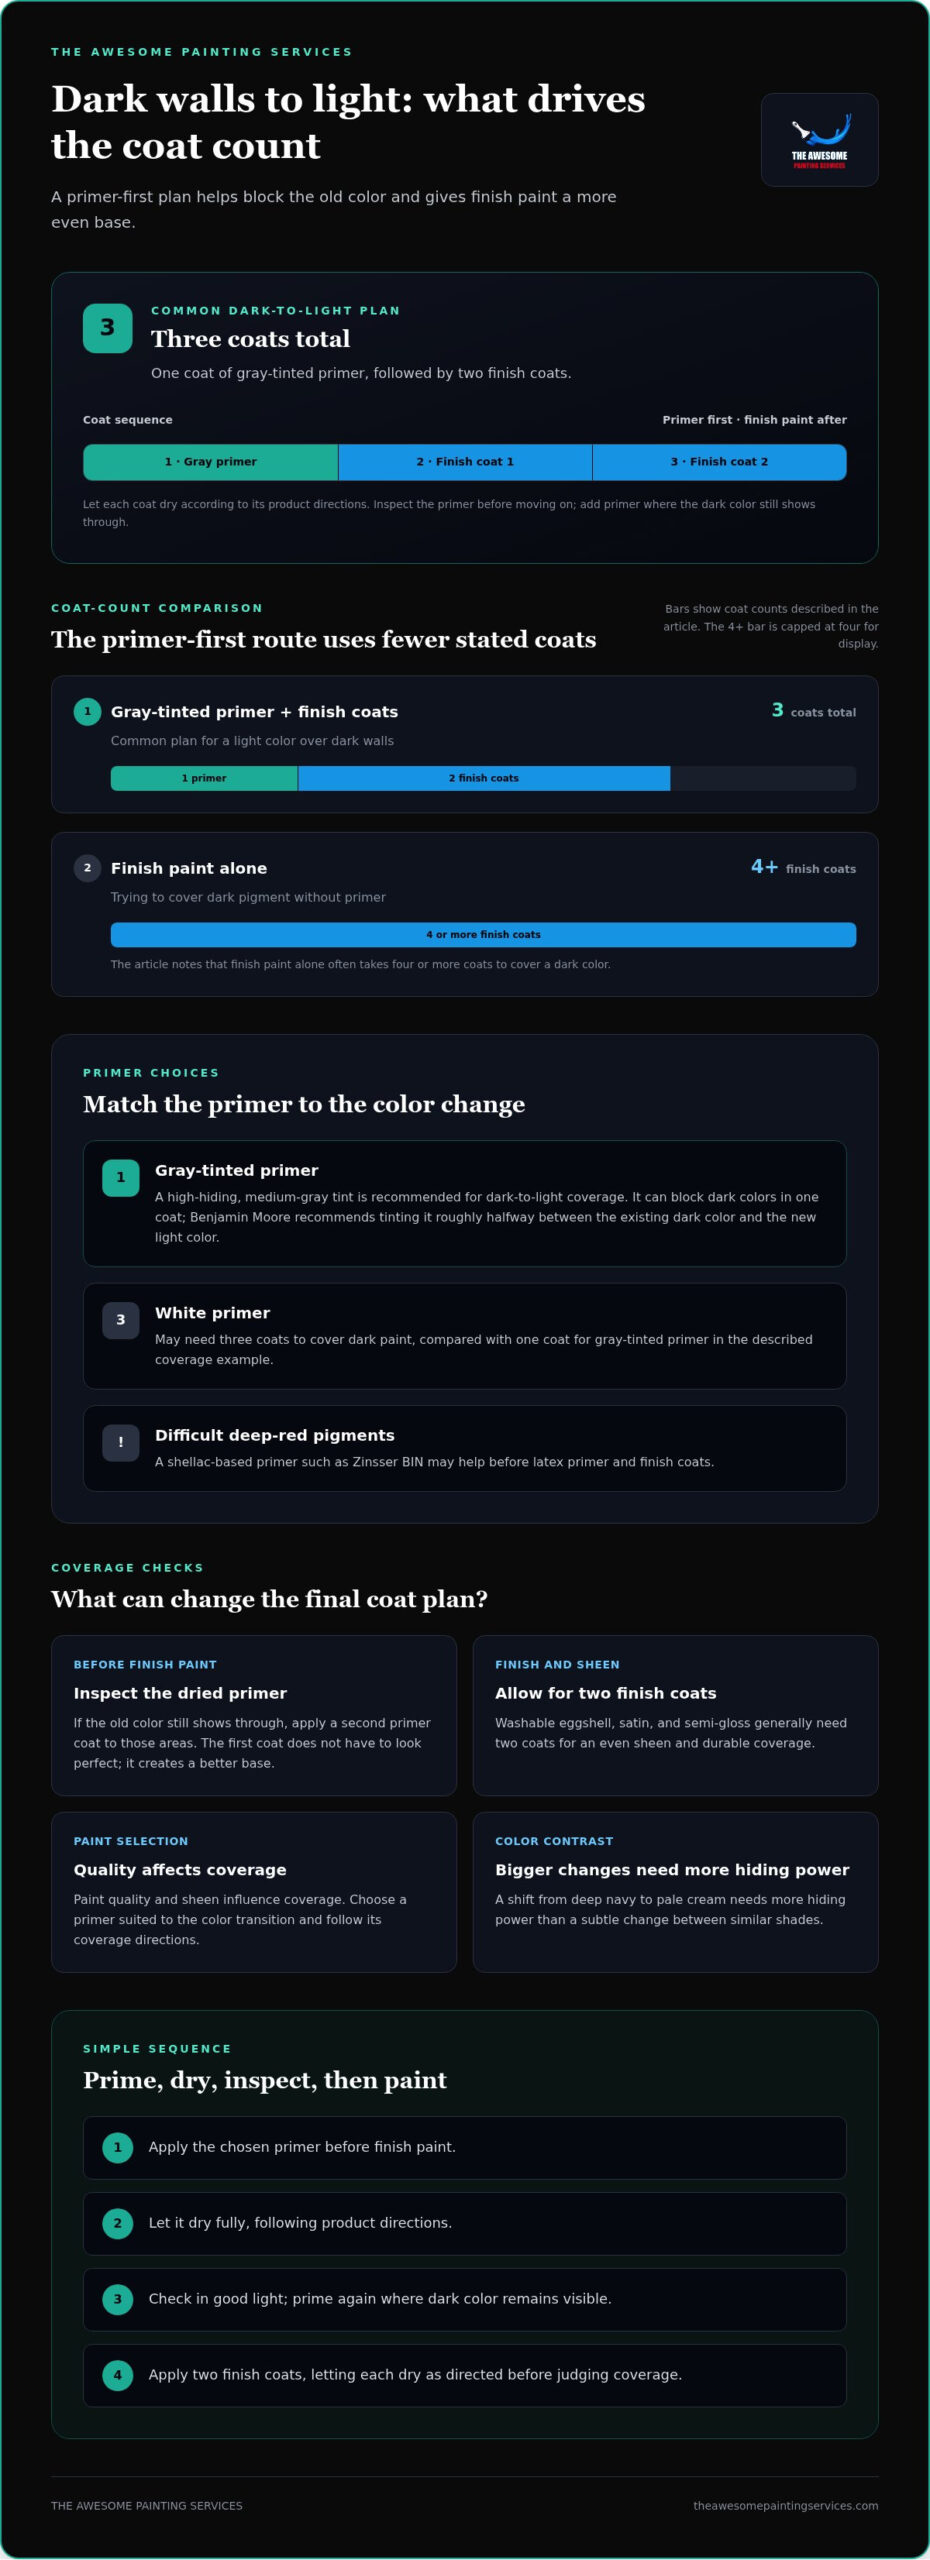
Covering a dark wall with a lighter color typically takes one coat of gray-tinted primer and two finish coats, three coats total. The cost of painting over dark paint colors depends on the room’s size, wall condition, preparation, primer needs, and labor. A useful estimate accounts for the work behind the fresh finish, not just the paint on top.
You may expect a new color to cover the old one in a coat or two, but dark pigment can show through if the walls aren’t prepared well. That’s why cleaning, repairing, and priming matter. This guide explains how to prepare dark walls, choose the right number of coats, and understand the factors that shape a repainting estimate. Your project price depends on its specific scope and is provided after a quote request. We’ll start with the preparation steps that help create a smooth, even finish.
Key Takeaways
- After the primer dries, look for dark color showing through; add another primer coat where coverage remains uneven.
- Let each finish coat dry according to the paint-can instructions before deciding whether another coat or touch-up is needed.
- Clean walls, repair holes and cracks, then sand patched areas smooth before masking and painting.
- Room size, wall condition, preparation, primer, and labor all shape a repainting estimate; professional interior painting can help bring the work together.
How many coats of paint do I need to cover dark walls?
Yes. Primer is recommended for dark-to-light coverage; one gray-tinted primer coat and two finish coats make a common three-coat plan.
-
Choose a Primer for Dark Paint
Choose a high-hiding primer suited to the color change. A gray-tinted primer can block dark colors in one coat, while white primer may need three coats. Benjamin Moore recommends tinting primer medium gray, roughly halfway between the existing dark color and the new light color. For difficult deep-red pigments, a shellac-based primer such as Zinsser BIN may help before latex primer and finish coats.
-
Apply Primer Coats for Dark-to-Light Coverage
Apply primer before the finish paint rather than trying to hide dark pigment with topcoat alone. A common dark-to-light plan uses one coat of gray-tinted primer and two finish coats. Finish paint alone often takes four or more coats to cover dark color. Paint quality and sheen also affect coverage: washable eggshell, satin, and semi-gloss finishes generally need two coats for an even sheen and durable coverage.
-
Add Primer Where Dark Color Shows Through
Let the first primer coat dry, then inspect the wall in good light. If the old color still shows through, apply a second primer coat to those areas before painting. The first coat doesn’t need to look perfect; its purpose is to create a better base. Let any extra coat dry fully so the finish paint goes over a stable, even surface.
-
Estimate Primer and Finish Coat Counts
Estimate materials by separating primer coats from finish coats. For a light color over dark walls, start with one gray-tinted primer coat and two finish coats, then allow for a second primer coat wherever the old color remains visible. Don’t skip primer to reduce material use: finish paint alone can take four or more coats. Choose primer for the color transition and follow its coverage directions.
Applying fresh paint in multiple coats
Work in sequence: apply each coat evenly, let it dry, then assess the wall before continuing.
- Mix the paint thoroughly before each application to keep the color and texture consistent across the wall. Work from the top down: cut in around the edges with a brush, then roll the larger surface. Use broad M- or W-shaped strokes to distribute paint evenly and limit streaks or patchy coverage.
- Apply the first finish coat in manageable sections, keeping a wet edge as you work across the wall. Don’t expect this layer to look completely uniform, especially with a strong color change. Let it dry fully according to the paint-can instructions before judging coverage. Wet paint can look different from its dried color, depending on the lighting.
- Wait for the specified drying time before adding another coat. Acrylic paint may dry in about 15 or 30 minutes, depending on temperature and humidity, but the paint label gives the recoat directions to follow. Touching a dry-looking surface too soon can leave marks. Allow each section to dry thoroughly before touch-ups, which helps prevent streaks and unwanted texture.
- Apply a second finish coat for a fresh wall color, following the same top-down sequence. One light color over another typically takes two coats; washable eggshell, satin, and semi-gloss finishes also generally need two for an even sheen and durable coverage. Check the dry wall from several angles, then address thin areas only after the coat has dried.
- Plan for patient, even application rather than trying to finish in one pass. For a smooth result across the room, professional interior painting can help coordinate careful coating and drying between passes.
Wall cleaning, sanding, and masking
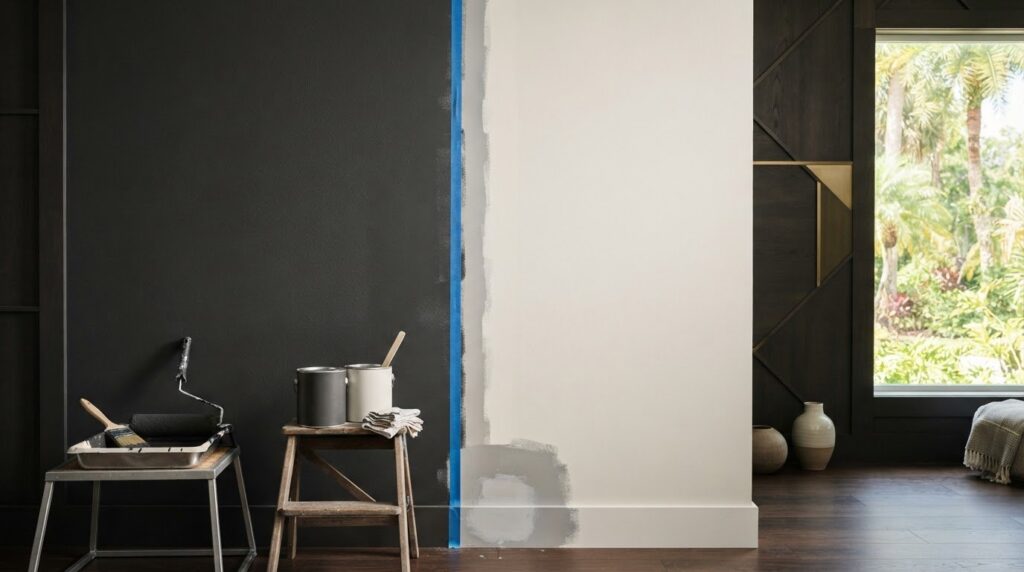
Prepare the wall in order: wash away grime, repair damage, sand rough spots, then mask nearby surfaces. A clean, even surface helps primer and finish paint go on consistently.
- Wash the wall before patching holes or cracks. Cleaning first removes surface dirt that could interfere with repairs and avoids washing away fresh filler later. Use a suitable wall-cleaning method, then let the surface dry completely. Check corners, switches, and areas behind furniture, where dust and residue can collect.
- Inspect the dry wall closely and fill each hole or crack with filler suited to the material, such as drywall or plaster. Press filler into the damaged area and smooth it with a putty knife. Follow the filler’s drying directions before sanding. A shallow nail hole needs less filler than a wider crack, so avoid leaving a raised patch.
- After the filler dries, gently sand each repaired spot with fine-grit sandpaper until the patch sits level with the surrounding wall. Run your hand across the repair to feel for ridges, then wipe away sanding dust before painting. Dust left on a drywall patch can show beneath the new finish.
- Check for texture changes across the whole wall, not just at the patches. Carefully sand rough edges and raised paint until the surface feels consistent. If you’re repainting a chalkboard-painted wall, sand its edges before applying new paint. This smooths the transition where the chalkboard finish meets the surrounding wall.
- Mask trim, outlets, switches, and adjoining surfaces before opening the paint. Press masking tape firmly along the edge to limit seepage, and cover nearby floors or fixtures. Keep the tape line straight around door casings and baseboards. Remove dust and loose debris first so the tape adheres instead of lifting during painting.
Preparation before repainting dark walls
Plan the work before opening the primer. For dark walls, preparation affects the materials needed, the time between stages, and how evenly the new color covers.
- Identify the starting color and planned finish color before estimating supplies. A dramatic change from deep navy to pale cream needs more hiding power than a subtle shift between similar shades. Note glossy patches, stains, and worn paint, since these conditions can affect primer choice and surface preparation.
- Estimate primer from the room’s dimensions and the product’s coverage directions. For a 12-by-14-foot bedroom with 8-foot ceilings, the project may require an extra 1-2 gallons of high-hide primer when covering dark colors. Treat that as a planning allowance, then account for doors, windows, wall condition, and the number of primer coats needed.
- Choose a high-hide primer for the dark-to-light transition rather than relying on finish paint to conceal the old color. Primer helps seal the surface and gives the topcoat a better base. Review the label’s coverage information and drying directions before estimating how much material to set aside for each wall.
- Let washed walls dry before continuing with repairs, primer, or paint. Moisture can interfere with the next preparation step, so wait until the surface is dry to the touch. Keep the sequence clear: clean first, complete repairs, remove dust, then prime. This order also prevents washing away completed patchwork.
- Build drying and inspection into the schedule rather than treating preparation as a single task. Allow the primer to dry according to its label, then inspect dark walls for visible color or uneven areas before applying finish paint. For support coordinating preparation and repainting, plan your interior painting project.
The Awesome Painting Services: Interior Painting
The Awesome Painting Services provides Interior Painting for homeowners ready to replace dark walls with a lighter, refreshed look. Turn to the team when the project involves more than applying a finish coat, such as coordinating wall preparation, primer, and multiple paint layers across a room. A clear plan accounts for the wall’s condition and the transition to your chosen color.
The right repainting approach depends on the surface and color change. With the preparation and coat sequence in mind, you can discuss your interior project’s scope and the finish you want. The Awesome Painting Services also handles other home painting and finishing projects, including Exterior Painting, Kitchen Cabinet Refinishing, and Custom Wood Geometric Accent Walls.
Contact The Awesome Painting Services to discuss your interior painting project.
Set Your Repainting Project in Motion
A new wall color can change how a room feels, making it brighter and more open or calm and understated. Before moving ahead, decide how you want the finished space to feel and which color direction supports that vision. A clear goal makes it easier to assess the project scope and keep decisions focused.
The cost of painting over dark paint colors depends on the work your room needs, so consider the full project rather than the color alone. Think about the wall condition, the scale of the color change, and the finish you want. These details help shape a practical plan around your home and priorities.
Ready to take the next step? Contact The Awesome Painting Services to discuss your painting project. A fresh color can give your space a renewed feel and make it more distinctly yours.
Frequently Asked Questions
Why does the old dark color bleed through my new paint?
Dark color can show through when the new coating doesn’t hide the underlying pigment evenly. Thin spots, missed edges, or insufficient primer can leave the old shade visible, especially after the finish dries. Inspect the wall in consistent light, paying close attention near corners and trim. If color remains visible beneath the primer, add primer to those areas before applying the finish coat.
How much does it cost to paint over dark-colored walls per square foot?
The cost of painting over dark paint colors per square foot depends on the measured wall area, surface condition, and number of coats. A useful estimate separates preparation, primer, finish paint, and labor rather than treating the job as a simple coverage figure. For example, walls with extensive patching need different preparation from smooth walls that are ready for primer.
What is the average cost to repaint a room with dark walls?
A single average won’t represent every dark-wall repaint accurately because room size, wall repairs, color contrast, and coating requirements all affect the scope. Compare estimates by checking whether they include the same surfaces and preparation tasks. A room with several doors and windows has less paintable wall area, while damaged surfaces may need more repair work before painting.
How many coats of paint are needed to cover dark paint with a lighter color?
Plan on one gray-tinted primer coat and two finish coats as a typical dark-to-light approach. Use the dry primer as a checkpoint: if the original color remains visible, apply another primer coat where needed. Don’t judge coverage while the paint is wet. Check the dried surface under even light before deciding whether another finish coat is needed.
What primer works best for covering dark paint colors?
A high-hiding, gray-tinted primer is a strong choice for changing dark walls to a lighter shade because it helps block the existing color. For deep-red pigments, a shellac-based primer such as Zinsser BIN may be appropriate before latex primer and finish paint. Match the primer to the challenging pigment, then follow its application and drying directions.
Is it cheaper to paint over dark walls yourself or hire a professional?
Doing the work yourself avoids labor charges, but you’ll handle preparation, materials, painting, and cleanup. Hiring a professional adds labor to the project and brings experience in planning the work and applying the finish. For an Orlando or Winter Park home, compare the time you can dedicate with the room’s condition and the effort needed for an even result.