Drywall Repair Before Painting in Lake Nona for Smooth Walls
Fresh paint can’t hide an uneven patch. For drywall repair before painting in Lake Nona homes, clean the wall, let it dry completely, sand repaired areas only after the compound is dry, and prime the patches before painting.
If you’re preparing a newer home, pay attention to recurring cracks before making a cosmetic touch-up. Keep any builder-warranty correspondence and document cracks that return, so you can consider the underlying issue before painting over the symptoms.
You’ll learn how to clean and prime patched drywall, help small and large repairs blend into the surrounding surface, and prepare newer Lake Nona walls for a smooth finish. This guide also explains what to look for in a painting contractor when you want careful preparation and a refreshed interior.
Key Takeaways
- Choose drywall primer or high-build primer for patched areas to help create a more even base for paint.
- Match patch support to the size of the damage, and build compound in thin coats rather than trying to fill everything at once.
- Document recurring cracks and keep builder-warranty correspondence before treating them as cosmetic damage.
- Plan surface preparation alongside interior painting so repaired areas blend into the finished room.
Priming patched areas before painting
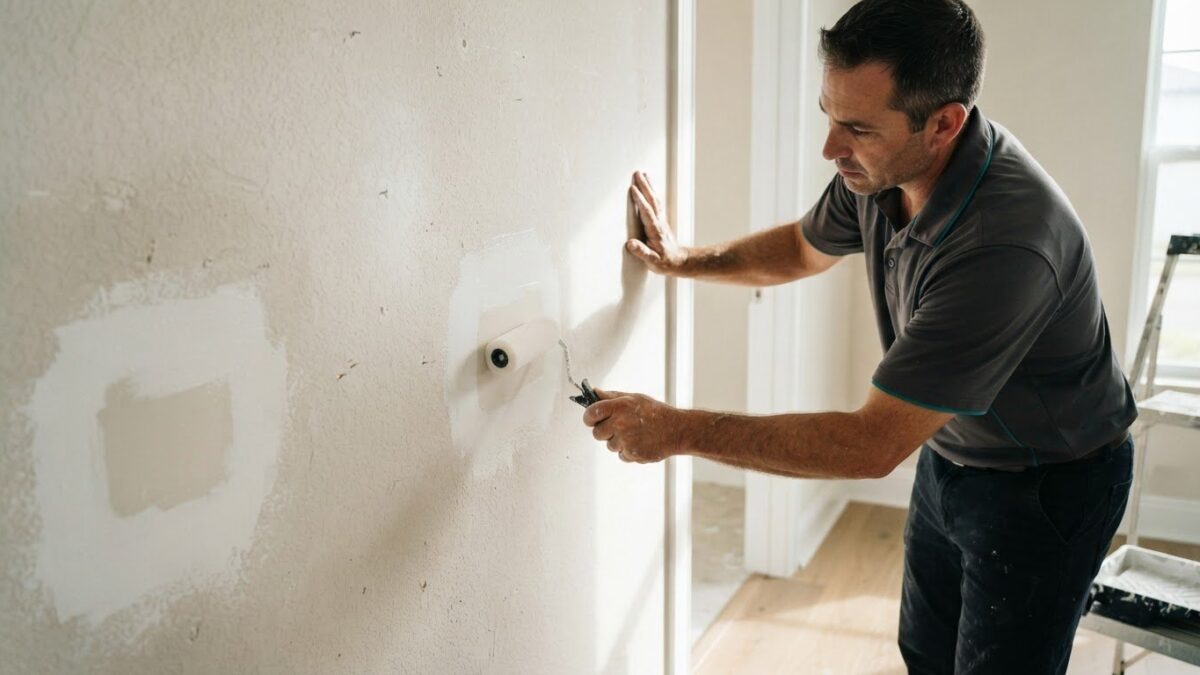
A smooth finish starts with a supported patch, fully dry compound, careful sanding, and a primer made for drywall.
Drywall Patch and Hole Repair
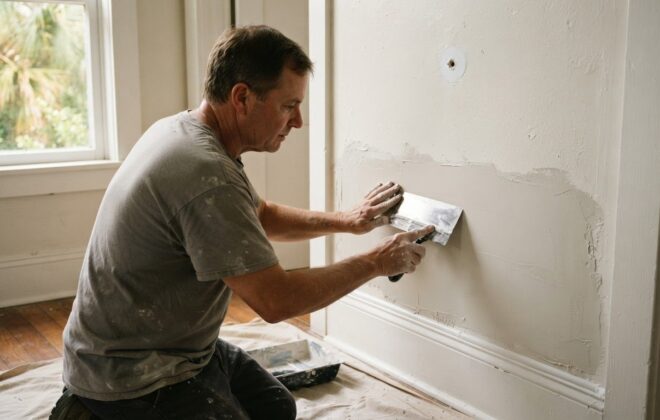
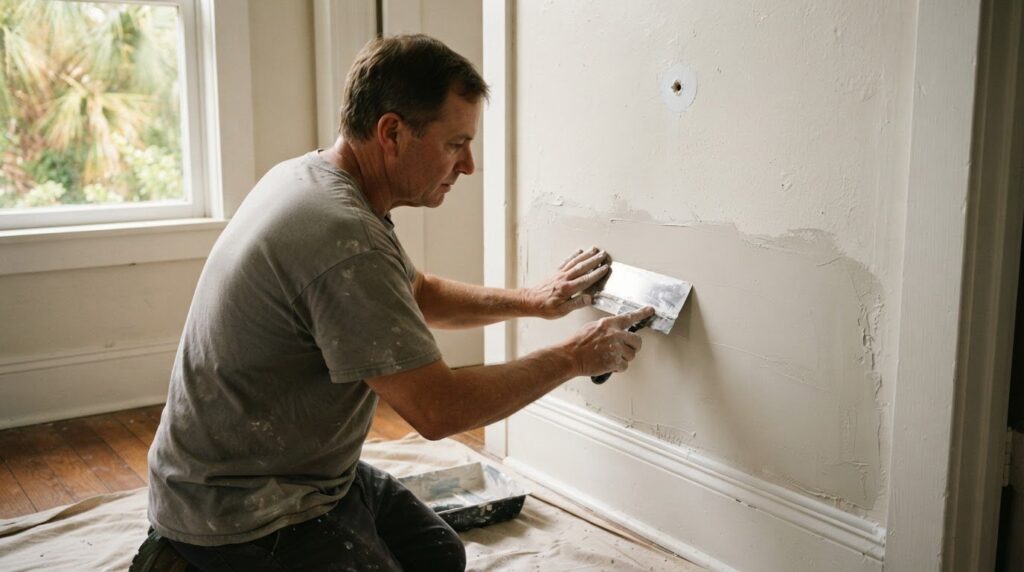
Repair the hole before preparing the wall for paint. Small holes and shallow dents can take lightweight spackling compound, while larger damage may need a self-adhesive patch or mesh tape to support the compound. For a medium hole, center a mesh patch over the damage and extend it at least 1 inch beyond the edges.
How much does drywall repair cost per hole or square foot in Orlando? There’s no single average: the cost depends on the damage’s size, the support needed, the number of compound layers, and the finish work. Pricing depends on the specific repair and is provided after a quote request.
Patch Inspection and Smoothing
Once the compound is completely dry, inspect the patch for ridges, depressions, loose edges, or gaps along its border. These surface changes can remain visible under paint, so smooth them before priming. Use 120-grit sandpaper or a sanding block, working carefully across the patch and its edges.
Check the surface from different angles and feel for raised transitions between the repair and the existing wall. If an area still looks uneven, apply another thin layer of compound, let it dry, then sand again. Remove sanding dust before applying drywall or high-build primer.
Compound Drying Before Sanding and Painting
How long should drywall compound dry before sanding and painting? A first layer may take a few hours to dry, while the first thin coat on a medium repair should dry overnight before you apply another coat. Let every layer dry completely before continuing, and sand only after the finished patch is dry.
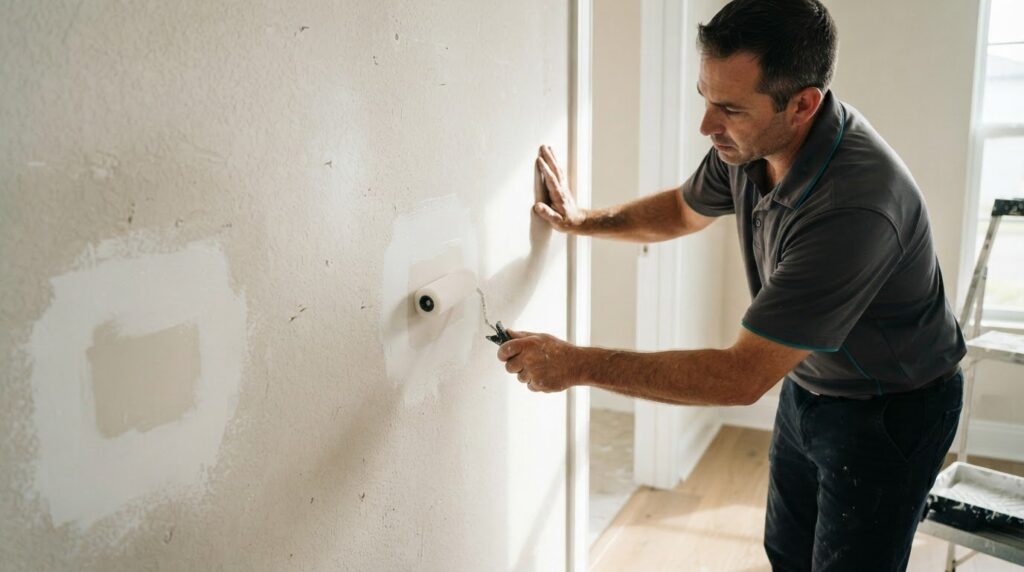
Drying time varies with the compound layer and room conditions, so judge the surface rather than relying on a fixed schedule. After sanding, remove dust and apply primer designed for drywall. New drywall and mudded areas need primer before paint, which helps the repaired section take paint more evenly.
Choosing a specialized drywall contractor
A smooth paint finish takes more than covering a visible hole. For drywall repair before painting in Lake Nona, assess the repair process, surface preparation, and how the finished patch will blend with the existing wall.
Match the repair to the damage. A shallow dent needs a different approach from a hole that requires backing or a new piece of drywall. The scope should identify whether it covers patching, compound application, sanding, dust removal, and preparation for primer. Clear steps make it easier to tell whether the repair addresses the surface, not just its appearance.
Pay attention to the surrounding wall, too. A patch can stand out if its edges remain raised or the compound leaves a visible ridge. A sound process feathers the repair into the wall and checks the transition before painting. For example, a wide damaged area may need more blending than a small nail hole.
Preparation matters in occupied Lake Nona homes. The work area should be protected from sanding dust, and debris should be collected before painting begins. If a crack returns or appears to be changing, treating it as a simple cosmetic flaw may not address the cause. A specialist should distinguish surface patching from signs that need further attention.
- Scope: Identify the damage and the repair steps, including any drywall installation.
- Finish: Review how the patch will be smoothed and blended into the wall.
- Sequence: Confirm that sanding and dust removal happen before priming and painting.
- Communication: Make sure recurring damage is documented rather than concealed by a fresh coat.
These details help you judge whether the work is designed to leave a paint-ready surface. A contractor focused only on the final coat may overlook the preparation that makes the finish look consistent.
Cleaning drywall before repairs
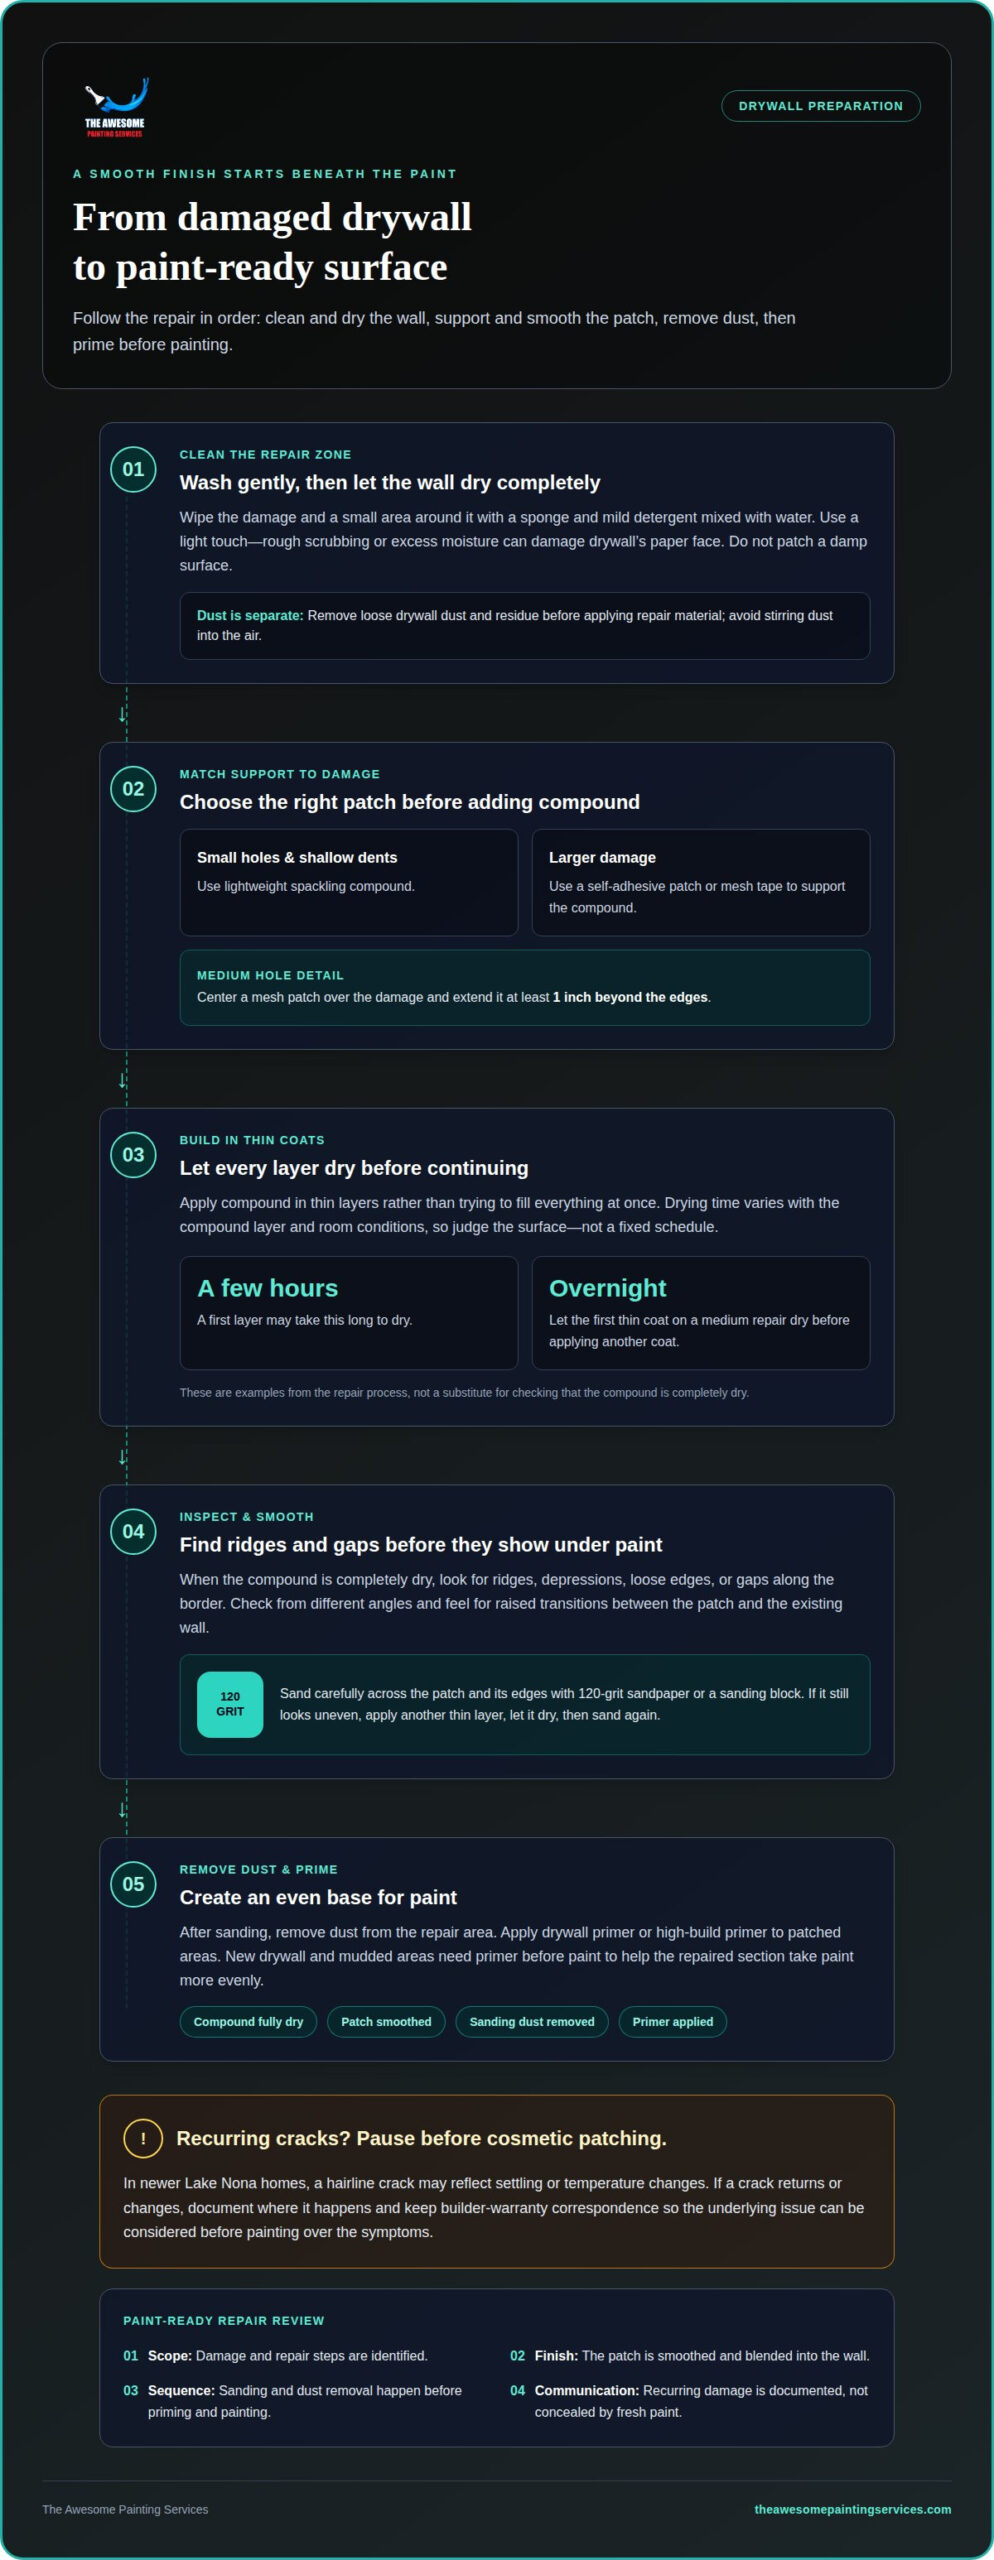
Clean drywall before applying compound so dirt and residue don’t interfere with the repair. Use a sponge with mild detergent mixed with water, then gently wipe the area. A light touch matters: rough scrubbing or excess moisture can damage drywall’s paper face.
Clean the repair zone and a small area around it. For example, if a dent sits beside a dusty baseboard, clean the wall around the dent rather than wiping only its center. This removes grime where the patch edges and compound will meet the existing wall.
After washing, let the drywall dry completely before starting repairs. Don’t apply spackle, joint compound, or a patch over a damp surface. Leftover moisture can affect how repair materials adhere, so allow enough time for the entire cleaned area to feel dry.
Drywall dust needs separate attention. Loose particles can collect on the wall, trim, and nearby surfaces, especially after sanding or cutting. Remove dust from the repair area before adding compound, and avoid stirring it into the air. Inhaling leftover drywall dust can cause respiratory problems.
A clean work sequence helps keep debris from returning to the patch:
- Move nearby items away from the repair area.
- Wipe grime with a sponge and mild detergent mixed with water.
- Allow the wall to dry completely before patching.
- Remove loose drywall dust and residue before applying repair material.
Keep cleaning separate from patching. A damp sponge is useful for washing, but the wall must dry fully before you apply compound. If dust settles again during preparation, remove it before continuing. This final surface check helps prevent dirt from getting trapped beneath the repair, where it could disrupt a smooth transition into the surrounding drywall.
Drywall repairs in contemporary Lake Nona homes
In newer Lake Nona homes, a hairline crack may reflect settling or temperature changes, but a recurring crack deserves attention before cosmetic patching. Keep builder-warranty correspondence and document where cracks return or change. That record helps distinguish a one-time surface blemish from a repeating pattern.
Do Lake Nona or Orlando require permits for drywall repairs? The 32827 and 32832 ZIP codes don’t identify one approval process, so a ZIP code alone can’t establish whether a particular repair needs a permit. The scope of the work matters when considering local review.
How much does drywall repair cost in Lake Nona, Orlando? There’s no single average for every repair. The cost depends on the damage’s size, whether the opening needs support, and how much patching and finish work the wall requires.
Humidity and weather can affect how quickly repaired surfaces dry, so don’t rely on a fixed schedule. Let each compound layer dry completely before adding another, sanding, or painting. If a patch still feels damp, allow it to dry further before moving to the next step.
Match the repair to the damage. Small nail holes and shallow dents can use lightweight spackling compound. A nail-hole fill should dry completely before sanding, ideally for 24 hours. For larger openings, a patch may need mesh or other support; a large patch that misses a stud may need 1×4 backing blocks.
Scale matters in a finished room. A small patch is classified as 1-8 inches, while large damage measures more than 8 inches. Apply joint compound in thin layers and let each layer dry before continuing. Painting over a recurring wall symptom can complicate later review, so address the pattern before a cosmetic finish.
Once the wall issue is understood and the surface is ready, plan your interior painting project for a smooth, unified finish.
The Awesome Painting Services
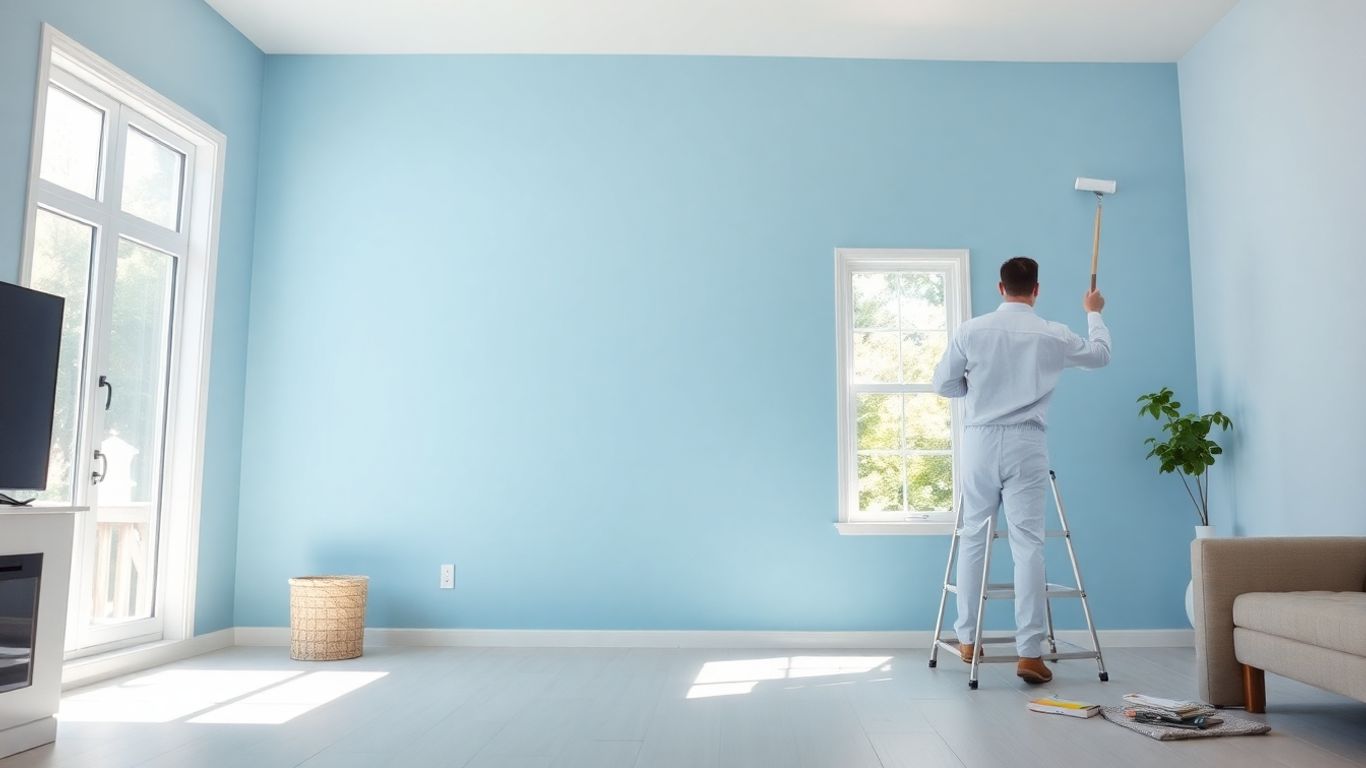
The Awesome Painting Services can help once drywall repairs are complete and the walls are ready for paint. If your Lake Nona home needs a refreshed interior, the company’s interior painting service is a natural next step to bring repaired surfaces and the rest of the room together.
Share your goals for the space, including which walls have been repaired and the finish you want to achieve. That context helps shape the painting project around your home and the look you have in mind. For a broader update, you can also discuss how painting fits alongside other services, such as kitchen cabinet refinishing or custom wood geometric accent walls.
Contact The Awesome Painting Services to discuss your painting project.
Make the finished room feel like yours
Once repairs are ready for paint, consider how you want the room to feel and function. A fresh wall color can support a calm bedroom, a bright gathering space, or a more polished home office. That vision gives your painting project direction beyond simply covering the repaired area.
Careful drywall repair before painting in Lake Nona sets the stage for a finish that feels considered throughout the room. The Awesome Painting Services offers interior and exterior painting and kitchen cabinet refinishing, helping you plan a cohesive refresh around your home’s needs.
Bring your ideas, preferred colors, and project priorities together, then take the next step at a pace that feels right for you. Contact The Awesome Painting Services to discuss your painting plans and move closer to a space that feels fresh, comfortable, and distinctly yours.
Frequently Asked Questions
Can you match the smooth wall finishes in newer homes?
Yes, you can achieve a smooth finish by keeping the repair level and blending its edges into the surrounding wall. Newer homes often have broad, uninterrupted wall surfaces where small ridges catch the light. Check the patch from different angles, especially beside windows or along a hallway, where daylight can reveal uneven transitions before painting.
What drywall repairs should be completed before painting?
Before painting, address holes, cracks, dents, loose edges, and damaged seams that would show through the finish. For example, cut away loose or frayed paper around a tear before applying repair material. Also distinguish a recurring crack from a one-time blemish. If a crack keeps returning, document its location and history before treating it as a cosmetic repair.
How do you patch small holes and cracks in drywall before painting?
For a shallow nail hole, press lightweight spackling compound into the opening and remove excess from the surface. Let it dry completely before sanding; ideally, allow 24 hours. For a crack, widen it slightly with a utility knife, then apply joint compound in thin layers. Let each layer dry before adding another or sanding.
How do you repair large drywall holes before painting?
Large openings need a stable patch, not just compound across empty space. If the patch doesn’t land on a stud, support it with 1×4 backing blocks. Apply a ⅛-inch-thick coat of drywall mud along the seams. After taped seams dry overnight, use an 8-inch knife for the second coat and a 12-inch knife for the third.
What primer should be used on repaired drywall before painting?
Choose a primer designed for drywall, often labeled drywall primer or high-build primer. Apply it to new drywall and mudded areas before painting so the repaired surface has a prepared base. For instance, a patched section in a freshly renovated room should be primed along with any exposed new drywall, rather than left as bare compound beneath the finish coat.
How can you match drywall texture before painting?
First identify the wall’s existing texture, such as a subtle stipple or a nearly smooth surface. Recreate that pattern on a small sample before applying it to the repair. Use the same motion and tool across the patch, then soften the edges so the texture doesn’t stop abruptly. Compare the dry sample with the wall before painting.