How to Prepare Walls for Painting With the Right Filler
A fresh coat can still look unfinished if gaps between the walls and molding remain visible. A preparing walls for painting service matches the repair material to the job: spackling for small holes and dents, joint compound for broader patches, and paintable caulk for narrow gaps along trim. Protect floors and furniture, remove dust and grime, then let repairs dry and smooth them before painting.
Careful preparation makes a visible difference, but choosing the right filler and treating each surface properly can be tricky. This guide explains how to select filler, protect the room, clean walls, and caulk trim gaps for a neat, even finish. You’ll learn where each repair material works best and how to move from patching to painting without missing details that help walls look refreshed.
Key Takeaways
- Match the filler to the repair, and choose a joint compound working time that suits the size of the patch.
- Protect floors with drop cloths and cover large furniture that can’t be moved before work begins.
- Remove sanding dust and surface grime before painting so the new finish has a clean foundation.
- Seal narrow gaps where molding meets the wall for a more polished result, and explore how custom wood geometric accent walls can add a distinctive finish.
Choosing between premixed spackling and joint compound
Wall preparation takes as long as the surface and repairs require. The wall’s condition, patch size, drying time, cleaning, and priming all affect the schedule.
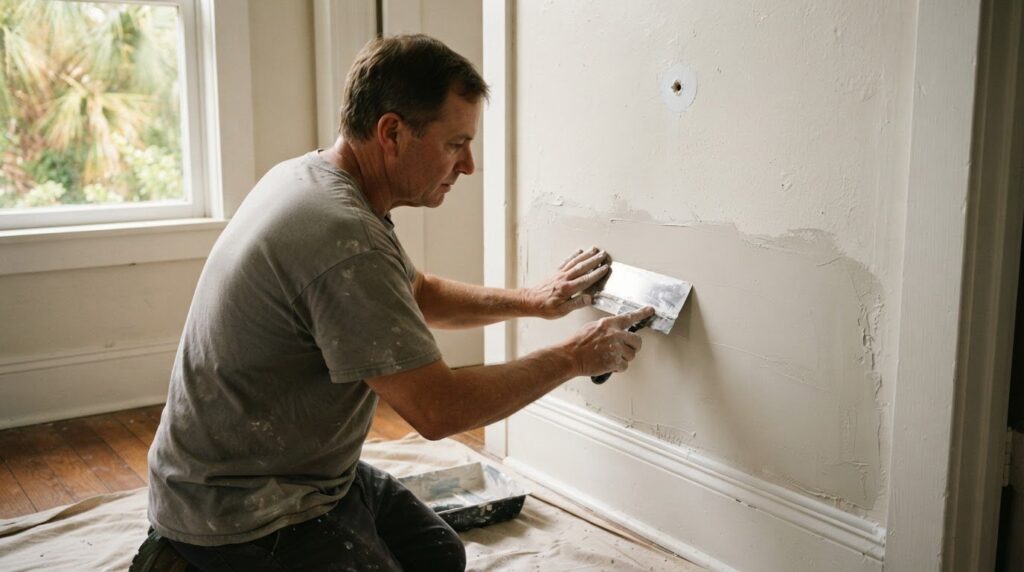
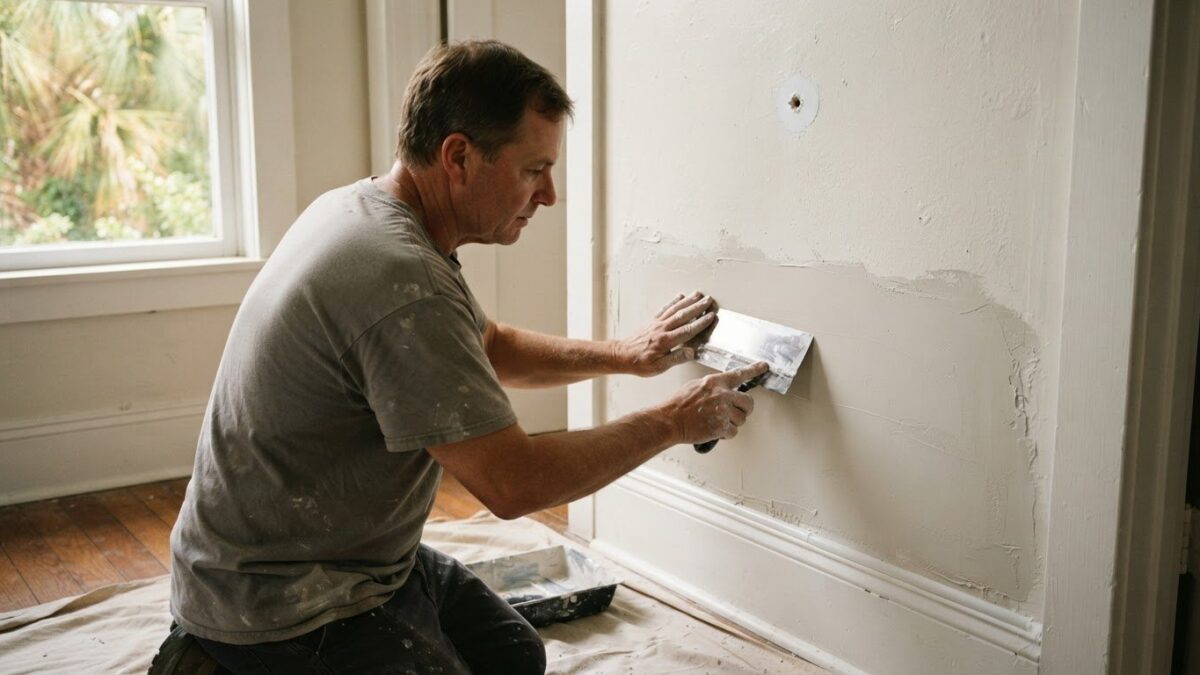
- Match the filler to the repair. Use premixed spackling for small nail holes, dents, and minor chips. Choose joint compound for broader patches or multiple repairs. For example, fill a picture-hook hole with spackling, but use compound to smooth a larger damaged area.
- Choose a suitable joint compound grade. Joint compound comes in five grades, based on average setting and working times. Lower-grade compound dries faster on the wall and in the mixed batch, so select a longer-working grade for a larger repair.
- Allow enough working time. Sheetrock Easy Sand grade 90 sets within 85-130 minutes and has a working time of one hour before the mixed compound begins to dry. Avoid grade 20 for larger patching jobs because it may dry before the work is finished. Mixing takes a minute or two.
- Sand dried repairs smooth. After spackling has dried, sand the damaged area until it sits level with the surrounding wall. Remove sanding dust before priming; a dusty patch can leave an uneven surface beneath paint.
- Choose roller nap for the wall texture. Use a shorter nap on smooth drywall and a thicker nap on textured walls, where extra fibers help reach the surface’s recesses. Match the roller to the wall rather than using one nap for every room.
- Prime according to the wall’s condition. Prime the entire surface if it’s newly constructed, water- or smoke-stained, prone to mildew, rusted, or aged. Primer may also help when covering a dark wall with a light color. Follow the primer label, then let the surface dry before painting.
Mixing joint compound takes a little time, so allow for this step before starting broader patching or several repairs.
Protecting floors and furniture with drop cloths
Clear the work area before sanding or painting. Cover anything that must stay in the room, including floors, furniture, and nearby belongings.
-
Move and Cover Furniture
Move chairs, small tables, lamps, and décor out of the room before work starts. Cover large items that can’t be moved with a sturdy tarp. Protect nearby belongings, such as shelves or electronics, and keep coverings clear of the wall so they don’t interfere with patching or paint application. Check that each item is fully covered.
-
Lay Drop Cloths Over Floors
Spread drop cloths across the floor beneath the walls being prepared and painted. Canvas cloths absorb drips and spills and can be reused. Cover exposed flooring near doorways and along wall edges, where tools and paint may pass. Smooth the cloths flat and overlap their edges so no floor sections are left uncovered.
-
Gather Protection Supplies
Set out canvas drop cloths for floors and a sturdy tarp for furniture that must stay in the room. Add smaller coverings for belongings near the work area, such as a side table or bookcase. Gather supplies before starting, then check that the tarp covers the furniture and the cloths reach the floor beneath the wall.
- Wear protective gear for sanding. Put on a mask, goggles, and gloves before sanding wall repairs. If removing old paint by sanding, scraping, or another method, use a properly fitted NIOSH-approved respirator. Keep protective gear on while sanding, then carefully remove dust from nearby coverings so it doesn’t spread onto the prepared surfaces.
Wear a mask, goggles, and gloves when sanding walls. When removing drywall dust, use a fresh cleaning cloth for each wall instead of carrying the same cloth from wall to wall. Change cloths as you move from one wall to the next.

Cleaning walls with a damp Swiffer cloth
After sanding, clean from the top down so dust and grime don’t settle on areas you’ve already finished. A slightly damp Swiffer cloth can pick up remaining drywall dust.
-
Remove Drywall Dust
Vacuum most drywall dust first, then wipe the walls with a slightly damp cloth attached to a Swiffer. Start at the left side of the first wall and wipe straight from top to bottom, moving across as you go. Change the cloth for each new wall, and vacuum floors and wipe baseboards after sanding.
You can prepare sound, lightly dusty walls yourself with a vacuum and clean cloth. Hire a professional painter when repairs or surface conditions make the preparation more involved.
-
Clean and Degrease Walls
Use a clean cloth to wash grime from the wall, working from top to bottom and switching to a clean section as dirt transfers. Pay attention to areas around light switches and kitchen surfaces, where fingerprints or grease may collect. Avoid soaking drywall; a slightly damp cloth lifts dust without saturating the surface.
Depending on their condition, walls may need washing, sanding, and priming. Let washed walls dry for a few hours before applying primer or paint, and make sure they’re thoroughly dry before putting painter’s tape on the trim.
For peeling paint, remove loose areas and sand the edges before cleaning. Water- or smoke-stained walls, mildew-prone surfaces, and aged or newly constructed walls need primer across the entire surface. If sanding or scraping old paint, wear a properly fitted NIOSH-approved respirator.
- Finish with a clean surface. In good light, check each wall for visible dust, greasy marks, or residue, especially around trim and switches. Wipe missed spots with a clean, slightly damp cloth, then let them dry fully. This final pass helps keep debris from showing through primer or disrupting the painted finish.
Caulking gaps between molding and walls
- Inspect the trim line. Look along baseboards, door casings, and window molding for narrow gaps where the trim meets the wall. A consistent seam can make the finished edge look cleaner, while open gaps may stand out after fresh paint. Note which sections need caulk and whether any existing material is loose or damaged.
- Remove loose old caulk. Carefully lift away cracked or detached material with a suitable scraper, taking care not to gouge the wall or molding. Caulk applied over loose residue may not form a neat, secure line. Brush away crumbs and dust, then leave the seam clean before applying new material.
- Choose paintable caulk. Select a caulk labeled paintable for gaps between interior molding and walls. This lets the repaired seam blend with the painted surface. Don’t use a product that isn’t intended to be painted, because its finish may remain visible beside the wall color.
- Prepare a controlled bead. Cut the applicator opening small enough to control the flow along the seam. Apply steady pressure and move at a consistent pace, filling the gap without laying a thick ridge over the molding. For a short section, work in one direction to keep the bead even.
- Smooth and inspect the seam. Smooth the fresh caulk with a damp finger or suitable tool, pressing it into the gap and removing excess. Check the line from different angles, especially where baseboards meet corners or door trim. Clean stray caulk before it dries, and follow the product label for drying and painting guidance.
- Paint after the caulk is ready. Let the filled seam dry as directed on its label before painting. Then apply paint carefully along the molding, keeping the edge crisp. For a coordinated focal point, consider how clean trim lines can complement custom wood geometric accent walls.
The Awesome Painting Services: Custom Wood Geometric Accent Walls
The Awesome Painting Services provides interior painting and custom wood geometric accent walls to help complete your space. Turn to the team when your walls are ready for a fresh coat or when you want a distinctive wood feature to complement the room. Proper preparation gives paint a clean foundation and helps an accent wall feel intentional in your home.
The team also provides exterior painting and kitchen cabinet refinishing. Whether you’re refreshing one room or planning a broader update, share the look you want and the areas you’d like to transform.
Contact The Awesome Painting Services to discuss your painting project.
Make the Next Coat the Start of Something Fresh
Your walls set the tone for the whole room. Choose a finish that supports the atmosphere you want, whether that’s a calm, cohesive backdrop or a more expressive design. If preparation feels like the hardest part, The Awesome Painting Services can prepare walls for painting and help take your project from rough surfaces to a polished finish.
With the surface ready, you can focus on choosing colors and an atmosphere that suit your home. A refreshed wall can also start a broader update, bringing new energy to a room while keeping your original vision in view.
Ready to plan your next painting project? Contact The Awesome Painting Services to discuss the look you want. Your fresh start is closer than it feels.
Frequently Asked Questions
What does a wall preparation for painting service include?
A wall preparation service gets the surface ready for the chosen paint, with the work guided by the room’s condition. Preparation can include assessing damage, removing wall décor, addressing stains or loose paint, and readying repairs before the finish coat. For example, a recently patched section may need a different approach from an older wall with several layers of paint.
What are the steps for preparing walls before painting?
Start by clearing the work area and checking the walls for damage, peeling paint, stains, and gaps around trim. Complete repairs and caulking before the final dust removal, then let wet cleaning and repairs dry. Inspect the surface in good light to spot ridges or missed areas that are harder to see in dim conditions.
How do painters repair holes, cracks, and damaged drywall before painting?
Painters assess whether damage is a small surface flaw or a broader area that needs compound. They remove loose material, apply suitable filler, and let the repair dry before smoothing it for paint. A shallow nail hole, for example, needs a smaller repair than torn or crumbling drywall. The surface should be clean and sound before primer or paint goes on.
What should I move or cover before a wall preparation service arrives?
Move breakable décor, small furniture, and items stored beside the walls so the work area stays accessible. Clear shelves near the painting surface and secure belongings that could collect dust. Cover large furniture that must remain in the room. In Orlando and surrounding Central Florida communities, including Winter Park, Windermere, and Oviedo, a clear path to each wall also helps keep the work area organized.