

The Art of Being a Painter: A Comprehensive Guide
Thinking about picking up a paintbrush or maybe just need to spruce up your home? Painting is a skill that can really transform a space, whether you’re a DIY enthusiast or looking for professional help. Here at The Awesome Painting Services, we know a thing or two about making walls look great. We’re your go-to for house painting in Orlando, and we want to share some insights that might help you on your painting journey. From finding your own style to making sure the job is done right, there’s a lot to consider. Let’s talk about what it takes to be a good painter, or at least how to get the best results for your Orlando home.
Key Takeaways
- Finding your personal painting style helps you create art that’s uniquely yours.
- Learning different painting methods and color basics gives you more options.
- A good workspace and the right tools make painting easier and more enjoyable.
- Proper prep work and color choice are key for a great paint job on walls.
- Understanding the business side, like portfolios and quotes, is important for professional painters.
Discovering Your Artistic Voice As A Painter
Finding your own way of painting is a big part of being an artist. It’s like figuring out what makes you, you. It’s not about copying someone else, but about letting your own ideas and feelings come out through your brush. This journey is about exploration and self-discovery.
Finding Your Unique Style
Your style is how your paintings look and feel. It’s in the colors you pick, the way you put paint on the canvas, and the subjects you choose. Don’t worry if it doesn’t appear overnight. It grows as you paint more and more.
- Experiment with different marks: Try thick paint, thin paint, smooth strokes, or rough ones. See what feels right.
- Play with color combinations: Mix colors you wouldn’t normally put together. See what happens.
- Look at your favorite artists: What do you like about their work? Try to understand why you like it, not just copy it.
Think of your style as a conversation you’re having with the canvas. What do you want to say, and how do you want to say it?
Exploring Different Painting Mediums
There are so many ways to paint! Each one has its own personality. Trying them out can really help you find what you like best. You might be surprised by what clicks with you. For instance, oil paints are slow to dry, giving you lots of time to blend, while acrylics dry fast, which is great for quick layers. Watercolor is transparent and can create beautiful washes. Gouache is like watercolor but opaque, offering a different feel. Each medium has its own set of tools and techniques, so don’t be afraid to try a few. You can find lots of information on different mediums by doing a quick Google Search.
Developing Your Creative Process
How do you get from an idea to a finished painting? That’s your creative process. It’s not always a straight line. Sometimes it’s messy, and that’s okay.
Here’s a simple way to think about it:
- Idea Generation: Where do your ideas come from? Maybe from nature, dreams, or just everyday life.
- Sketching and Planning: Before you paint, you might sketch out your idea. This helps you figure out the composition and colors.
- Execution: This is the actual painting part. You might work quickly or slowly, depending on the medium and your mood.
- Reflection: After you finish, look at your work. What went well? What could be different next time? This helps you learn and grow.
Your process might change from painting to painting, and that’s perfectly normal. The goal is to find a rhythm that works for you and helps you get your ideas out.
Mastering Essential Painting Techniques
Getting good at painting isn’t just about slapping color on a canvas or wall. It’s about knowing how to control your tools and materials to get the look you want. Let’s break down some of the core skills that will make your paintings pop.
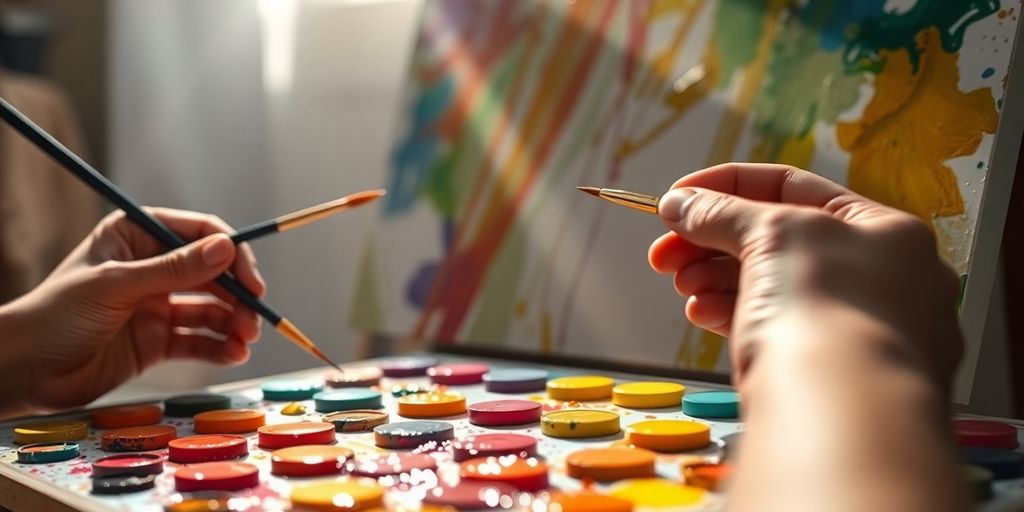
Brushwork Fundamentals
Your brush is like an extension of your hand. How you hold it, the pressure you apply, and the type of brush you use all change the mark you make. Think about different brushes: flats give you broad strokes, rounds are good for details, and filberts offer a bit of both. Experimenting with how you move the brush – short, choppy strokes versus long, smooth ones – can completely change the feel of your painting.
Here are a few things to try with your brushes:
- Dry Brushing: Load your brush with a little paint, wipe most of it off on a rag, and then lightly drag it across the surface. This creates a textured, broken color effect.
- Scumbling: Use a stiff brush with a small amount of paint in a circular, crisscross motion. It creates a soft, broken layer of color that allows what’s underneath to show through.
- Glazing: Thinning down paint with a medium (like water for acrylics or linseed oil for oils) creates a transparent layer. Applying glazes over dried paint can deepen colors or shift their tone subtly.
Color Theory for Painters
Color is powerful. Understanding how colors work together can make your paintings sing. It’s not just about picking pretty colors; it’s about how they interact. The color wheel is your friend here. Colors opposite each other, like blue and orange, are complementary. When placed next to each other, they make each other look brighter. Mix them, and they tend to neutralize each other, creating browns and grays.
- Warm Colors: Reds, oranges, and yellows tend to come forward and feel energetic.
- Cool Colors: Blues, greens, and violets tend to recede and feel calming.
- Value: This is how light or dark a color is. Having a good range of values, from very light to very dark, is key to creating depth and form in your paintings.
Don’t be afraid to mix your own colors. Relying only on colors straight from the tube can lead to a painting that looks a bit flat. Learning to mix a wide range of greens from blues and yellows, or creating subtle grays from complementary colors, will give your work much more life.
Understanding Light and Shadow
How light hits an object creates highlights, mid-tones, and shadows. This is what gives your painting a sense of three-dimensionality. Without proper attention to light and shadow, your subjects can look flat. Think about where the light source is coming from. The side facing the light will be brightest, and the side facing away will be darkest. Even in shadows, there are usually subtle variations in color and tone. Learning to see these shifts is a big step. If you’re painting a white object, the shadows won’t be pure black; they’ll often pick up reflected light from the surroundings, so they might have a hint of blue or the color of the floor it’s sitting on. This is a common technique used by many artists, and you can find more about color choices on pages like choosing the right paint colors.
Paying attention to these elements – your brushwork, how colors interact, and how light shapes form – will really help you move forward in your painting journey.
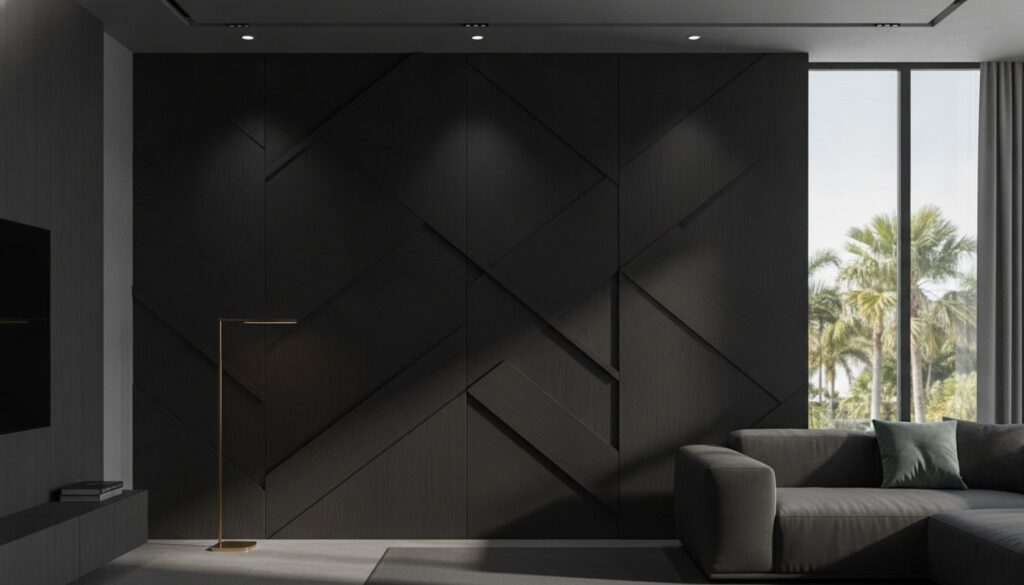
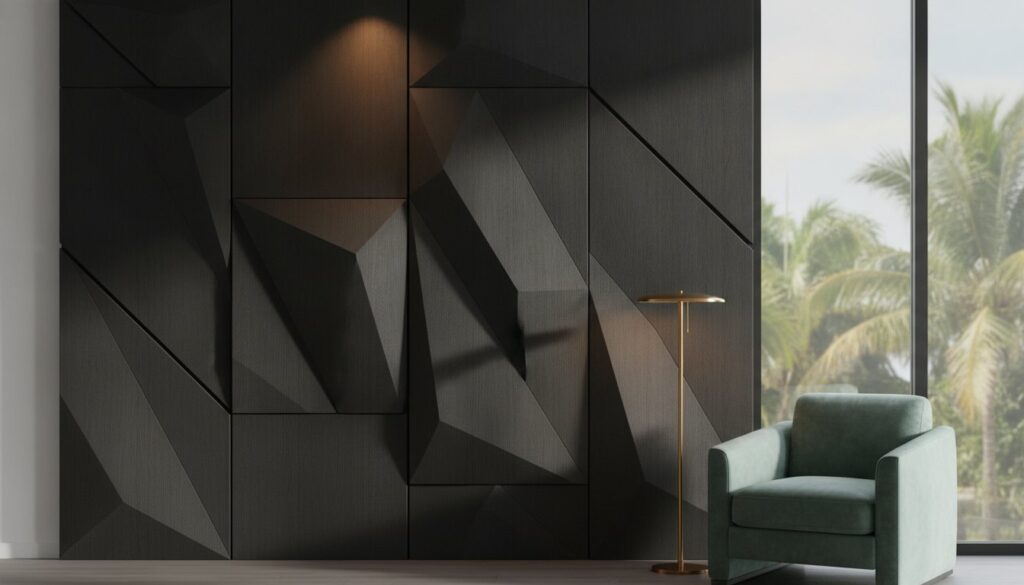
Setting Up Your Painting Studio
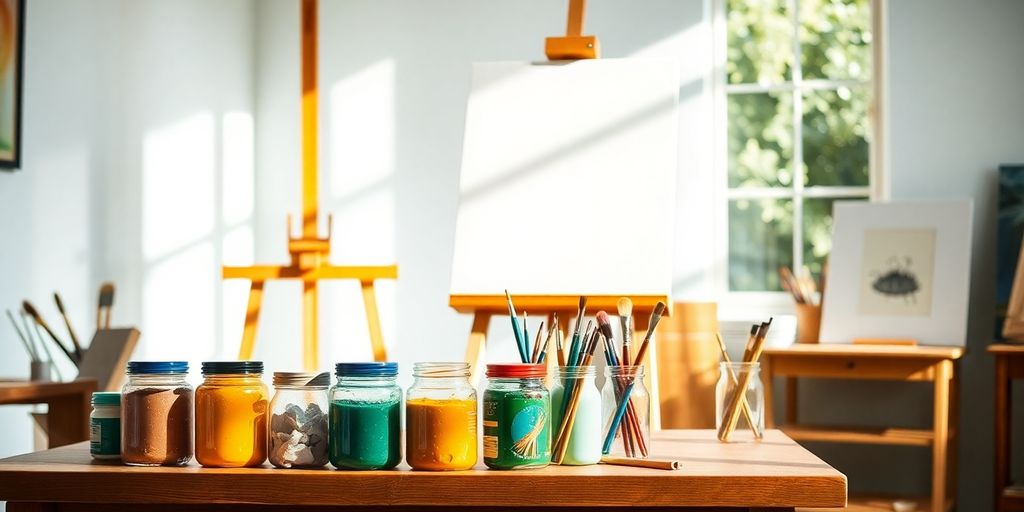
So, you’ve decided to get serious about painting. That’s awesome! But before you can really get into the groove, you need a space to work in. Your studio doesn’t have to be some huge, fancy room. It can be a corner of your living room, a spare bedroom, or even a spot in the garage. The main thing is making it work for you and your painting needs.
Creating an Inspiring Workspace
Think about what makes you feel good when you’re creating. Do you like lots of natural light? Maybe some plants? Or perhaps you prefer a more minimalist setup. Whatever it is, try to arrange your space so it feels comfortable and sparks your creativity. Good lighting is super important, especially if you’re working with color. Natural light is best, but if that’s not an option, get some good quality artificial lights that mimic daylight.
Having a dedicated space, even a small one, helps you get into the right mindset. It signals to your brain that it’s time to create.
Essential Tools for Every Painter
When you’re starting out, you don’t need a million things. Focus on the basics. Here’s a quick rundown of what most painters find helpful:
- Easels: Whether it’s a tabletop easel or a standing one, an easel helps you work at a comfortable angle.
- Palettes: For mixing your paints. You can get disposable paper palettes, a glass slab, or even an old plate.
- Brushes: Start with a few different sizes and shapes. You don’t need the most expensive ones right away.
- Canvas or Paper: Whatever surface you plan to paint on.
- Water Containers: For water-based paints like acrylics or watercolors. You’ll want at least two – one for rinsing and one for clean water.
Organizing Your Supplies
Keeping your supplies tidy makes painting much more enjoyable. Nobody wants to spend ages looking for a specific brush or a tube of paint. Think about how you can store things so they’re easy to see and grab. Shelves, drawers, or even old jars can work wonders. You can find some great ideas for organizing your art supplies on YouTube channels like The Awesome Painting Services. A well-organized studio means less frustration and more time actually painting.
Bringing Your Vision To Life On Walls
So, you’ve got your masterpiece planned out, and now it’s time to get it onto the walls. This part can feel a bit daunting, but honestly, it’s where the real magic happens. Getting the surface ready is half the battle, and it makes a huge difference in how your paint looks and lasts.
Preparing Surfaces for Painting
Before you even think about dipping a brush, you need to prep your canvas, wall, or whatever you’re painting on. It’s like making a cake – you wouldn’t just throw everything in the oven without mixing it first, right? For walls, this usually means cleaning them really well. Get rid of any dust, grease, or old peeling paint. If there are holes or cracks, you’ll want to fill those in with spackle and sand them smooth once they’re dry. A good primer is your best friend here. It seals the surface, makes the color truer, and helps your paint stick properly. Think of it as a solid foundation for your art.
Achieving Flawless Finishes
Getting that smooth, even look takes a bit of patience. For walls, using a roller with a good quality cover is key. Apply paint in a consistent pattern, like "W" or "M" shapes, and then go back over it with light, even strokes to blend it all together. Don’t overload your brush or roller; too much paint can lead to drips and an uneven texture. Multiple thin coats are almost always better than one thick one. It might take longer, but the end result is so much cleaner and more professional. You can check out some tips on proper wall preparation if you’re tackling a big room.
Choosing the Right Paint Colors
Color is everything, isn’t it? It sets the mood, it draws the eye, and it can totally change how a space feels. When you’re deciding on colors, think about the light in the room. Colors can look very different in natural light versus artificial light, and even different types of artificial light can change them. It’s a good idea to get some small sample pots and paint swatches on your wall. Live with them for a day or two to see how they look at different times. Consider the overall vibe you’re going for – calm and serene, or bold and energetic? Don’t be afraid to experiment a little, but also trust your gut. Sometimes the simplest choices are the most effective.
The Business Side of Being A Professional Painter
So, you’ve got the painting skills down, but how do you actually make a living from it? Turning your passion into a profession involves more than just a steady hand and a good eye. It’s about showing people what you can do and getting paid for it. Let’s break down the business side of being a painter.
Building Your Painting Portfolio
Think of your portfolio as your visual resume. It’s the first thing potential clients will look at to see if your style matches what they need. You want to showcase your best work, but also a variety of projects to show you’re versatile.
- Start with high-quality photos: Good lighting and clear shots are a must. No blurry phone pictures!
- Include a range of work: Show different types of projects, like interior walls, exterior jobs, or even specialty finishes if you do those.
- Organize it logically: Group similar projects together or arrange them by type of service.
- Add brief descriptions: Mention the project scope, any challenges you overcame, and the outcome. Keep it short and sweet.
Your portfolio is your silent salesperson; make it speak volumes about your abilities.
Connecting with Clients
Getting your name out there is key. Word-of-mouth is great, but you need to actively seek out opportunities.
- Local networking: Talk to people in your community, hardware stores, and real estate agents. They often know people who need painting done.
- Online presence: A simple website or a social media page can make a big difference. Post pictures of your work regularly.
- Ask for reviews: Happy clients are your best advertisers. Encourage them to leave reviews online or give testimonials.
Building trust is a big part of getting repeat business and referrals. Be reliable, communicate clearly, and always show up on time.
Estimating Painting Projects
This is where many new painters stumble. You don’t want to charge too little and lose money, but you also don’t want to scare clients away with high prices.
Here’s a basic way to think about it:
| Factor | Consideration |
|——————–|—————————————————| |
| Surface Area | Square footage of walls/ceilings to be painted. |
| Prep Work | How much sanding, patching, or cleaning is needed? |
| Paint Type | Quality of paint, number of coats required. |
| Labor Time | Your hourly rate multiplied by estimated hours. |
| Complexity | Intricate details, high ceilings, difficult access. |
| Overhead | Costs like insurance, tools, transportation. |
Always add a little buffer for unexpected issues. It’s better to be slightly over than significantly under. And remember, your estimate should be clear and detailed so the client knows exactly what they’re paying for.
Caring For Your Artwork and Tools
So, you’ve poured your heart and soul onto the canvas, and now you’ve got this amazing piece of art. That’s fantastic! But what happens next? Well, taking care of your paintings and the tools you used to create them is just as important as the painting itself. It’s not super glamorous, but trust me, it makes a big difference in the long run.
Proper Brush Cleaning and Maintenance
Your brushes are like extensions of your hands when you paint, right? So, keeping them in good shape is a must. After you finish painting, don’t just leave them sitting in water or with dried paint on them. That’s a recipe for stiff, unusable brushes.
Here’s a simple way to clean them:
- Rinse: If you used water-based paints like acrylics or watercolors, rinse the brushes under lukewarm running water. Gently work out as much paint as you can.
- Wash: Use a mild soap or a dedicated brush cleaner. Gently swirl the brush head in the soap and water, working up a bit of lather. Be careful not to bend the bristles too much.
- Rinse Again & Reshape: Rinse thoroughly until all the soap is gone. Then, gently reshape the bristles with your fingers and lay the brushes flat or hang them bristles-down to dry. Never leave brushes standing upright in a jar to dry, as this can damage the bristles.
For oil paints, you’ll need a solvent like turpentine or mineral spirits. Do the same rinsing and washing process, but make sure you’re in a well-ventilated area. After cleaning with solvent, it’s a good idea to give them a final wash with soap and water.
Storing Your Paintings Safely
Where you keep your finished work matters. You don’t want your beautiful paintings getting damaged before they even get a chance to be seen or sold. Think about the environment:
- Temperature and Humidity: Try to keep your paintings in a place with stable temperature and humidity. Big swings can cause the canvas or paint to expand and contract, leading to cracks.
- Sunlight: Direct sunlight is a big no-no. It can fade the colors over time and even damage the paint layers.
- Pests: Keep an eye out for any little critters that might decide your artwork looks like a tasty snack. Proper storage helps prevent this.
If you’re stacking paintings, put a piece of glassine paper or acid-free paper between them. This stops the surfaces from sticking together, which can ruin the paint. For unframed pieces, a sturdy portfolio or a specialized art storage box works well. If you’re looking for someone to help with the final touches on a project, finding a good house painter can make all the difference.
Preserving Your Artistic Creations
Preserving your art is about more than just storage; it’s about making sure your work lasts. This means being mindful of how you handle your paintings and what you might do to protect them further.
Sometimes, a simple varnish can add a layer of protection against dust and UV rays, and it can also even out the sheen of your painting. Just make sure the paint is completely dry before you apply it – usually, this means waiting at least six months for oil paints.
Regular dusting with a soft, dry brush or a microfiber cloth is also a good habit. Just be gentle! For very valuable or delicate pieces, you might consider consulting with an art conservator. They have specialized knowledge for keeping artwork in top condition for years to come. It’s all about giving your creations the best chance to shine.
Keeping your artwork and tools in good shape is super important. Proper care helps them last longer and look their best. Want to learn more about how to protect your creative gear? Visit our website for tips and tricks!
Ready to Bring Your Vision to Life?
So, you’ve learned a bit about what goes into being a painter, from picking the right colors to getting that smooth finish. It’s more than just slapping paint on walls, right? It’s about making spaces feel new and exciting. If you’re in Orlando and thinking about giving your home a fresh look, whether it’s a single room or the whole house, remember that the right painters make all the difference. The Awesome Painting Services is here to help you with your house painting in Orlando. We handle everything from interior painting in Orlando to making sure your home looks its best. Get in touch with us at The Awesome Painting Services, or visit our website at https://theawesomepaintingservices.com to learn more and get a quote. Let’s make your space look amazing!
Frequently Asked Questions
How do I figure out what painting style is best for my home?
At The Awesome Painting Services, we believe finding your style is like finding your favorite color! It’s all about trying different things. We help you explore various paint types and techniques to discover what feels right for your project. Think of it as a fun experiment to see what looks best on your walls, whether it’s a bold new look or a subtle refresh. We’re here to guide you every step of the way in making your home in Orlando look amazing.
What are the most important tools and setup tips for painters?
Getting the perfect look starts with the right tools and a good setup. For house painting in Orlando, having a clean, organized space makes a big difference. We use top-notch brushes and make sure our workspace is ready to go, which means less mess and a better finish for you. Having the right gear helps us do a fantastic job, making your home shine.
Why is preparing the walls so important before painting?
Surface prep is super important! Before we even think about color, we make sure walls are smooth and clean. This means filling holes and sanding any rough spots. It’s like getting your canvas ready before you paint a masterpiece. For beautiful interior painting Orlando homes deserve, this step ensures the paint sticks well and looks smooth for years to come.
How do I choose the best paint colors for my rooms?
Choosing colors can be tricky, but it’s also the most exciting part! We help you pick shades that match your home’s style and the mood you want to create. Whether you want a bright and cheerful living room or a calm bedroom, we have expert advice. Let The Awesome Painting Services help you select the perfect colors for your Orlando home.
How do professional painters show their work and estimate costs?
Building a portfolio is like showing off your best work! For us at The Awesome Painting Services, it means having pictures of our amazing projects. When you need Orlando painters, you want to see what we can do. We also make sure to give clear price estimates so you know exactly what to expect. Getting a quote from us is easy and helps you plan your project.
How should I care for my painted walls and the tools used?
Taking care of your painted surfaces and tools is key to a long-lasting, beautiful finish. We make sure to clean our brushes properly after every job so they stay in great shape. For your home, this means the paint job will look good for a long time. If you want your walls to stay looking fresh, it’s all about quality work and care, something The Awesome Painting Services is known for.
