
The Ultimate Guide to House Painting: Tips and Tricks for a Perfect Finish
Thinking about a fresh coat of paint for your home in Orlando? It’s a big job, but getting it right makes all the difference. Whether you’re aiming for a cozy living room or a bright kitchen, the right approach to house painting can totally change your space. We’re here at The Awesome Painting Services to help you figure it all out, from picking colors to making sure the final look is just perfect. Let’s get your house painting project started right!
Key Takeaways
- Picking the right colors is key for house painting. Think about how light and color psychology affect your rooms before you start.
- Good prep work is a must for any house painting job. Cleaning, fixing surfaces, and taping properly make the final result look much better.
- Different paint types and sheens have their own uses. Knowing these helps you choose the best paint for each part of your house painting project.
- Proper application matters. Using the right tools and techniques, like brushes for edges and rollers for walls, leads to a smoother finish.
- For the best results, especially on tricky projects, consider hiring Orlando painters. The Awesome Painting Services can handle your house painting needs for a professional finish.
Choosing Your Perfect Palette
Picking the right colors for your home can feel like a big decision, and honestly, it is! It sets the mood for every room. Let’s break down how to get it right.
Understanding Color Psychology for Your Home
Colors do more than just look pretty; they actually affect how we feel. Think about it: a bright yellow room might make you feel cheerful, while a deep blue could feel calming. It’s not just a feeling, either. Certain colors are known to influence our moods and even our energy levels. For instance, reds and oranges can be stimulating, making them good for spaces where you want activity, like a kitchen or a playroom. On the other hand, blues and greens are often seen as relaxing, perfect for bedrooms or bathrooms where you want to unwind. Neutrals like grays, beiges, and whites are versatile and can create a sense of calm and spaciousness. It’s a good idea to think about what you want to do in each room and choose colors that support that.
Don’t be afraid to experiment with color. What looks good in a magazine might not feel right in your own space. Trust your gut feeling about what makes you feel comfortable and happy.
Testing Paint Colors Before Committing
So, you’ve got a few shades in mind? Great! But before you buy gallons of paint, you absolutely need to test them out. Paint chips are helpful, but they don’t tell the whole story. The best way to see how a color will actually look is to paint a swatch directly on your wall. Get a few sample pots and paint large squares (at least 1 foot by 1 foot) in different spots on the wall you plan to paint. Look at them at different times of the day, too. The light changes everything. What looks good in the morning might look totally different in the evening. This step is super important for avoiding costly mistakes. You can find some great tips on how to properly test paint colors on paint application guides.
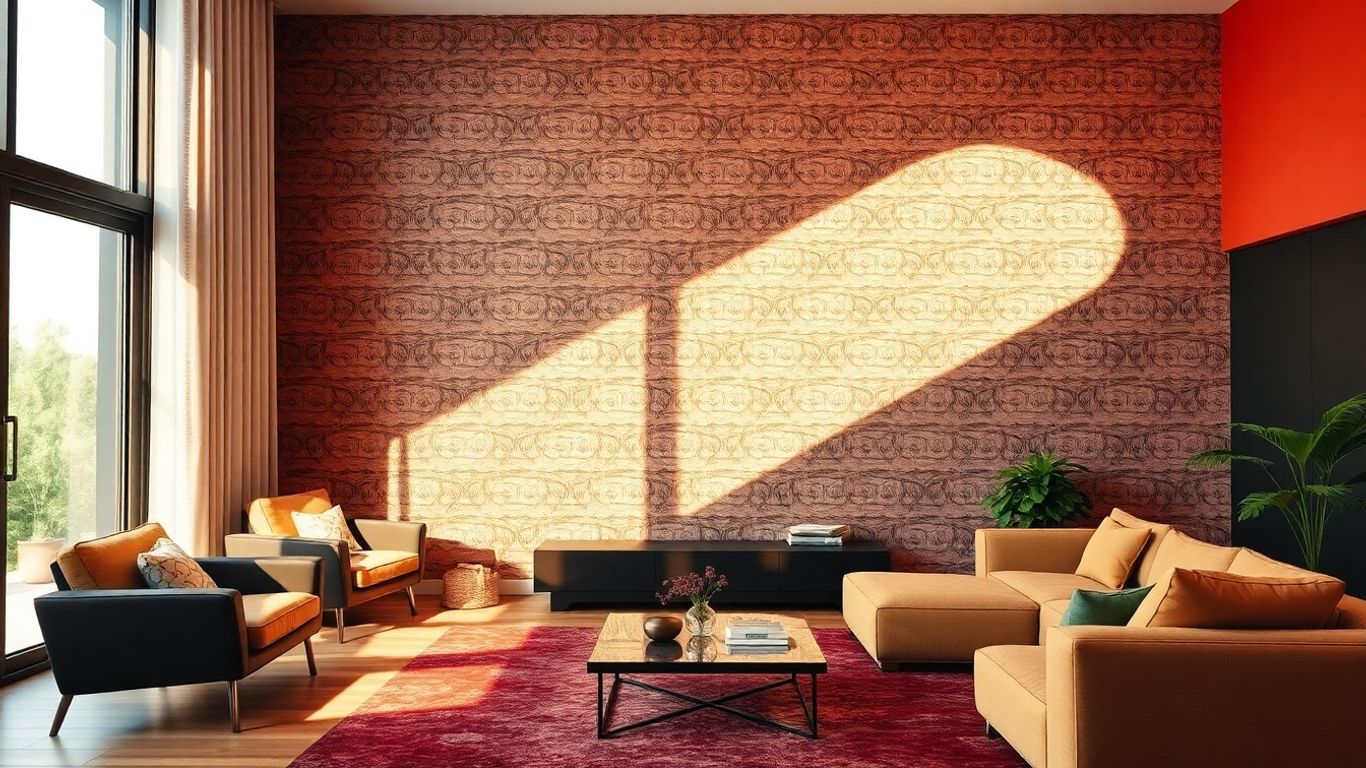
Considering Light’s Impact on Hue
Light is probably the biggest factor in how a paint color appears. Natural light, artificial light, the direction your room faces – it all plays a role. A color that looks vibrant in a south-facing room with lots of sun might appear dull in a north-facing room that gets less natural light. Even the type of light bulb you use can change a color. Incandescent bulbs give off a warmer, yellowish light, while LEDs can be cooler or warmer depending on the type.
Here’s a quick rundown:
- North-facing rooms: Tend to have cooler, more consistent light. Colors can appear a bit bluer or grayer. Warmer colors can help balance this out.
- South-facing rooms: Get bright, warm light throughout the day. Colors will appear truer and more vibrant. Be careful with very bright colors, as they can feel intense.
- East-facing rooms: Get warm, bright light in the morning, but cooler light in the afternoon. Colors will change significantly throughout the day.
- West-facing rooms: Have cooler light in the morning and warm, intense light in the afternoon. Colors can look quite different from morning to night.
Thinking about these light conditions will help you pick a color that looks great at all times. It’s all about seeing how the color interacts with the light in your specific space.
Essential Preparation for a Flawless Finish
Getting ready to paint is probably the least exciting part of the whole process, but honestly, it’s where the magic happens for a good finish. Skipping steps here is like trying to bake a cake without measuring the flour – it just won’t turn out right.
Surface Cleaning and Repair Essentials
Before you even think about picking up a brush, you need to make sure your walls are clean and smooth. Dust, grease, and old cobwebs will make your new paint look bumpy and uneven. Give your walls a good wipe-down with a mild soap and water solution. For tougher spots, like crayon marks or stubborn grime, you might need a bit more elbow grease or a specialized cleaner. Don’t forget to check for any holes or cracks from nails or previous damage. Small holes can be filled with spackle, and larger cracks might need a bit of joint compound. Once the spackle or compound is dry, sand it down until it’s perfectly smooth with the wall. You want a surface that feels like glass before you start painting.
The Art of Proper Taping and Masking
This is where you protect everything you don’t want painted. Think trim, window frames, light fixtures, and even the ceiling line if you’re not painting it. Use painter’s tape – the good stuff, not the cheap kind that leaves sticky residue or lets paint bleed under. Press the tape down firmly along the edges. A putty knife or even your fingernail can help get a really good seal. For floors and large furniture, drop cloths are your best friend. Canvas drop cloths are better than plastic because they don’t get slippery when paint drips on them. Make sure they cover the entire area you want to protect, overlapping them if needed.
Priming for Peak Performance
Primer is like a base coat for your paint. It helps the new paint stick better, covers up old colors (especially if you’re going from dark to light), and can even help hide stains. If you’re painting over a dark color, a tinted primer can make a big difference in how many coats of your new color you’ll need. For walls that have been repaired with spackle or joint compound, primer is a must because it seals the patch and makes it the same texture as the rest of the wall. Apply primer just like you would paint – with a brush for edges and a roller for the main areas. Let it dry completely according to the manufacturer’s instructions before you start with your top coat.
Taking the time to prep your surfaces properly means your paint job will look more professional and last a lot longer. It’s the foundation for a great finish, so don’t rush it!
Here’s a quick checklist for prep:
- Clean walls thoroughly.
- Fill and sand any holes or cracks.
- Apply painter’s tape to all trim and edges.
- Cover floors and furniture with drop cloths.
- Apply a coat of primer and let it dry.
Mastering Application Techniques
Alright, let’s talk about actually getting that paint onto the walls. This is where the magic happens, but also where things can go a little sideways if you’re not careful. Getting a good coat on isn’t just about slapping paint around; it’s about technique.
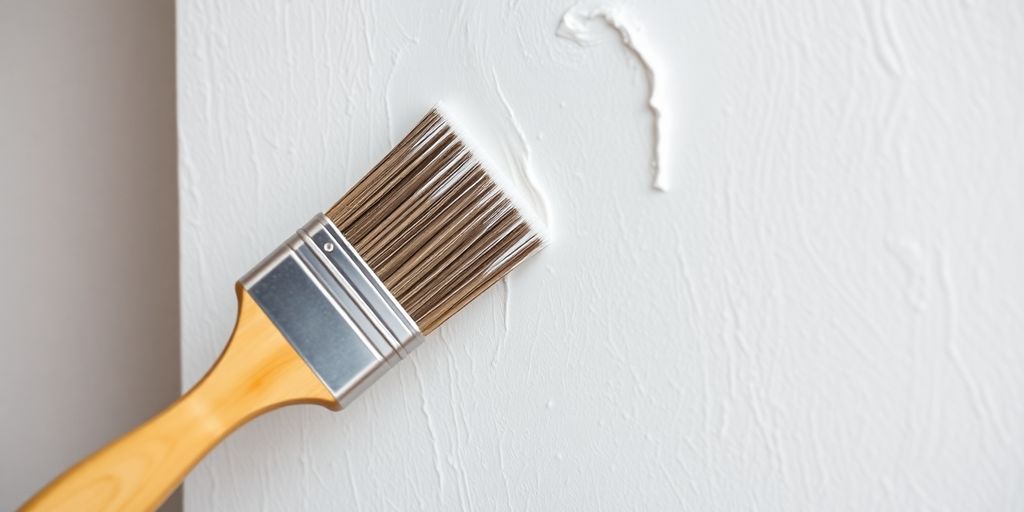
Brush Strokes for Edges and Details
When you’re painting trim, window frames, or the edges where walls meet ceilings, brushes are your best friend. You want a good quality angled brush, usually around 2 to 2.5 inches. Start by cutting in about an inch or two away from the edge with your brush. Then, use a steady hand to paint right up to the line. Don’t overload your brush; a little paint goes a long way, and too much will drip. Work in smooth, even strokes, and try to keep your lines clean. It takes a bit of practice, but you’ll get the hang of it.
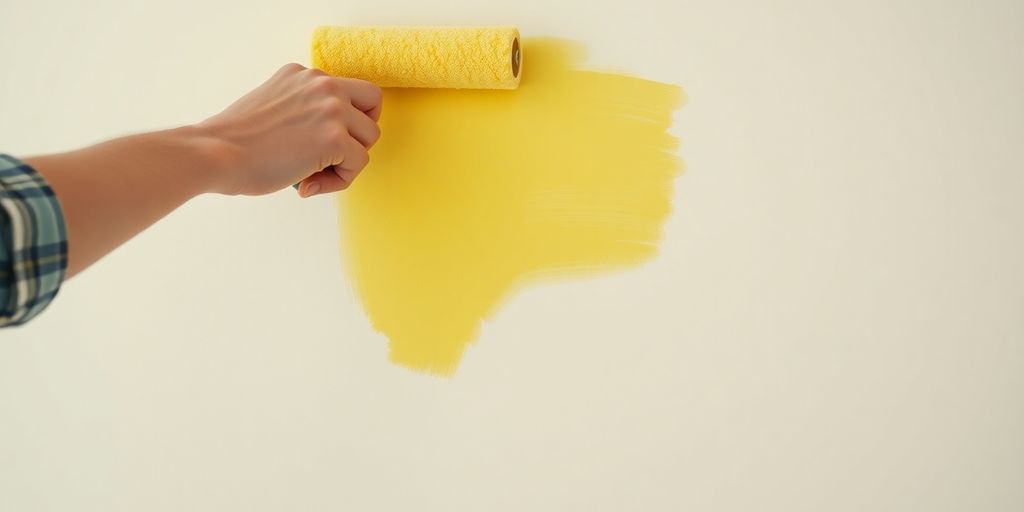
Roller Techniques for Large Surfaces
For walls and ceilings, rollers are the way to go. They cover a lot of ground quickly. Before you start, make sure your roller cover is the right nap for your wall’s texture. Smooth walls need a shorter nap, while textured walls need a thicker one. Load your roller evenly by rolling it in the paint tray, but don’t dunk it. Start rolling in a "W" or "M" pattern on the wall, covering about a 3×3 foot section. Then, go back over that section with parallel, overlapping strokes, working from the ceiling down. This helps avoid roller marks and gives you a nice, even finish. It’s a good idea to keep a wet edge as you go, meaning you overlap your just-painted section with the next one. This prevents lap marks, which are those visible lines where one section of paint dried before the next was applied. For more on getting a great finish, check out this guide to painting techniques.
Achieving Even Coats with Spray Painting
Spray painting is fast and can give a super smooth finish, but it’s also the trickiest for DIYers. You need to protect everything around you – floors, furniture, windows, you name it. When you spray, keep the can about 10-12 inches from the surface and move your arm in a steady, sweeping motion. Overlap each pass by about 50%. Don’t just spray in one spot; keep the paint moving. It’s also important to do a test spray on cardboard first to get the pressure and flow right. You’ll usually need two thin coats rather than one thick one for the best results.
When you’re working with paint, especially if you’re new to it, remember that patience is key. Rushing through any of these steps, whether it’s cutting in with a brush or rolling a large wall, can lead to a less-than-perfect outcome. Take your time, and don’t be afraid to do a second coat if the first one isn’t quite right.
Here’s a quick rundown of what you’ll need:
- Brushes: Angled brushes for trim and edges.
- Rollers: Various nap sizes for different wall textures.
- Paint Tray: To hold and load your roller.
- Drop Cloths: To protect your floors and furniture.
- Painter’s Tape: For clean lines.
Navigating Different Paint Types
Picking the right paint is more than just choosing a color, you know? It’s about what the paint is made of and how it looks on your walls. Let’s break down the main types you’ll run into.
Exploring Latex vs. Oil-Based Paints
So, you’ve got latex and oil-based paints. They’re pretty different.
- Latex Paint: This is water-based. It’s the most common choice for interior walls and ceilings. Cleanup is a breeze with just soap and water. It dries pretty fast, too, which is nice if you’re on a schedule. Plus, it’s flexible, so it doesn’t crack as easily when the house settles a bit.
- Oil-Based Paint: Also called alkyd paint, this stuff is tougher. It’s great for trim, doors, and cabinets because it dries to a really hard, smooth finish. It’s more durable and can handle a lot of scrubbing. The downside? Cleanup needs mineral spirits, and it has stronger fumes. It also takes longer to dry.
Generally, latex paints are easier to work with for most DIY projects.
Understanding Sheens: From Matte to High Gloss
The sheen, or finish, affects how the paint looks and how it holds up. It’s not just about how shiny it is.
- Matte/Flat: This finish has zero shine. It hides imperfections really well, making it good for older walls or ceilings. But, it’s not very scrubbable, so it’s best for low-traffic areas like bedrooms or formal living rooms.
- Eggshell/Satin: These have a little bit of shine, like the name suggests. They’re more durable and easier to clean than flat paint. Eggshell is a bit less shiny than satin. They work well in most rooms, including hallways and family rooms.
- Semi-Gloss: This has a noticeable shine and is quite durable. It’s a popular choice for trim, doors, and kitchens or bathrooms because it’s easy to wipe down and resists moisture. You can really see imperfections with this finish, though.
- High Gloss: This is the shiniest option, almost like glass. It’s super durable and washable. It’s usually reserved for trim, furniture, or areas where you want a really dramatic look. Like semi-gloss, it shows every little flaw.
Here’s a quick look at how they compare:
| Sheen | Durability | Washability | Hides Imperfections |
|---|---|---|---|
| Matte/Flat | Low | Low | High |
| Eggshell | Medium | Medium | Medium |
| Satin | Medium | Medium | Medium |
| Semi-Gloss | High | High | Low |
| High Gloss | Very High | Very High | Very Low |
Specialty Paints for Unique Needs
Sometimes, you need something a bit more specific. There are paints designed for particular jobs.
- Primer: Not exactly a paint you’d use on its own, but it’s super important. It helps paint stick better, covers stains, and gives you a more even color. You can find primers for different surfaces and problems.
- Enamels: These are often oil-based but can be water-based too. They dry to a hard, durable finish and are great for high-use areas like cabinets or furniture. They’re known for their smooth, glossy look.
- Mold and Mildew Resistant Paints: Perfect for bathrooms, basements, or any damp area. These paints have additives that stop mold and mildew from growing on the surface.
- Low-VOC or Zero-VOC Paints: VOCs (Volatile Organic Compounds) are chemicals that can be released into the air. If you’re sensitive to smells or want a healthier indoor environment, these paints are a good choice. They have much lower or no VOCs. You can find great options from local painters if you ask.
Choosing the right paint type and sheen can make a big difference in how your project turns out and how long it lasts. Don’t be afraid to ask for advice at the paint store or check out resources online.
It’s always a good idea to read the paint can label carefully. It tells you what the paint is best used for and how to apply it. If you’re tackling a big project or just want to be sure, looking at videos from places like The Awesome Painting Services can give you a good visual idea of techniques and results.
Caring for Your Newly Painted Walls

So, you’ve put in the work, and your walls look fantastic! Now, how do you keep them that way? It’s not as hard as you might think. A little regular attention goes a long way in keeping your paint looking fresh and new.
Gentle Cleaning Methods for Longevity
When it comes to cleaning your newly painted walls, think gentle. Harsh scrubbing or abrasive cleaners can actually damage the paint finish, especially if it’s a lower sheen like matte or eggshell. For most everyday dust and grime, a soft cloth or sponge lightly dampened with water is usually all you need. If you encounter tougher spots, like fingerprints or minor scuffs, try adding a tiny bit of mild dish soap to your water. Always test this mixture on an inconspicuous area first, just to be safe. After cleaning, wipe the area with a clean, damp cloth to remove any soap residue, and then dry it with a soft towel. Avoid using ammonia-based cleaners or solvents, as these can strip the paint.
Touch-Up Tips for Minor Imperfections
Life happens, and sometimes you get small marks or scuffs on your walls. Don’t panic! Most minor imperfections can be easily fixed with a touch-up. The trick is to have a little bit of your original paint saved. If you didn’t save any, try to get a color match from the original paint can. When you’re ready to touch up, use a small brush and apply the paint sparingly, just to the affected area. Try to feather the edges so the touch-up blends in with the surrounding paint. It might take a couple of light coats to get it right. Remember, the goal is to make the spot disappear, not to create a new, noticeable patch.
Protecting Your Paint from Everyday Wear
Prevention is always better than cure, right? There are a few simple things you can do to help protect your paint job from daily wear and tear. Consider using doormats both inside and outside your main doors to catch dirt and grit before it gets tracked onto your floors and walls. Placing furniture strategically can also help; try to avoid placing heavy items directly against walls where they might rub or scuff the paint. For high-traffic areas, like hallways or kids’ rooms, opting for a paint with a higher sheen (like satin or semi-gloss) can make cleaning and scuff removal much easier. It’s a small detail, but it really makes a difference in the long run.
When to Call The Awesome Painting Services
So, you’ve read through all the tips and tricks, and you’re feeling pretty good about tackling that painting project yourself. That’s awesome! But sometimes, even with the best intentions and a solid guide, a job is just too big or too tricky for a DIYer. It’s okay to admit when you need a hand. Knowing when to bring in the pros can save you time, money, and a whole lot of frustration.
Recognizing Projects Best Left to Professionals
There are certain situations where calling a professional painting service like The Awesome Painting Services is the smart move. Think about the scale of the project. Are you painting a small accent wall? Probably fine to do yourself. Painting your entire multi-story house, inside and out? That’s a different story.
Here are a few signs it might be time to call us:
- High Ceilings or Difficult Access: If you’re looking at vaulted ceilings, grand staircases, or exterior surfaces that require ladders, scaffolding, or special equipment, it’s safer and more efficient to hire professionals who have the right gear and experience.
- Extensive Surface Repair: Does your home need significant drywall repair, plaster work, or wood rot treatment before painting? These tasks require specific skills and tools that pros are equipped to handle.
- Complex Finishes or Historic Homes: If you’re aiming for a special finish like faux painting, or if you’re working with a historic home that has delicate surfaces or specific architectural details, professional painters can preserve the integrity of the property.
- Tight Deadlines: If you need the job done quickly and perfectly, professionals can often complete projects much faster than a DIYer due to their experience and team.
Sometimes, the cost of making mistakes yourself—buying extra paint, fixing errors, or even damaging your property—can end up being more than hiring a professional from the start. It’s worth considering the total picture.
Benefits of Hiring Local Orlando Painters
When you decide to bring in the pros, choosing local painters like The Awesome Painting Services has its own set of advantages. We know Orlando! We understand the climate, the types of homes common here, and the specific challenges that come with painting in our area. Plus, supporting local businesses means you’re investing back into your community.
- Local Knowledge: We’re familiar with common building materials and weather conditions in Orlando, which can affect paint choices and application.
- Community Trust: Local businesses often build their reputation on customer satisfaction and word-of-mouth referrals.
- Accessibility: If any issues arise after the job is done, it’s easier to get in touch with a local company for follow-up.
Getting a Quote for Your House Painting Project
Ready to see if The Awesome Painting Services is the right fit for your project? Getting a quote is simple and free. We’ll come out to your home, take a look at what you need done, discuss your color choices and any specific requirements, and then provide you with a detailed estimate. This way, you know exactly what to expect, with no surprises down the line. Just give us a call or fill out our online form, and we’ll set up a time that works for you.
Thinking about refreshing your home’s look? If you’re noticing chipped paint, outdated colors, or just want a change, now is the perfect time to consider professional help. Our team is ready to transform your space. Visit our website today to get a free estimate!
Ready to Transform Your Home?
So, you’ve made it through our guide to getting that perfect paint finish! We hope these tips have given you the confidence to tackle your next painting project, whether it’s a fresh coat for your living room or a whole house makeover. Remember, a little preparation goes a long way, and choosing the right colors and techniques can really make your Orlando home shine. If all this sounds like a bit much, or if you’re just looking for the easiest way to get beautiful results, remember that The Awesome Painting Services is here to help. We’re your local Orlando painters, ready to bring your vision to life with professional interior painting in Orlando and beyond. Give us a call or visit our website at https://theawesomepaintingservices.com to learn more and get a free quote. Let’s make your house the best-looking house on the block!
Frequently Asked Questions
How do I choose the best paint colors for my home?
Picking the right colors can really change how a room feels! Think about what mood you want. Bright colors can make a space feel energetic, while softer shades often create a calm vibe. It’s a good idea to get some paint samples and try them out on your walls. See how they look in different lights throughout the day. This helps ensure you’ll love the final look of your house painting in Orlando.
Is it really necessary to prepare the walls before painting?
Yes, preparation is super important for a great paint job. This means cleaning the walls to get rid of dirt and grease, fixing any holes or cracks, and making sure everything is smooth. Proper prep work, like sanding and priming, helps the new paint stick better and last longer. It’s a key step that The Awesome Painting Services always takes seriously.
What are the best tools to use for painting different parts of my house?
When painting, using the right tools makes a big difference. For edges and tricky spots, a good quality brush works best. For larger areas like walls and ceilings, rollers are faster and give a smooth finish. If you’re using a sprayer, it’s great for very even coverage, especially on textured surfaces. The Awesome Painting Services uses the best tools for every job.
What’s the difference between latex and oil-based paint?
There are different types of paint, like latex (water-based) and oil-based. Latex paints are popular because they dry fast, clean up easily with water, and are flexible. Oil-based paints are tougher and give a very smooth finish, but they take longer to dry and require special cleaners. We can help you decide which is best for your interior painting Orlando project.
What do paint ‘sheens’ like matte, satin, and gloss mean?
The sheen of paint refers to how shiny it is. Matte finishes hide imperfections well and are good for ceilings. Eggshell and satin sheens have a little shine, are easier to clean, and work great for most walls. Semi-gloss and high-gloss paints are very shiny, durable, and perfect for trim, doors, and cabinets where you want a bold look. Understanding these helps achieve the perfect finish.
When should I consider hiring professional Orlando painters?
While some small touch-ups can be done yourself, larger or more complex jobs are often best left to the pros. If you have high ceilings, intricate details, or need a perfect, uniform finish across many rooms, hiring experienced Orlando painters like The Awesome Painting Services is a smart choice. We ensure a beautiful, lasting result and can handle all the hard work for you. Visit our website at https://theawesomepaintingservices.com to learn more or get a quote!