

The Ultimate Guide to Interior Painting: Tips, Tricks, and Trends
Thinking about giving your home a fresh look with some interior painting? It’s a big job, but doing it right can totally change how your place feels. Whether you’re in Orlando and looking for local painters or just tackling it yourself, picking the right colors and getting ready is half the battle. We’re here to walk you through everything you need to know for a great interior painting project, from choosing shades that work with your lighting to making sure the final coat looks amazing. Let’s get your home looking its best with a bit of help from The Awesome Painting Services.
Key Takeaways
- Choosing the right color palette involves understanding color psychology and how lighting impacts your final interior painting choices.
- Proper preparation, including gathering the right tools and protecting your space, is vital for a smooth and professional interior painting job.
- Mastering painting techniques, like using painter’s tape for clean lines and applying paint evenly, leads to a high-quality finish.
- Understanding different paint finishes, from matte to high-gloss, helps you select the best option for each area of your home.
- Regular cleaning and knowing when to get professional help will keep your interior painting looking great for years to come.
Choosing The Perfect Palette For Your Interior Painting Project
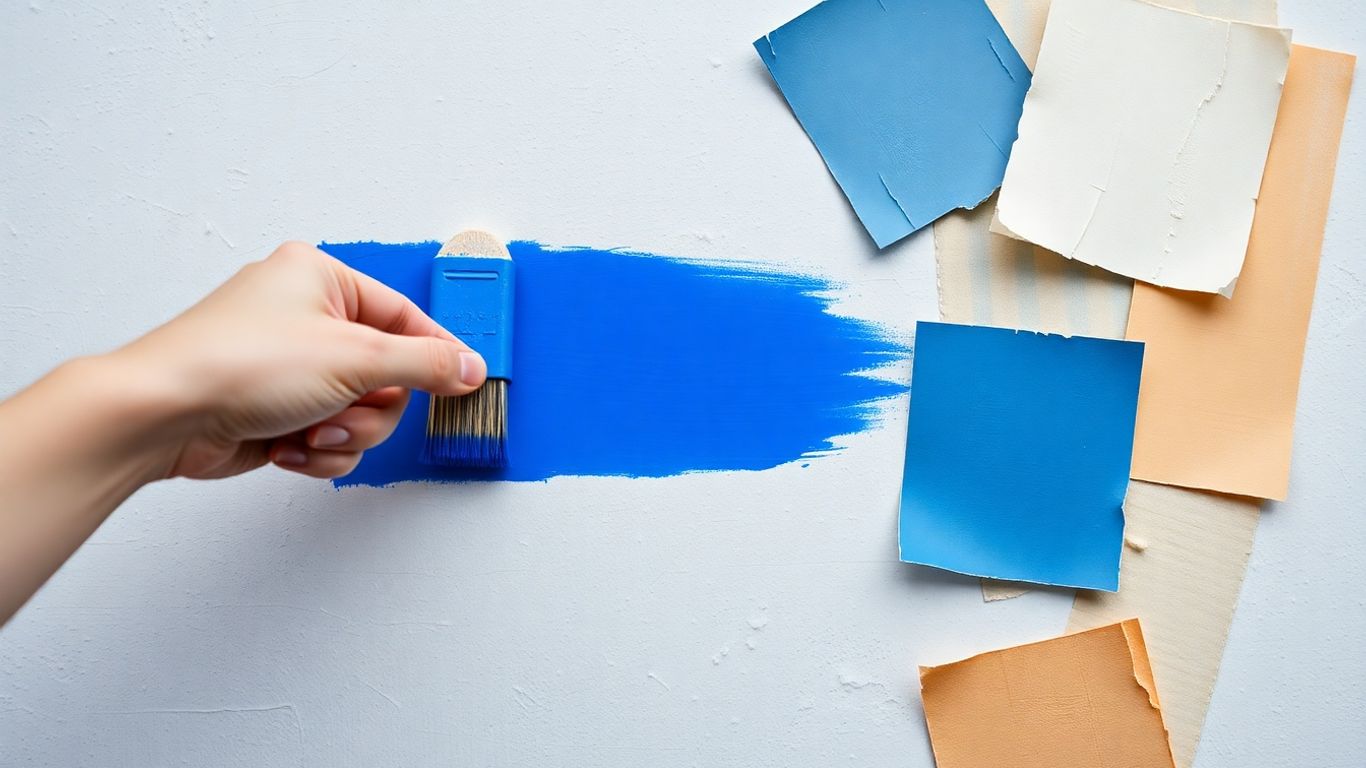
Picking paint colors can feel like a big decision, right? It’s like choosing the outfit for your whole house! But don’t sweat it. We’re going to break down how to pick colors that you’ll actually love living with.
Understanding Color Psychology For Your Home
Colors do more than just look pretty; they can actually affect how you feel. Think about it: a bright yellow room might make you feel cheerful, while a deep blue could feel calming. It’s pretty interesting stuff.
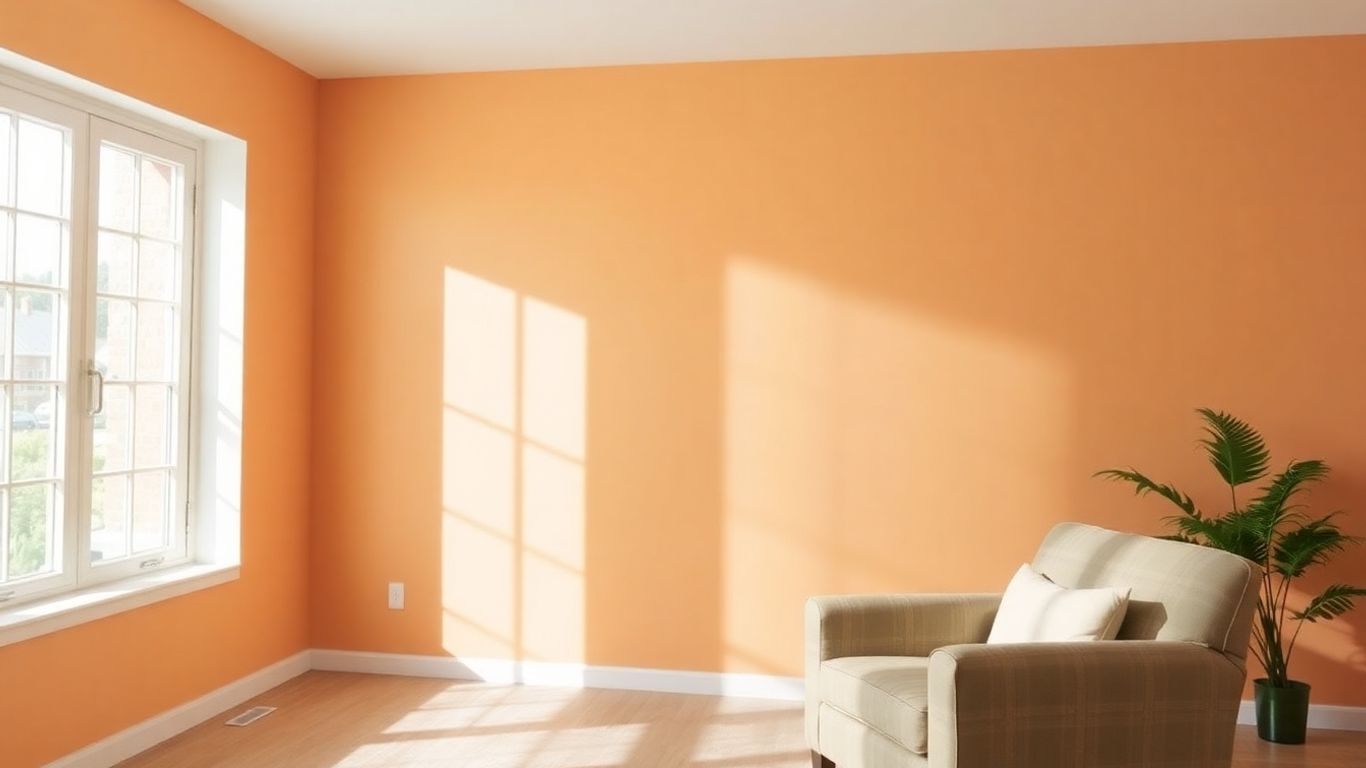
- Reds and Oranges: These are energetic colors. They can be great for spaces where you want a lively feel, like a dining room or a playroom. Just be careful not to overdo it, as too much can feel overwhelming.
- Blues and Greens: These are generally seen as relaxing colors. They work well in bedrooms, bathrooms, or any space where you want to unwind. Lighter shades can make a room feel bigger and airier.
- Yellows and Pinks: These can bring warmth and happiness. Soft yellows are good for kitchens, while gentle pinks can add a cozy touch to a bedroom.
- Neutrals (Grays, Beiges, Whites): These are the versatile players. They create a calm backdrop and let your furniture and decor shine. They’re also great for making a space feel larger and more open. Neutrals are a safe bet if you’re unsure about bolder choices.
Remember, color psychology isn’t an exact science. What one person finds calming, another might find boring. It’s about how the colors make you feel in your space.
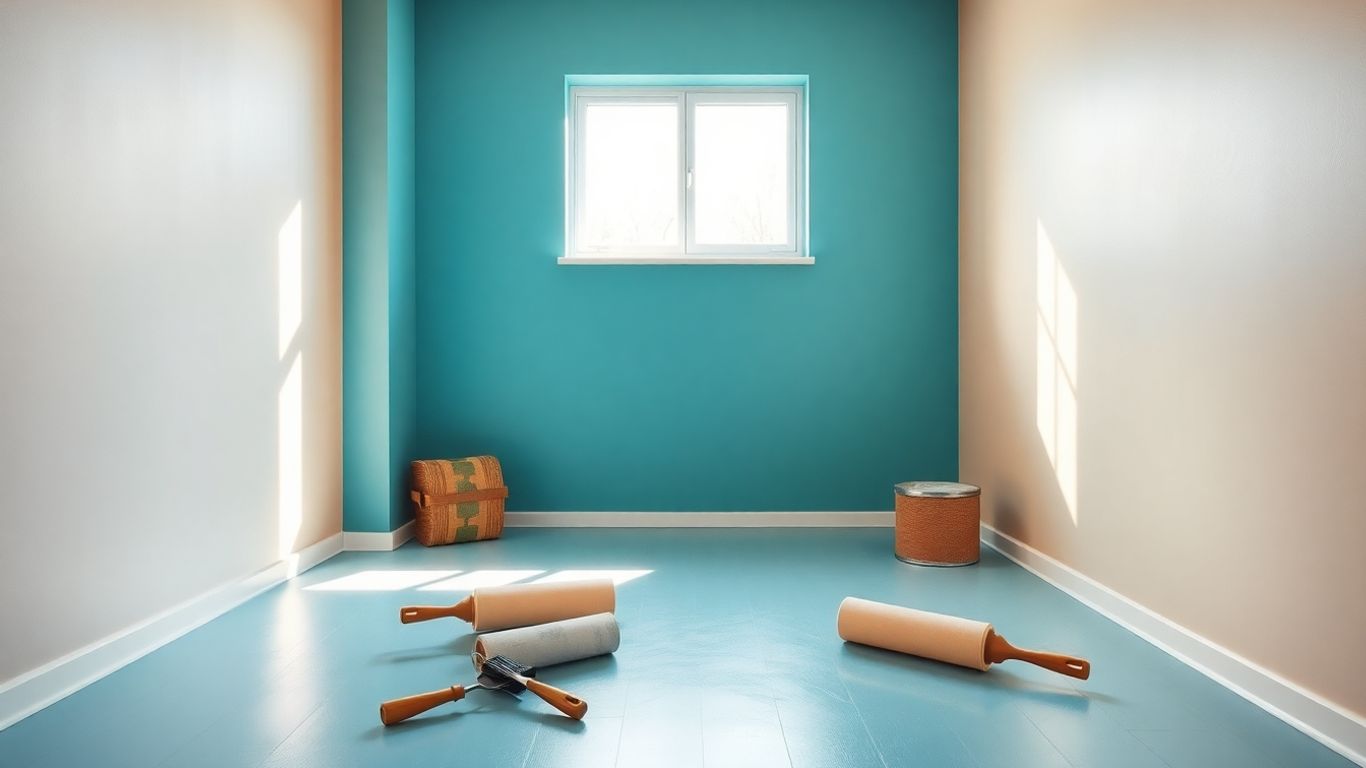
Trending Color Schemes For Modern Interiors
Keeping up with trends can be fun, but it’s more important to pick colors that suit your style. Still, seeing what’s popular can give you some good ideas. Right now, a lot of people are loving earthy tones and natural colors. Think warm beiges, soft greens, and muted terracotta shades. These colors bring a sense of calm and connection to nature. Another trend is using bolder, jewel-toned accents against neutral backgrounds for a pop of personality. It’s all about creating a space that feels both stylish and comfortable.
How Lighting Affects Your Paint Color Choices
This is a big one that people often forget! The light in your home changes throughout the day, and it can totally change how a paint color looks. What looks perfect in the store might look different on your wall.
- Natural Light: Rooms with lots of natural light can handle darker or more intense colors. In rooms with less natural light, lighter colors will help make the space feel brighter and more open. North-facing rooms tend to have cooler light, while south-facing rooms get warmer light.
- Artificial Light: The type of light bulbs you use also matters. Incandescent bulbs give off a warmer, yellowish light, while LEDs and fluorescents can be cooler or more neutral. Always test your paint colors in the room at different times of day and under your usual lighting conditions. It’s a good idea to get paint samples to see how they look before you commit.
Testing colors is key. Paint a small swatch on a few different walls in the room, or on poster board you can move around. Look at them in the morning, afternoon, and evening, with lights on and off. This will give you the best idea of how the color will truly appear in your home.
Mastering The Art Of Interior Painting Preparation
Alright, let’s talk about the part of painting that nobody really wants to do, but is super important: prep work. Seriously, you can have the best paint and the steadiest hand, but if you skip the prep, your whole project can go sideways fast. Think of it like baking a cake – you wouldn’t just throw everything in the oven without measuring or mixing, right? Painting is kinda the same.
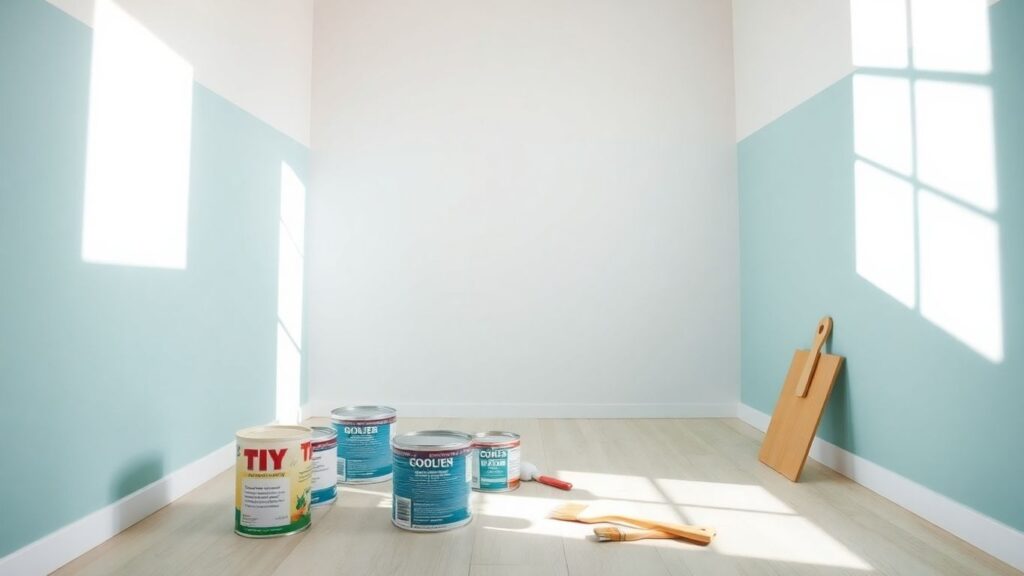
Essential Tools And Supplies For A Smooth Job
Before you even think about cracking open a paint can, you need to gather your gear. Having the right stuff makes the whole process way less of a headache. Here’s a rundown of what you’ll likely need:
- Drop cloths: Canvas ones are great because they don’t let paint seep through like plastic can. You’ll want enough to cover your floors and any furniture you can’t move.
- Painter’s tape: This is your best friend for getting clean lines. Get a good quality one; cheap tape can peel off paint or leave sticky residue.
- Spackle or joint compound: For filling in any holes or cracks in the walls.
- Putty knife: To apply the spackle.
- Sandpaper or sanding block: For smoothing out the spackled areas and any rough spots on the walls.
- Screwdrivers: To remove outlet covers and switch plates.
- Cleaning supplies: A bucket, mild soap, water, and clean rags for washing down walls.
- Primer: Sometimes you need it, sometimes you don’t. We’ll get into that.
- Paintbrushes and rollers: Get a good quality set. A small angled brush is perfect for cutting in edges, and a roller with the right nap for your wall texture will make a big difference.
Properly Preparing Walls For A Flawless Finish
This is where the magic really happens, or doesn’t, if you rush it. Clean, smooth walls are the foundation of a great paint job.
- Clean the walls: Give them a good wash. Dust, grease, and grime will prevent the new paint from sticking properly. Use a mild soap and water solution, then rinse and let them dry completely.
- Fill holes and cracks: Use spackle to fill any nail holes, dents, or cracks. Apply it with a putty knife, let it dry, and then sand it smooth until it’s flush with the wall.
- Sand any rough spots: If you have any peeling paint or rough patches, gently sand them down. This helps create a uniform surface.
- Wipe down again: After sanding, give the walls another quick wipe with a damp cloth to remove any dust.
Don’t underestimate the power of a clean slate. Skipping these steps is like building a house on sand – it might look okay for a bit, but it won’t last.
Protecting Your Furniture And Fixtures
Now for the part that keeps your stuff looking good. You don’t want to end up with paint splatters on your favorite armchair or that antique lamp.
- Move furniture: If possible, move all furniture to the center of the room and cover it completely with drop cloths. For larger pieces you can’t move, just cover them thoroughly.
- Cover the floor: Use drop cloths to protect your flooring. Overlap them slightly to prevent paint from seeping through the seams.
- Tape off trim and fixtures: Use painter’s tape to protect baseboards, window frames, door frames, light fixtures, and anything else you don’t want to paint. Press the tape down firmly along the edges to prevent paint bleed.
- Remove outlet covers: Take off all electrical outlet and switch plate covers. It’s much easier to paint around them than to try and cut in perfectly. Store the screws in a small baggie taped to the back of the cover so you don’t lose them.
Techniques For A Professional Interior Painting Finish
Achieving Crisp Lines With Painter’s Tape
Getting those clean, sharp lines where two colors meet, or where a wall meets the trim, can be tricky. But with the right technique, it’s totally doable. First off, make sure your surface is completely dry and clean. Any dust or moisture can cause the paint to seep under the tape. When you apply the tape, press down firmly along the edge that will be against the paint. You can use a putty knife or even your fingernail to get a good seal. For an extra layer of protection against bleed-through, run a thin bead of the first paint color along the tape’s edge, let it dry, and then apply your second color. This seals the tape edge with the color already on the wall.
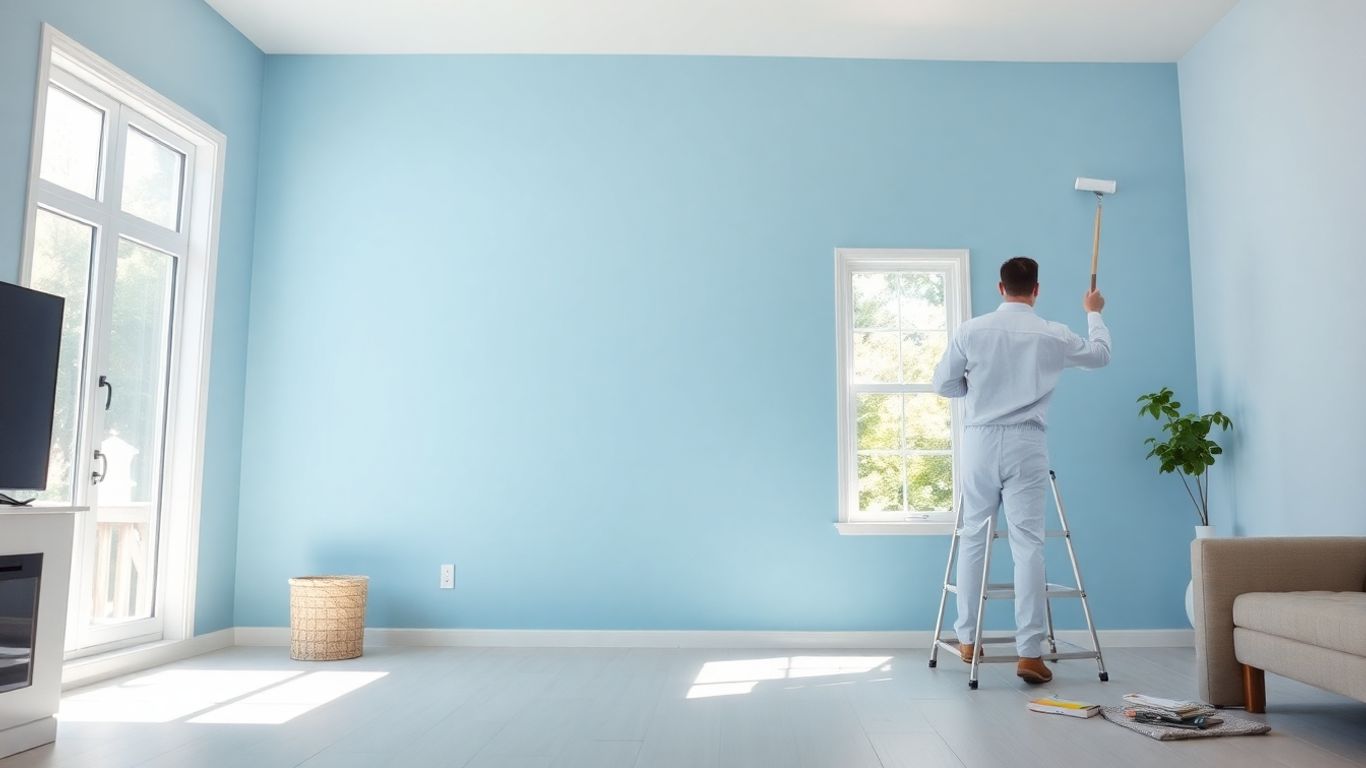
The Best Way To Apply Paint For Even Coverage
When it’s time to actually put the paint on, there’s a method that works best. Start by cutting in around the edges and corners with a brush. This means painting the areas the roller can’t easily reach. Then, grab your roller. Load it with paint, but don’t drown it. Roll off the excess on the grid or tray. Work in sections, about 3-4 feet wide. Apply the paint in a "W" or "V" pattern, then fill it in with overlapping strokes. This helps spread the paint evenly. Always maintain a wet edge; that means overlapping your strokes with the previously painted section while it’s still wet. This prevents those ugly roller marks.
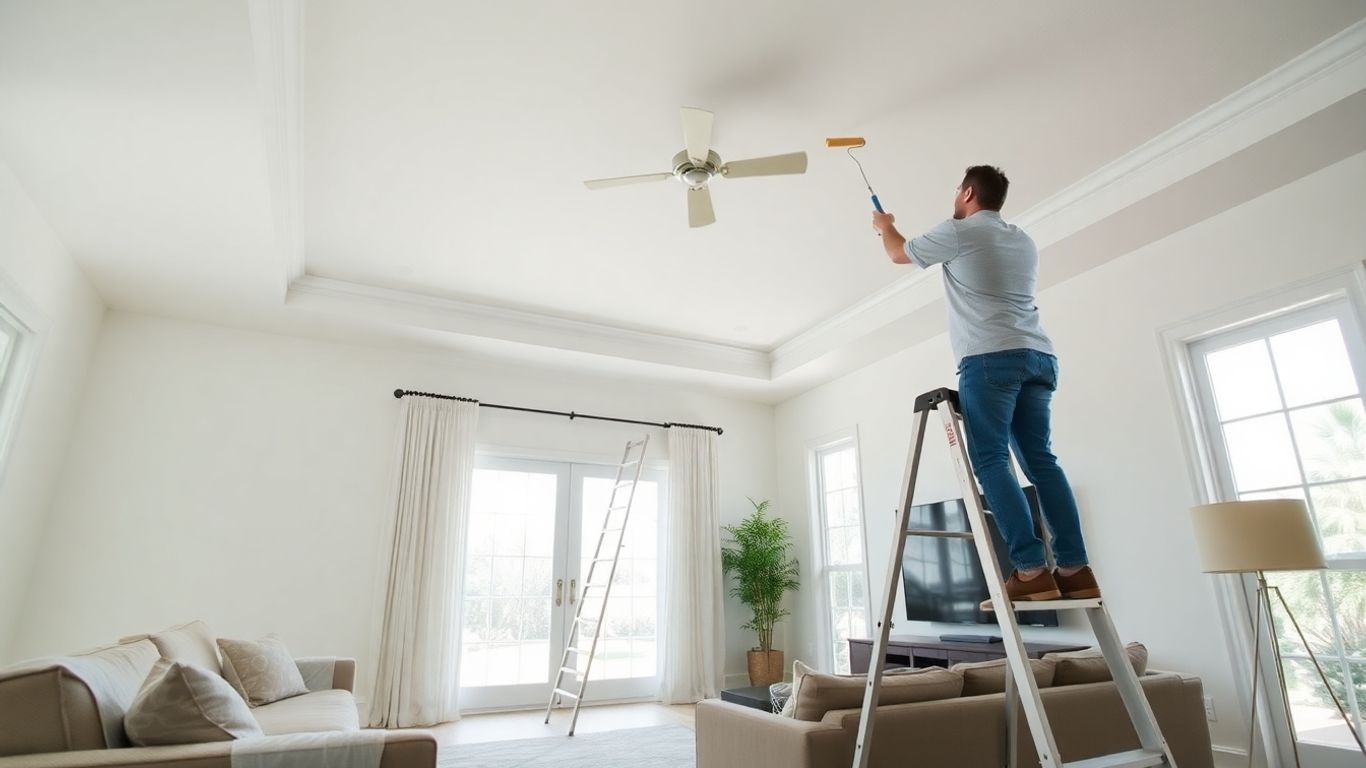
Tips For Painting Trim And Doors Like A Pro
Trim and doors are often the most detailed parts of a room, so getting them right makes a big difference. For trim, a good quality angled brush is your best friend. Take your time and use smooth, even strokes. If you’re painting doors, you might want to remove them from their hinges if possible. This makes it easier to get to all the edges and avoids drips on the frame. If you can’t remove them, be extra careful. Use a small roller for flat door panels and a brush for the edges and details. Always paint in the direction of the wood grain if it’s visible.
Painting can seem like a simple DIY task, but the details really matter. Taking a little extra time with preparation and technique can turn a decent paint job into something that looks like it was done by a professional. It’s all about patience and using the right methods for each part of the job.
Exploring Popular Interior Painting Finishes
Choosing the right paint finish is more than just picking a color; it’s about how the paint looks and performs on your walls. Different finishes have unique qualities that affect everything from durability to how light bounces around the room. Let’s break down the most common ones you’ll encounter.
Understanding Different Paint Sheens Explained
Paint sheen refers to how much light a paint reflects. This is usually measured on a scale from flat (no shine) to high-gloss (very shiny). The sheen you choose impacts the paint’s appearance, its ability to hide imperfections, and how easy it is to clean.
Here’s a quick rundown of the typical sheens:
- Flat/Matte: Absorbs light, hides wall flaws well, but is the least durable and hardest to clean.
- Eggshell/Satin: Offers a slight sheen, good balance of washability and hiding imperfections. Very popular for walls.
- Semi-Gloss: Noticeable shine, very durable and easy to clean. Great for trim, doors, and high-moisture areas.
- High-Gloss: Reflects a lot of light, creates a very smooth, hard surface. Shows every imperfection, but is extremely durable and washable. Best for accents.
Matte Vs. Eggshell: Which Finish Is Right For You?
This is a common question, and the answer really depends on where you’re painting and what you need from the finish. Matte paint has zero shine, making it fantastic for hiding any bumps or unevenness on your walls. It gives a soft, velvety look that’s really popular in living rooms and bedrooms where you want a calm atmosphere. However, because it’s so non-reflective, it can be tricky to clean. Spills or scuffs might be hard to wipe away without leaving a mark.
Eggshell, on the other hand, has a very subtle sheen, like the surface of a bird’s egg. It’s a bit more reflective than matte, which means it can highlight minor wall imperfections a little more. But, the trade-off is that it’s much easier to clean and more durable than matte. This makes eggshell a go-to choice for high-traffic areas like hallways, family rooms, and even kids’ rooms. It offers a nice middle ground between a completely flat look and a shinier finish.
When in doubt for general living spaces, eggshell is often the safest bet. It provides a good balance of aesthetics and practicality, handling everyday wear and tear much better than a true matte finish.
High-Gloss Finishes For Statement Areas
High-gloss paint is the shiny star of the show. It reflects a lot of light, giving surfaces a sleek, almost lacquered look. Because it’s so hard and non-porous, it’s incredibly durable and the easiest to clean – you can scrub it without worry. This makes it perfect for areas that get a lot of attention or heavy use. Think about painting your front door with a high-gloss finish for a welcoming pop, or using it on trim and cabinetry to make them stand out. It’s also a great choice for furniture pieces you want to make a statement with. Just remember, that high shine means it will show every single imperfection on the surface, so prep work has to be absolutely perfect before you apply it.
Maintaining Your Beautifully Painted Interior
So, you’ve got these gorgeous, freshly painted walls. Awesome! But how do you keep them looking that way without a ton of hassle? It’s not as tricky as you might think. A little bit of regular care goes a long way in keeping your paint job looking sharp for years to come.
Easy Cleaning Tips For Freshly Painted Walls
When it comes to cleaning, the key is to be gentle. You don’t want to scrub away your new paint job! For most everyday smudges and marks, a soft cloth or sponge with a bit of mild soap and water is your best friend. Always test a small, hidden spot first to make sure your chosen cleaner won’t damage the paint. For tougher spots, like crayon marks (kids, right?), you might need something a little stronger, but still, start mild.
- Start with a dry dusting: Use a soft brush or a microfiber cloth to remove loose dust and cobwebs. This prevents dirt from turning into mud when you add water.
- Gentle washing: Mix a few drops of mild dish soap with warm water. Dampen a soft sponge or cloth, wring it out well, and gently wipe the affected area.
- Rinse and dry: Use a clean, damp cloth with just water to wipe away any soap residue. Then, pat the area dry with a clean, soft towel.
Always remember to work from the bottom up when washing walls to avoid drips marking clean areas.
Touch-Up Techniques For Minor Imperfections
Life happens, and sometimes little nicks and scuffs appear. Don’t panic! Having a small amount of your original paint on hand is super helpful for these moments. If you don’t have any left, try to get a color match from the paint store. When you’re touching up, use a small brush and apply the paint sparingly. Feather the edges so the touch-up blends in with the surrounding paint. It’s often best to do touch-ups when the light is good so you can see exactly where you’re applying the paint.
Sometimes, a small dab of paint is all it takes to make a wall look new again. Don’t let little marks get you down.
When To Consider A Professional Refresh
Even with the best care, paint doesn’t last forever. If you’re noticing significant fading, peeling, or if the walls have accumulated a lot of wear and tear over the years, it might be time for a refresh. This could mean a full repaint or just tackling a particularly high-traffic area. If you’re unsure about the extent of the work needed or if you’re dealing with larger issues like water damage, calling in the pros is a smart move. They can assess the situation and get your walls looking great again without you having to worry about it.
The Awesome Painting Services Difference In Orlando
Why Choose Local Orlando Painters For Your Home
When you’re looking to get your home painted, picking the right crew makes a big difference. Going with a local team like Awesome Painting Services means you’re getting folks who know Orlando. We understand the local climate, the types of homes common here, and what works best for keeping your paint looking good year after year. Plus, supporting local businesses just feels good, right? We’re not some faceless national chain; we’re your neighbors, and we take pride in making our community look great, one house at a time. We believe in building relationships, not just painting walls. It’s about trust and knowing you’ve got people who genuinely care about your project.
Our Commitment To Quality Interior Painting
What sets us apart? It’s our dedication to doing the job right, from start to finish. We don’t cut corners. That means proper prep work, which is honestly half the battle. We’ll protect your belongings, clean up thoroughly, and use quality materials. Our painters are skilled and experienced, and they treat your home with respect. We aim for clean lines, even coats, and a finish that lasts. We want you to be happy with the result long after we’ve packed up our ladders.
Here’s a quick look at what you can expect:
- Detailed Prep: We cover and protect everything, repair minor wall imperfections, and ensure surfaces are clean and ready.
- Quality Materials: We use good paint and primers that are suited for your home’s needs.
- Skilled Application: Our team applies paint evenly for a smooth, professional look.
- Cleanliness: We tidy up daily and leave your space clean when the job is done.
We know that inviting painters into your home can feel like a big step. That’s why we focus on clear communication and making the process as easy and stress-free as possible for you. Your peace of mind is important to us.
Get A Free Quote For Your Orlando House Painting Project
Ready to transform your space? The first step is easy. We’re happy to come out, take a look at what you need done, and give you a clear, no-obligation quote. We can discuss colors, finishes, and timelines. You can get a good idea of what to expect by looking at different painting companies and their services. We’re confident that once you see our approach and our commitment to quality, you’ll know you’ve made the right choice. Let’s make your home look its best!
Looking for a painting service in Orlando that truly stands out? We’re not just painters; we’re artists dedicated to making your home or business look its absolute best. From vibrant colors to smooth finishes, we bring your vision to life with skill and care. Ready to see the difference? Visit our website today to learn more and get a free quote!
Ready to Transform Your Space?
So, you’ve made it through our guide to interior painting! Hopefully, you’re feeling a lot more confident about tackling your next project, whether it’s a small refresh or a whole-home makeover. Remember, a fresh coat of paint can really change how a room feels, and it doesn’t have to be a huge headache. If all this talk of brushes, rollers, and color palettes has you excited but maybe a little overwhelmed, that’s totally normal. The Awesome Painting Services is here to help make your house painting in Orlando dreams a reality. We know all about interior painting in Orlando and love helping folks here bring their vision to life. Feel free to reach out to us at The Awesome Painting Services – we’d be happy to chat about your project and give you a quote. Let’s make your home look amazing!
Frequently Asked Questions
What’s the best way to pick colors for my rooms in Orlando?
Choosing colors can be fun! Think about how you want each room to feel. Do you want a calm bedroom or a lively living room? Colors can really change the mood. We help homeowners in Orlando pick the perfect shades that match their style and make their house feel just right. You can check out color ideas on our website, https://theawesomepaintingservices.com, or ask our Orlando painters for advice!
Do I really need to prepare my walls before painting?
Absolutely! Good prep work is key to a great paint job. It means cleaning the walls, fixing any holes or cracks, and maybe putting down a primer. This makes sure the new paint sticks well and looks smooth. If you’re in Orlando and want a flawless finish for your house painting, The Awesome Painting Services knows all the tricks to get your walls ready.
What kind of paint finish should I use?
Paint comes in different sheens, like matte, eggshell, and glossy. Matte hides imperfections best and is good for ceilings and low-traffic areas. Eggshell is a bit shiny and easier to clean, making it popular for living rooms and bedrooms. High-gloss is super shiny and durable, perfect for trim or doors that get a lot of use. Our team can help you decide what’s best for each part of your home during your interior painting project in Orlando.
How long does interior painting usually take?
The time it takes can vary a lot! It depends on the size of your home, how much prep work is needed, and how many rooms you’re painting. A small room might take a day or two, while a whole house could take a week or more. When you get a quote from The Awesome Painting Services for your house painting in Orlando, we’ll give you a better idea of the timeline.
How do I clean my newly painted walls?
For most fresh paint jobs, a gentle touch is best. Usually, a soft cloth or sponge with mild soap and water is enough for everyday smudges. Avoid harsh cleaners or scrubbing too hard, especially on finishes like matte. If you’re unsure, our Orlando painters at The Awesome Painting Services can give you specific cleaning advice for the type of paint we use on your interior painting Orlando job.
Why should I hire The Awesome Painting Services in Orlando?
Hiring The Awesome Painting Services means you’re choosing local experts who care about quality. We know Orlando homes and the best ways to paint them. Our team is skilled, reliable, and focused on making your home look amazing. We handle everything from start to finish, so you don’t have to worry. Ready to transform your space? Contact us for a free quote on your next interior painting project!